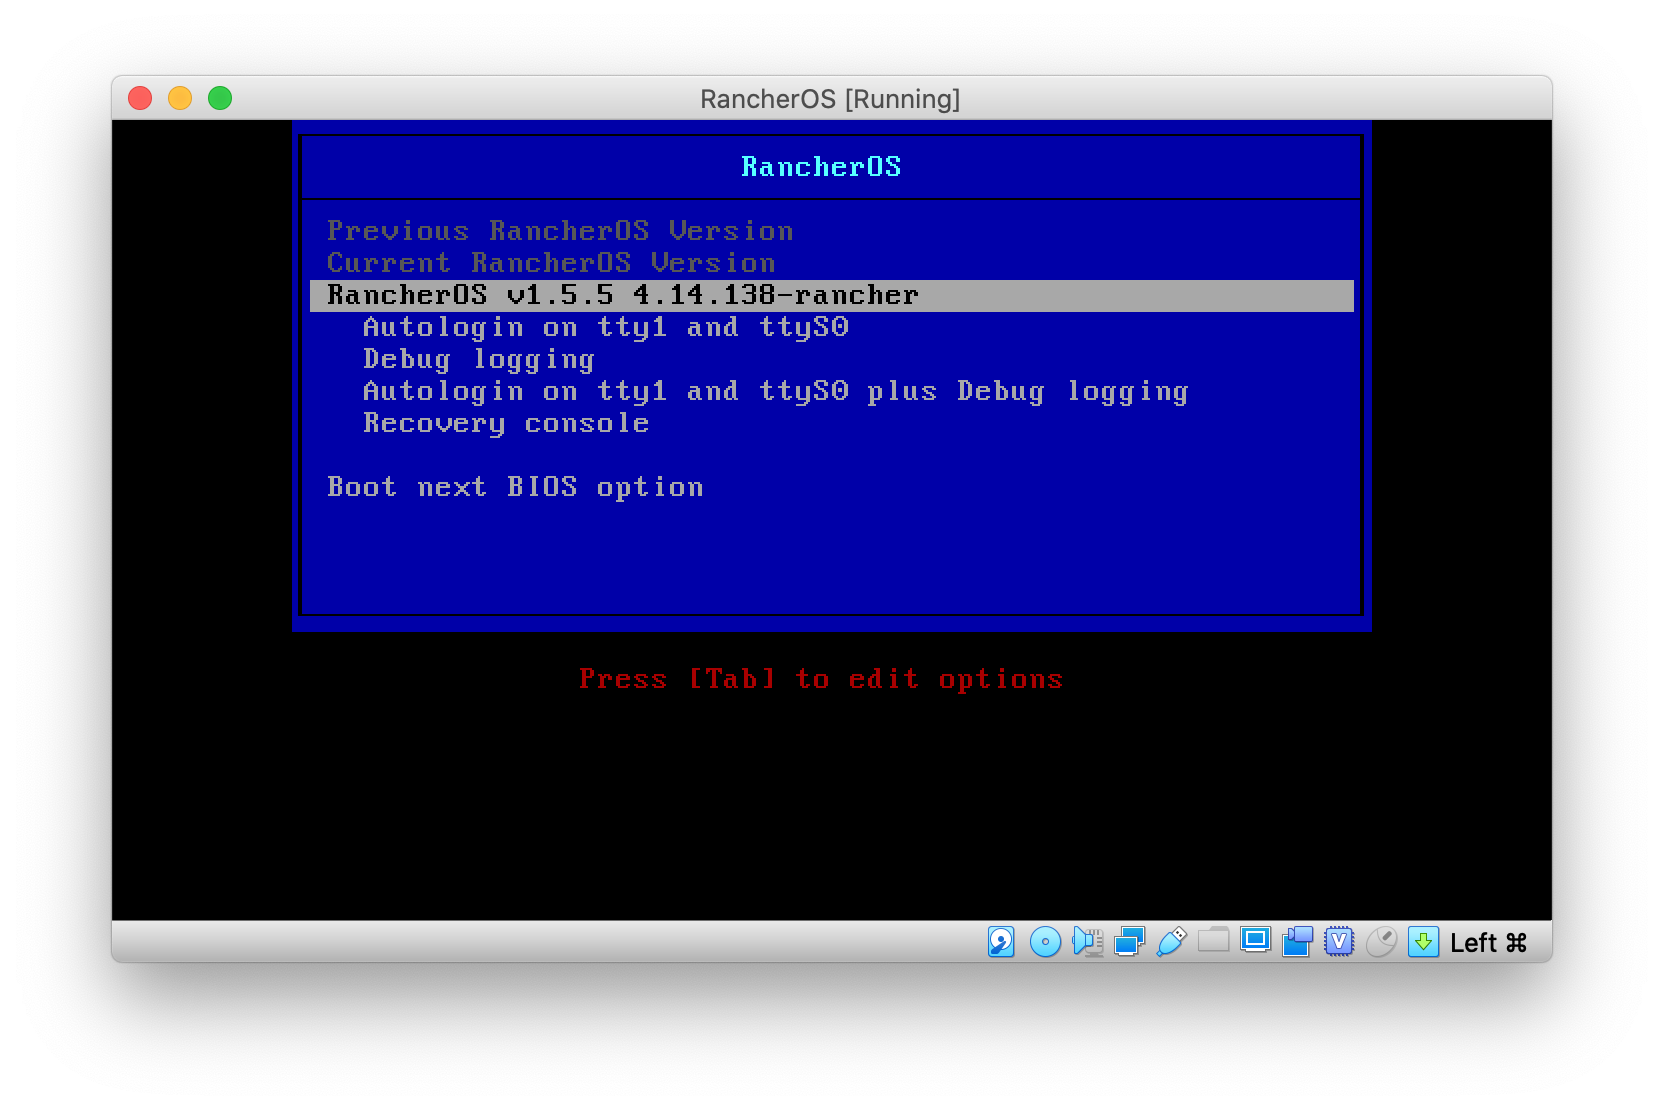
RancherOS, available at https://rancher.com/rancher-os/, is a lightweight container operating system. It is easy to install and easy to configure but a bit light on documentation for some specific use cases. Here, I will describe how I setup RancherOS (1.5.5 as of this writing) for use with my locally installed Rancher 2.x based bare metal cluster. I will also touch on using cloud-config to configure RancherOS at boot to include the iSCSI subsystem and auto join my cluster.
I run my nodes on a Proxmox based hypervisor and have FreeNAS based storage providing NFS and iSCSI. I’m not going to cover the installation of Rancher, Proxmox or FreeNAS but just focus on basic configuration of RancherOS.
RancherOS itself is able to accept configure information using a cloud-config file. Using a cloud-config file allows you to configure a number of things during the first boot up. I take advantage of this to configure some persistent volumes, add my ssh key, enable the iSCSI subsystem and even automatically join my cluster. Here is what the file looks like, with some values removed/shortened:
# cloud-config

# create an rc.local which will cause this system to join the cluster. Replace required values for your server URL and your token
write_files:
  - path: /etc/rc.local
    permissions: "0755"
    owner: root
    content: |
      #!/bin/bash
      wait-for-docker
      if [ ! -f /opt/init-done ]; then
        docker run -d --privileged --restart=unless-stopped --net=host -v /etc/kubernetes:/etc/kubernetes -v /var/run:/var/run rancher/rancher-agent:v2.3.5 --server <your rancher server url> --token <your rancher token> --worker --node-name $(ip ro | grep default | awk '{print $7}')
        touch /opt/init-done
      fi

rancher:
  # in my setup I use iSCSI to provide block storage to pods, for this to work on RancherOS the iSCSI subsystem must be enabled
  services_include:
    open-iscsi: true
  # setup some local persistent storage for a few important volumes
  # this ensures Kubernetes works properly across reboots
  services:
    user-volumes:
      volumes:
        - /home:/home
        - /opt:/opt
        - /var/lib/kubelet:/var/lib/kubelet
        - /etc/kubernetes:/etc/kubernetes
ssh_authorized_keys:
  - <paste your ssh public key here>
For my setup I saved this file onto a web host accessible within my network. Below you will see how we tell RancherOS about the file during the setup process. You can find more configuration options at https://rancher.com/docs/os/v1.x/en/installation/configuration/.
Please note that the most important settings are the persistent mount options. You should at least use those if you plan to connect the RancherOS instance to a Rancher based Kubernetes cluster.
With the cloud-config file created we can now install RancherOS. There are a few options for installing RancherOS but for my setup I am simply using the basic iso file. For my target machine, a unibody 2008 MacBook, I had to burn the image to CDR. I booted the ISO and waited for it to finish the boot process. Once it was ready, I entered my install command:
sudo ros install -d /dev/sda -c http://<hostname>/rancheros.yamlThis command will instruct the installer to download the config file specified, save it locally (into /var/lib/rancher/conf) and then get everything ready on /dev/sda. I answer y to the reboot question and the system reboots into RancherOS. After a while the system will join your cluster and be ready for use.
That’s it. Your RancherOS node should now be ready to for use and will support iSCSI based block storage. In future posts I will try to discuss setting up other aspects of a bare metal Kubernetes cluster (where bare metal basically refers to running it anywhere but some cloud provider). If you have questions please reach out to me via Twitter.
References:
Using iscsi on RancherOS https://docs.openebs.io/docs/next/prerequisites.html
