One of the challenges or points of friction for me using Proxmox in my home lab has been integrating Ansible with it more cleanly. The issue is I have traditionally maintained my inventory file manually which is a bit of a hassle. Part of the issue is that Proxmox doesn’t really expose a lot of metadata about the VMs you have running to things like tagging don’t actually exist. Despite that I set out to get a basic, dynamically generated inventory system that will work against my Proxmox installation to make the process at least a bit smoother.
For some time, Ansible has supported the idea of dynamic inventory. This type of inventory will query a backend to build out an inventory that is compliant with Ansible. Proxmox, having an API, has a dynamic inventory plugin available from the community. In this post I will showcase how I got started with a basic Proxmox dynamic inventory.
When I set out I had a few requirements. First, I really don’t have a naming convention of my VMs that makes any sense in DNS. Some systems have a fully qualified domain but most do not. The ones that do have fully qualified domain name wouldn’t actually be available over ssh on the IP resolved for that domain. To get around this, I wanted to be able to map the host name in Proxmox to its internal IP address. By default, the dynamic inventory plugin will set ansible_host to the name of the VM. For this I had to provide a compose entry to set the ansible_host which you’ll see below. This feature is made possible because I always install the qemu guest agent.
The second requirement is that ssh connection info was dynamic as well because I use a number of different operating systems. Since all of my systems use cloud-init I am able to set the ssh username to the ciuser value thus ensuring I always know what the ssh user is regardless of the operating system used.
Here is my dynamic inventory file:
plugin: community.general.proxmox
validate_certs: false
want_facts: true
compose:
  ansible_host: proxmox_agent_interfaces[1]["ip-addresses"][0].split('/')[0]
  ansible_user: proxmox_ciuser
I placed this information into inventory/inventory.proxmox.yaml. Most of the entries are self-explanatory but I will go through what the compose section is doing.
The first item in the compose section is setting the ansible_host. When the inventory plugin gathers information from Proxmox it will gather the assigned IP addresses as determined using the Qemu Guest Agent. In all cases that I could see, the first IP address will be localhost and the second one will always be the primary interface in the system. With information known, I was able to create the jinja2 template to grab the correct IP address and strip the netmask off of it.
The next line is setting the ansible_user by just copying the proxmox_ciuser value. With these two variables set, Ansible will use that username when connecting to the host at its internal IP address. Since the systems were brought up using cloud-init, my ssh key is already present on all of the machines and the connection works without much fuss.
To support this configuration, here is my ansible.cfg:
[defaults]
inventory = ./inventory
fact_caching_connection = .cache
retry_files_enabled = False
host_key_checking = False
forks = 5
fact_caching = jsonfile

[inventory]
cache = True
cache_plugin = jsonfile

[ssh_connection]
pipelining = True
ssh_args = -F ssh_config
This configuration is setting a few options for me related to how to find the inventory, where to cache inventory information and where to cache facts about remote machines. Caching this info greatly speeds up your Ansible runs and I recommend it. The ssh_args value allows me to specify some additional ssh connection info.
In addition to the above configuration files, there are environment variables that are set on my system. These variables define where to find the Proxmox API, what user to connect with and the password. The environment variables are defined on the dynamic inventory plugin page but here is what my variables look like:
PROXMOX_PASSWORD=[redacted]
PROXMOX_URL=https://[redacted]:8006/
PROXMOX_INVALID_CERT=True
PROXMOX_USERNAME=root@pam
PROXMOX_USER=root@pam
The user/username value is duplicated because some other tools rely on PROXMOX_USERNAME instead of PROXMOX_USER.
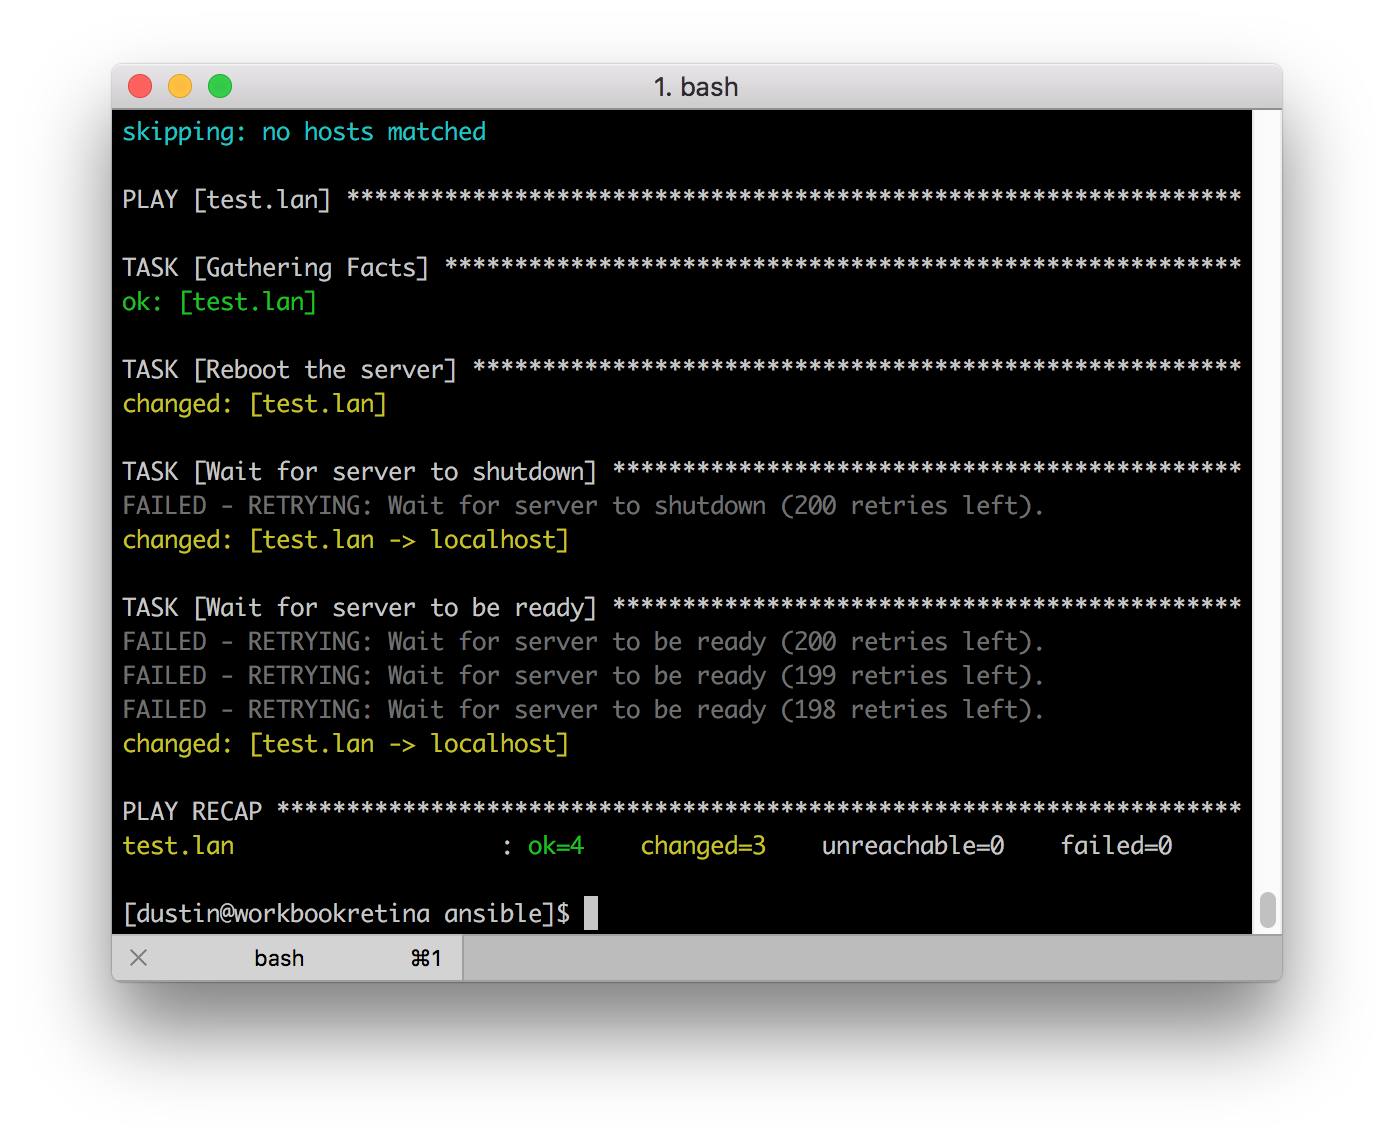
And that’s it! With this configured I am able to target all of my running hosts by targeting “proxmox_all_running”. For example, ansible proxmox_all_running -m ping will ping all running machines across my Proxmox cluster.