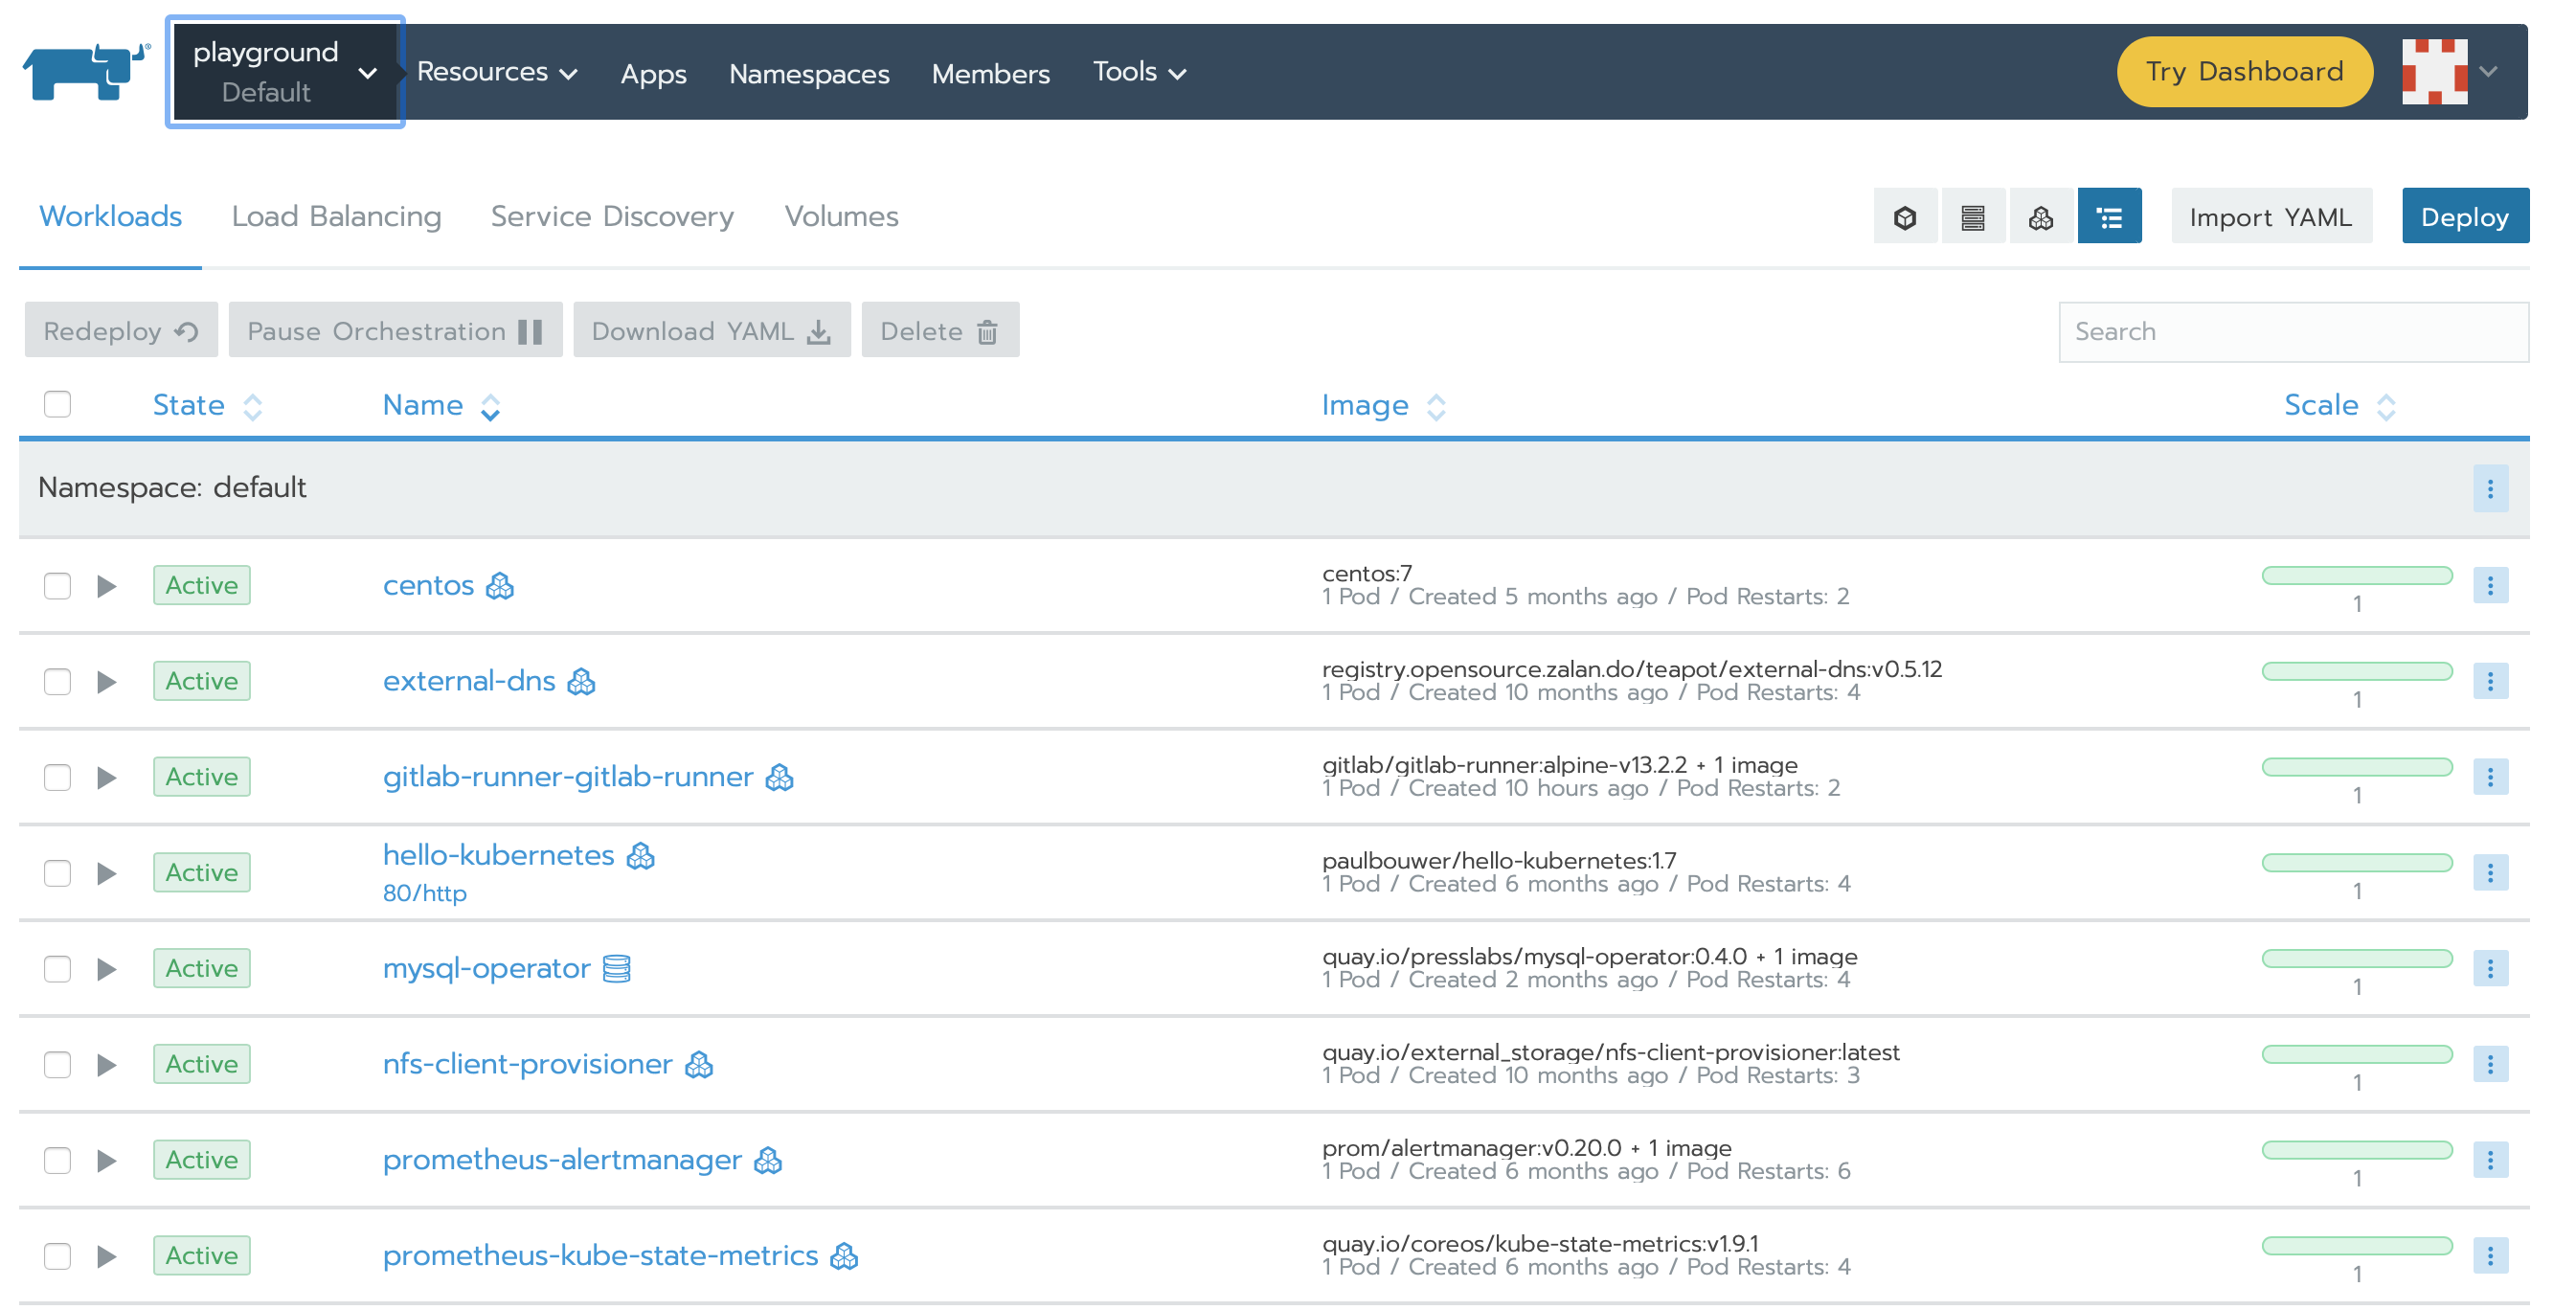
As I continue to mess around with various ways of installing and running Kubernetes in my home lab using Rancher I keep coming up with different ways to solve similar problems. Each time I set it up using different host OSs I learn a bit more which my primary goal. The latest iteration uses CentOS 8 and allows for iSCSI based persistent storage to work properly. I want to use CentOS 8 because it includes a newer kernel required for doing buildx based multi-arch builds. In this post, I’d like to go through the process of setting up CentOS 8 with Docker and what utilities to install to support NFS and iSCSI based persistent storage so that it works properly with Rancher.
Continue readingTag: iscsi
RancherOS cloud-config, iSCSI and auto join
RancherOS, available at https://rancher.com/rancher-os/, is a lightweight container operating system. It is easy to install and easy to configure but a bit light on documentation for some specific use cases. Here, I will describe how I setup RancherOS (1.5.5 as of this writing) for use with my locally installed Rancher 2.x based bare metal cluster. I will also touch on using cloud-config to configure RancherOS at boot to include the iSCSI subsystem and auto join my cluster.
I run my nodes on a Proxmox based hypervisor and have FreeNAS based storage providing NFS and iSCSI. I’m not going to cover the installation of Rancher, Proxmox or FreeNAS but just focus on basic configuration of RancherOS.
RancherOS itself is able to accept configure information using a cloud-config file. Using a cloud-config file allows you to configure a number of things during the first boot up. I take advantage of this to configure some persistent volumes, add my ssh key, enable the iSCSI subsystem and even automatically join my cluster. Here is what the file looks like, with some values removed/shortened:
# cloud-config

# create an rc.local which will cause this system to join the cluster. Replace required values for your server URL and your token
write_files:
  - path: /etc/rc.local
    permissions: "0755"
    owner: root
    content: |
      #!/bin/bash
      wait-for-docker
      if [ ! -f /opt/init-done ]; then
        docker run -d --privileged --restart=unless-stopped --net=host -v /etc/kubernetes:/etc/kubernetes -v /var/run:/var/run rancher/rancher-agent:v2.3.5 --server <your rancher server url> --token <your rancher token> --worker --node-name $(ip ro | grep default | awk '{print $7}')
        touch /opt/init-done
      fi

rancher:
  # in my setup I use iSCSI to provide block storage to pods, for this to work on RancherOS the iSCSI subsystem must be enabled
  services_include:
    open-iscsi: true
  # setup some local persistent storage for a few important volumes
  # this ensures Kubernetes works properly across reboots
  services:
    user-volumes:
      volumes:
        - /home:/home
        - /opt:/opt
        - /var/lib/kubelet:/var/lib/kubelet
        - /etc/kubernetes:/etc/kubernetes
ssh_authorized_keys:
  - <paste your ssh public key here>
For my setup I saved this file onto a web host accessible within my network. Below you will see how we tell RancherOS about the file during the setup process. You can find more configuration options at https://rancher.com/docs/os/v1.x/en/installation/configuration/.
Please note that the most important settings are the persistent mount options. You should at least use those if you plan to connect the RancherOS instance to a Rancher based Kubernetes cluster.
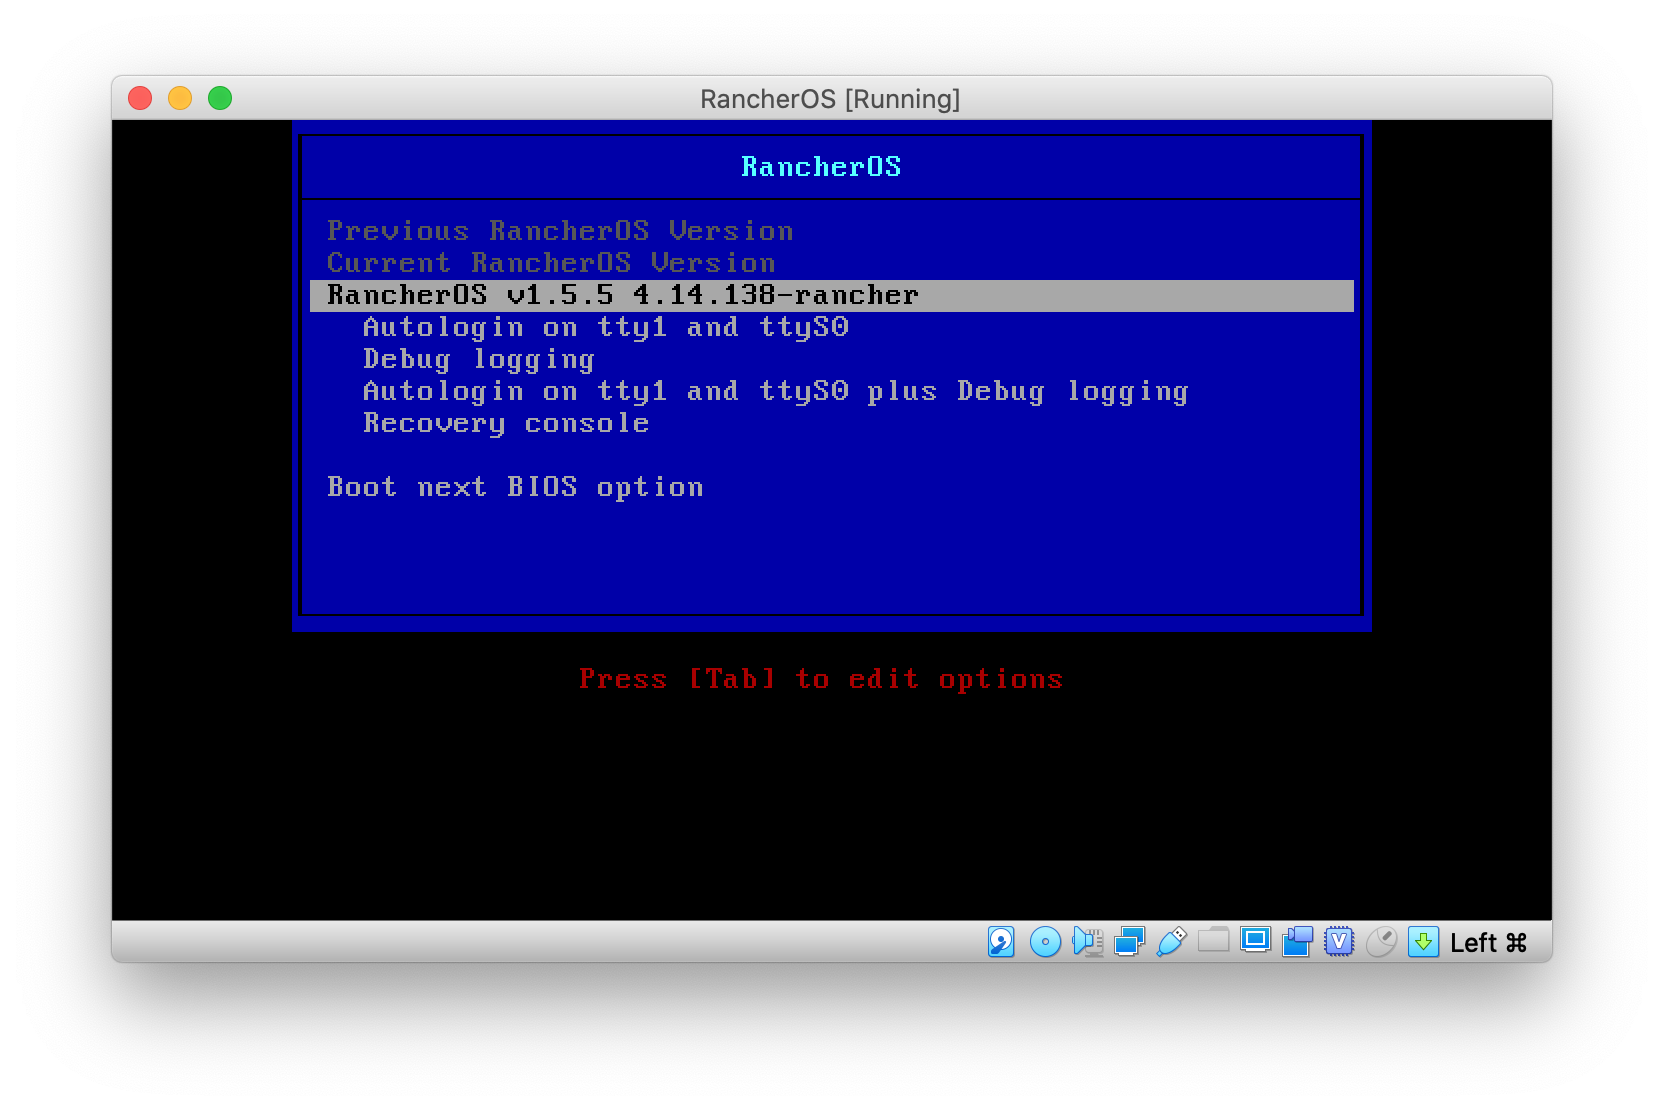
With the cloud-config file created we can now install RancherOS. There are a few options for installing RancherOS but for my setup I am simply using the basic iso file. For my target machine, a unibody 2008 MacBook, I had to burn the image to CDR. I booted the ISO and waited for it to finish the boot process. Once it was ready, I entered my install command:
sudo ros install -d /dev/sda -c http://<hostname>/rancheros.yamlThis command will instruct the installer to download the config file specified, save it locally (into /var/lib/rancher/conf) and then get everything ready on /dev/sda. I answer y to the reboot question and the system reboots into RancherOS. After a while the system will join your cluster and be ready for use.
That’s it. Your RancherOS node should now be ready to for use and will support iSCSI based block storage. In future posts I will try to discuss setting up other aspects of a bare metal Kubernetes cluster (where bare metal basically refers to running it anywhere but some cloud provider). If you have questions please reach out to me via Twitter.
References:
Using iscsi on RancherOS https://docs.openebs.io/docs/next/prerequisites.html
iSCSI in Leopard now a reality — Updated
In all my playing with OpenSolaris and iSCSI I decided to give iSCSI using Linux and OS X another shot. Turns out the GlobalSAN iSCSI client for OS X, available for free from Studio Network Solutions, works much better than it did just a couple of months ago. Lock ups, so far, seem to be a thing of the past.
To make use of it I decided to pull the drive out of my external case and put it in my Linux system. I then exported it via the iSCSI Enterprise Target software (available here) already installed on the system. After installing the latest GlobalSAN iSCSI initiator software (available here)on my mini I was able to connect to the iSCSI Lun on my Linux machine.
So far I’m finding that I’m able to get nearly full speed out of the disk and am able to copy large files to the drive at around 44MB/s.
Update: One caveat I have found is it takes a lot longer for the Mac to enter sleep if it is connected to the iSCSI share.
Resizing ZFS backed iSCSI volumes with Windows initiators
One of the first things I really hoped ZFS could do when I heard about it (and its ability to share using iSCSI) was the ability to resize things at will. Resizing file systems is something that has been possible for a while but it has never been this easy, at least in my mind. With the ability to resize storage volumes you can put a ton of disks into a single system and then share out exactly what is needed to your systems and then resize if you need more later on. Today I got a chance to test ZFS’s ability to resize volumes as well as how Windows handles the task.
Although the ability to resize file systems has been around for a while it has never been as easy as it is today. Linux has been able to resize file systems for some time and the latest versions of Windows provides the ability right in Disk Management. I run a number of Windows systems and the ability to resize NTFS iSCSI volumes is what I’m primarily interested in.
Click read more to learn how this is done. This isn’t a full how-to but more of an overview of how to make it all happen.

