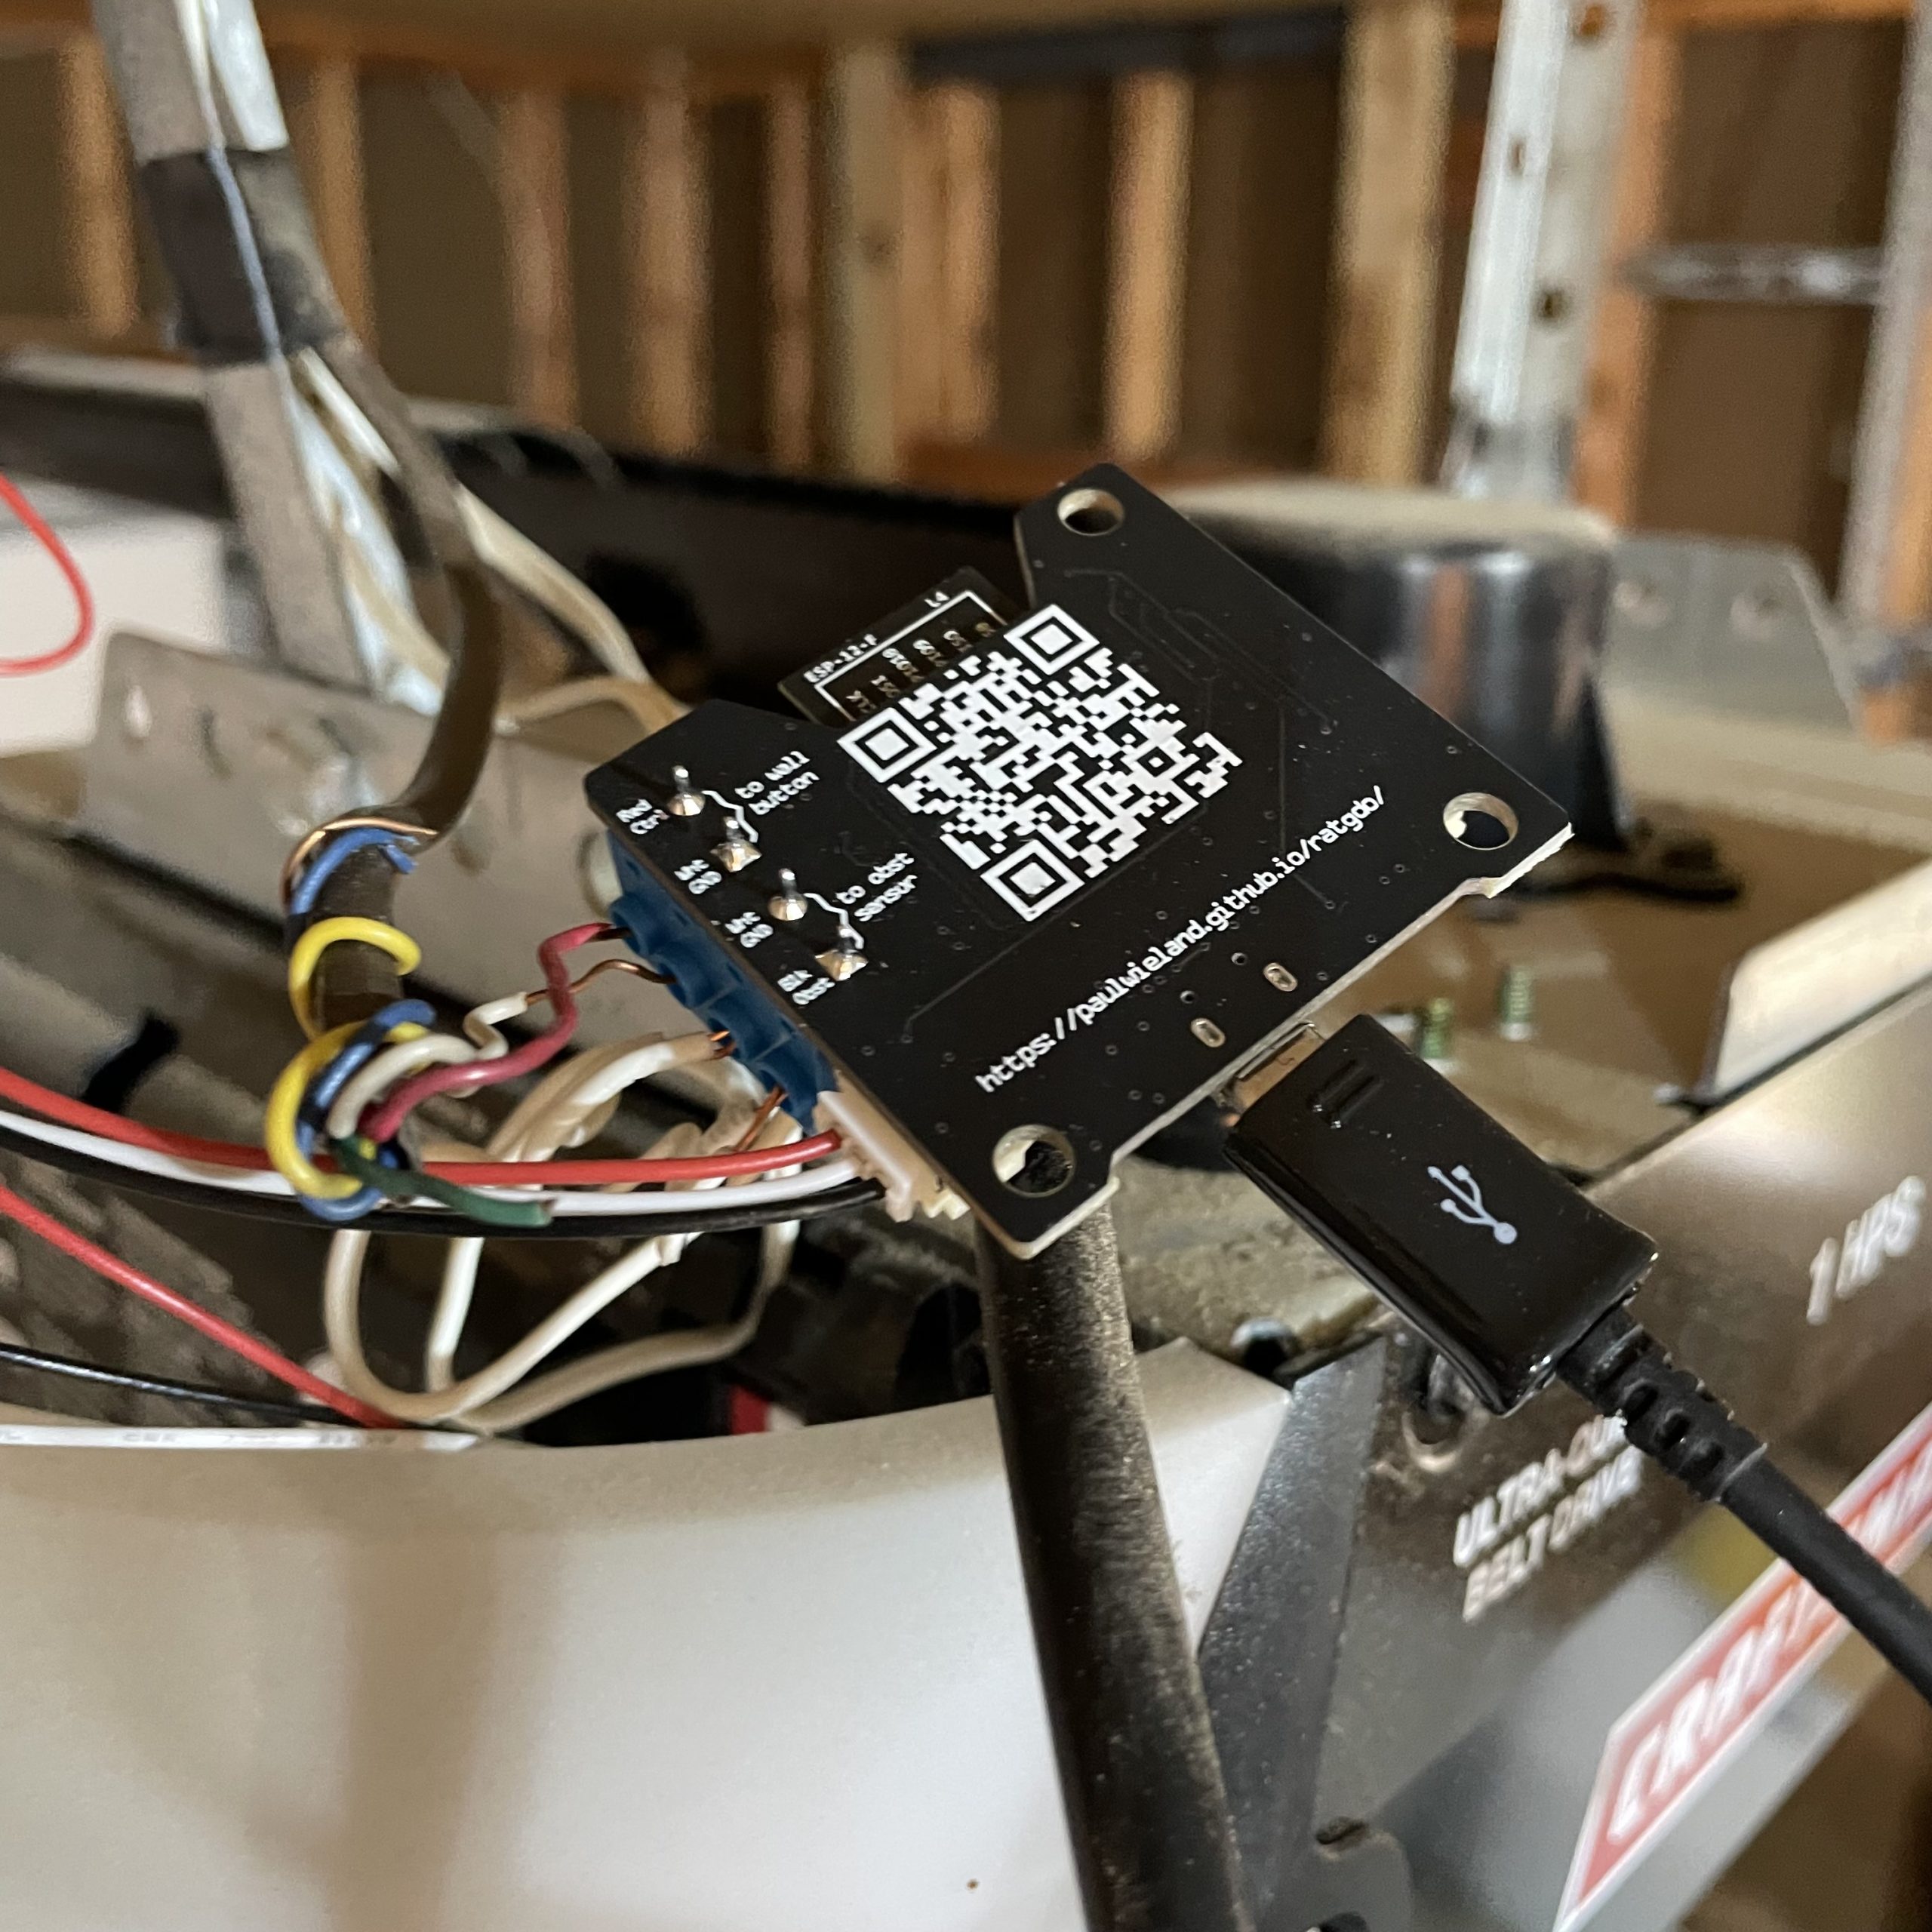
One of the more frustrating changes in the past year was the Chamberlain group removing access to their APIs for third parties. This meant I could no longer see the status of my garage door openers or control them using Home Assistant, which is my preferred method for doing home automation. In this post, I am going to discuss how I got around this using a device called “ratgdo.”
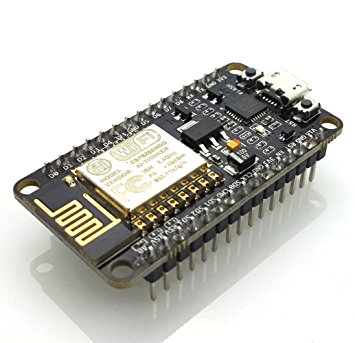
Ratgdo is a micro-controller based device created by Paul Wieland to control “virtually any residential Chamberlain or Liftmaster manufactured garage door opener and also offers basic support for other brands which use dry contacts to control the door.” The device is a custom made PCB that connects to the terminals on the garage door opener and, using various protocols like esphome, Apple Homekit, MQTT and more, allow you to see the status of the door and control it.
Setting up the device was quite simple. I started by connecting it to my computer using the included USB cable and visited the firmware installation page. Since I am using Home Assistant I opted for the esphome method. After selecting my board I clicked the connect button and it flashed the device with the proper firmware. After that, Home Assistant saw the new esphome device and offered to set it up. From there I setup the buttons and integrations I wanted and I was done.
If you are looking for a way to add some smarts to your garage door opener the ratgdo device is a fantastic way to do it and I highly recommend it. The prebuilt PCB costs about $45 (as of this writing) but is a quick and easy way to get going without a lot of fuss.


