In a previous post I mentioned I had recently picked up a HiLetgo ESP8266 NodeMCU module along with a DHT22 temperature and humidity sensor. In this post, I’ll describe how I combined the board, the sensor, hass.io and MQTT using the mosquito add-on for hass.io to create a temperature sensor for my home office.
I’m not going to go into detail about how to setup hass.io on a Raspberry PI, their site does an excellent job of describing how to get it installed, but I do highly recommend using that installation method if you’re on the fence. Raspberry PIs are inexpensive and Home Assistant runs quite well on the platform.
Instead, I’m going to concentrate on what it takes to get this working while going over what you need to enable in hass.io to support a small, WiFi enabled board sending temperature and humidity readings.
Enable MQTT
To get started, log into your Home Assistant installation and click the hass.io menu option and click the shopping bag icon in the upper right
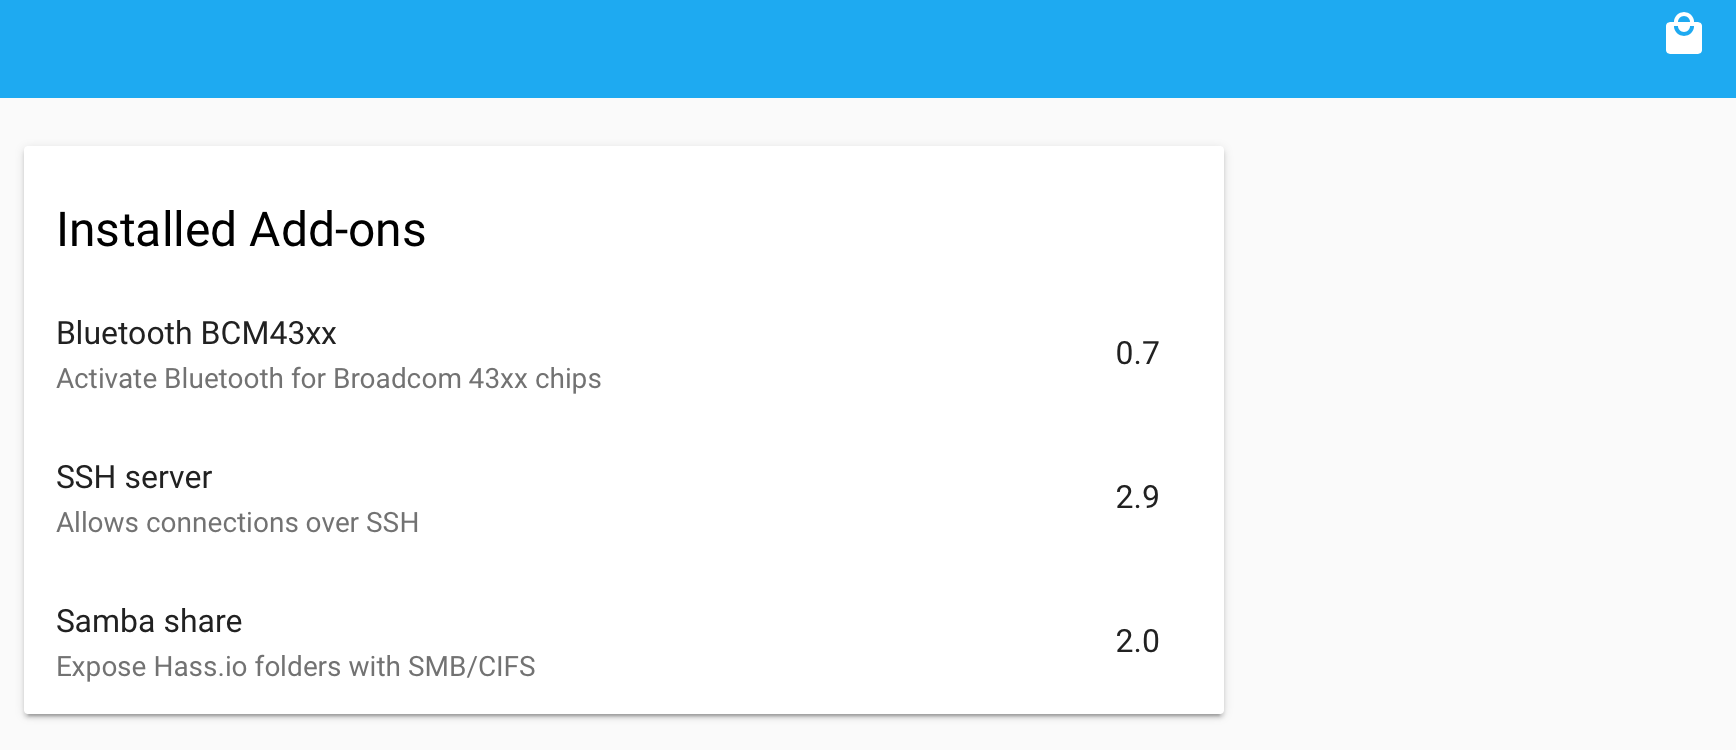
On this page, find “Mosquitto broker” and click it
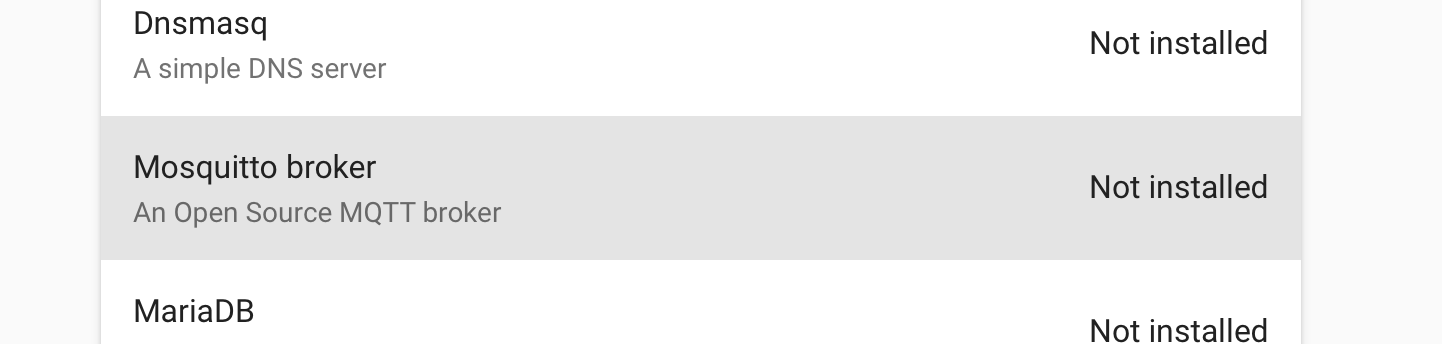
On the resulting page, click the install button. You’ll be greeted with this screen:
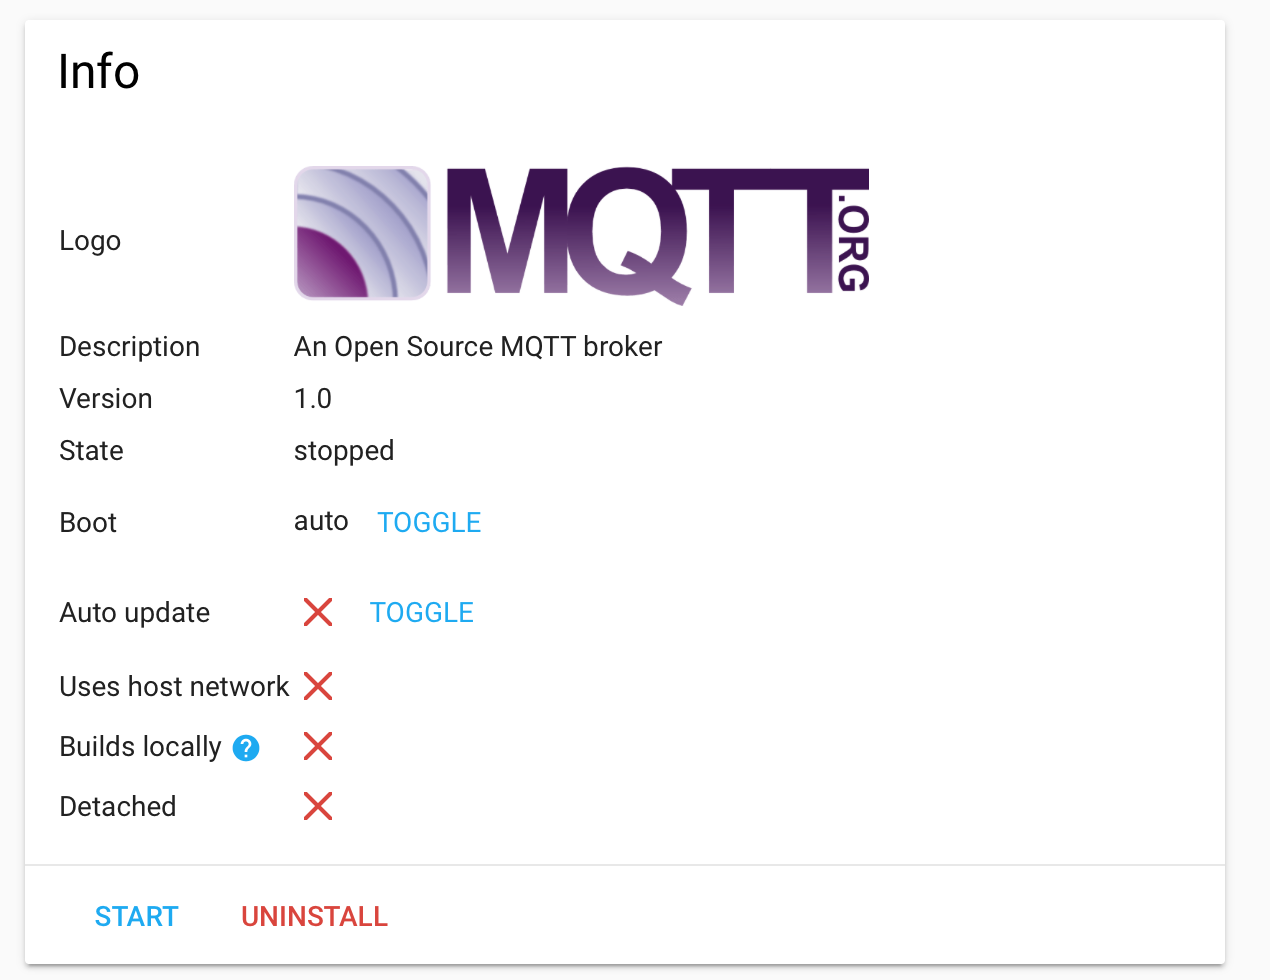
Simply click the start button. You can configure more advance options in the section below but it isn’t entirely necessary on a home network if you’re only sending sensor data. If, at some point, you start to trigger any sort of access to your property like doors, garage doors or window locks you’ll want to ensure the MQTT broker is protected with a password. If unprotected anyone who happens to get onto your network can easily send whatever it takes to trigger Home Assistant automations as clients aren’t otherwise validated.
Reading the sensor data
With MQTT installed and running you can move on to creating sensors in Home Assistant. This is as easy as adding the following to your configuration.yml file.
sensor:

  - platform: mqtt

    state_topic: "home/office/temperature"

    name: 'Office Temperature'

    unit_of_measurement: '