In this post I’m going to go over some of the things I have picked up about Mastodon over the past few weeks. Mastodon is better described right from the source but in very basic terms, it is a sort of distributed, better known as “federated“, Twitter like system comprised of any number of hosts communicating together using a standard set of protocols. Users of Mastodon exist on separate installations called instances that each have their own core topic or target audience. For example, I am currently on https://fosstodon.org which is focused on bringing people interested in Fee Open Source Software together. Being on an instance does not mean you are only able to interact with people on that instance or go off topic. No, every instance (unless blocked by the instance admin, more on that later) is connected to other instances by way of users following each other. What this means is if I follow someone on a different instance, the instance I am on becomes aware of it and will begin to draw in posts form that instance. In a way, the more people cross follow each other across instances the stronger the bond and the more data flows across all of them.
Larger instances with a lot of users will have the most diverse feeds available to you as the user. So there is a certain amount of advantage to being part of a large community as the pool of potential people you can interact with is naturally larger. As each instance has multiple feeds, consisting of your local feed of people you have chosen to follow, the local feed consisting of everyone on your instance and the federated feed containing everything the server has discovered from its users, you can change your social media experience on the fly. In addition to the multiple feeds, you have powerful self moderation tools including the ones you would expect like being able to mute or outright block users but you can also block entire instances with a couple of clicks. Just not into people posting Waifu stuff? Block entire instances dedicated to that material. Even though it may not violate any acceptable use policies you are able to quickly block entire types of content from your feed.
The most recent release of Mastodon allows you to follow hashtags allowing you to easily follow topics you like, so long as users tag their posts properly. This is an extra layer of awesomeness that is the Mastodon system. Which brings me to one of my last points about using Mastodon, there is no “algorithm” pushing content towards you. Gone are posts that rise to the top because someone paid money to put it there. No more toxic, hot take garbage from bots filling your feed and drowning what you’re really looking for.
Owners of Mastodon instances are encouraged to commit to the Mastodon Server Covenant. This covenant is an agreement to certain terms in an effort to give users confidence in the Mastodon network and the instances they join. An instance that commits to the Mastodon Server Covenant agree to, among other things, moderate content, backup the service and provide users with at least a three month warning prior to stopping services. Committing to this covenant is optional but in exchange the instance will be listed as having committed to the covenant giving them much better visibility to potential new users than instances that haven’t.
Moving on to the more technical, behind the scenes side of Mastodon, is just as interesting. The most well known and visible portion of Mastodon is called ActivityPub. ActivityPub is not unique to Mastodon, in fact it can be implemented by any number of systems and indeed there are a number of federated services that use it. ActivityPub is the portion that pushes content around between users and other instances. There is even a WordPress plugin, which this site uses, to allow people to subscribe to a feed of my blog posts. The additional services using ActivityPub are beyond the scope of this post.
Unlike Twitter, you can host your own Mastodon instance using the code available at https://github.com/mastodon/mastodon by following the directions at https://docs.joinmastodon.org/admin/prerequisites/. While I have no interest in hosting my own instance long term for a variety of reasons, I did want to understand how the software works as a whole and what it took to host and scale it. As you can imagine, hosting a large instance is definitely a technical challenge let alone the challenges of cost and moderation.
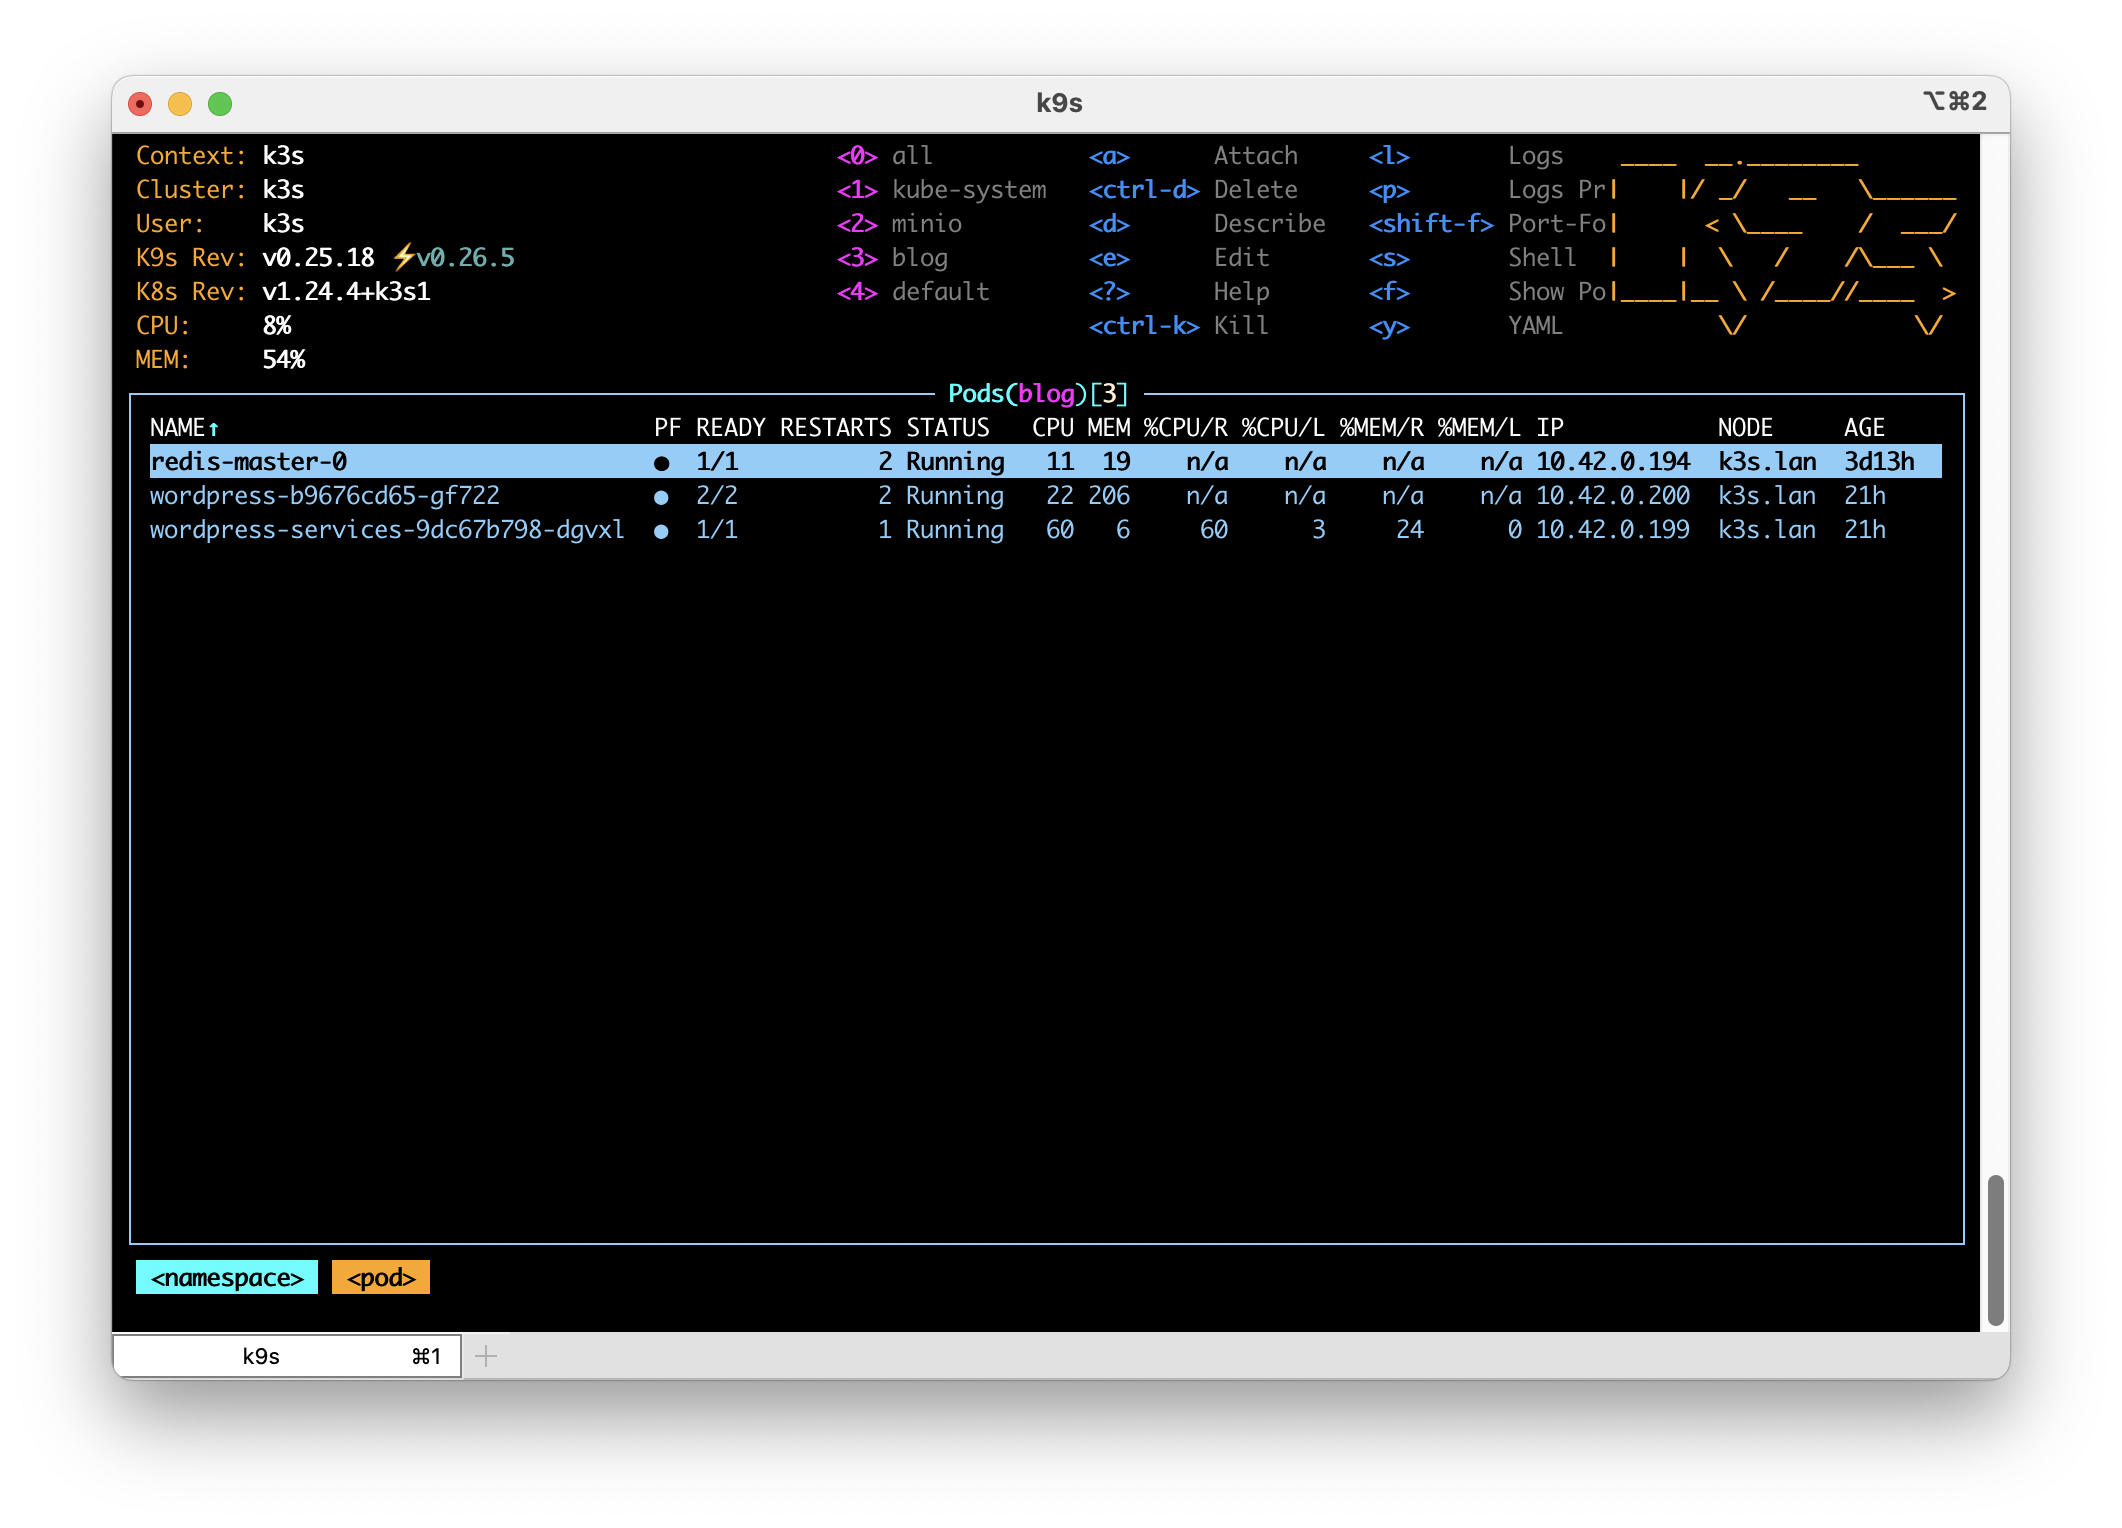
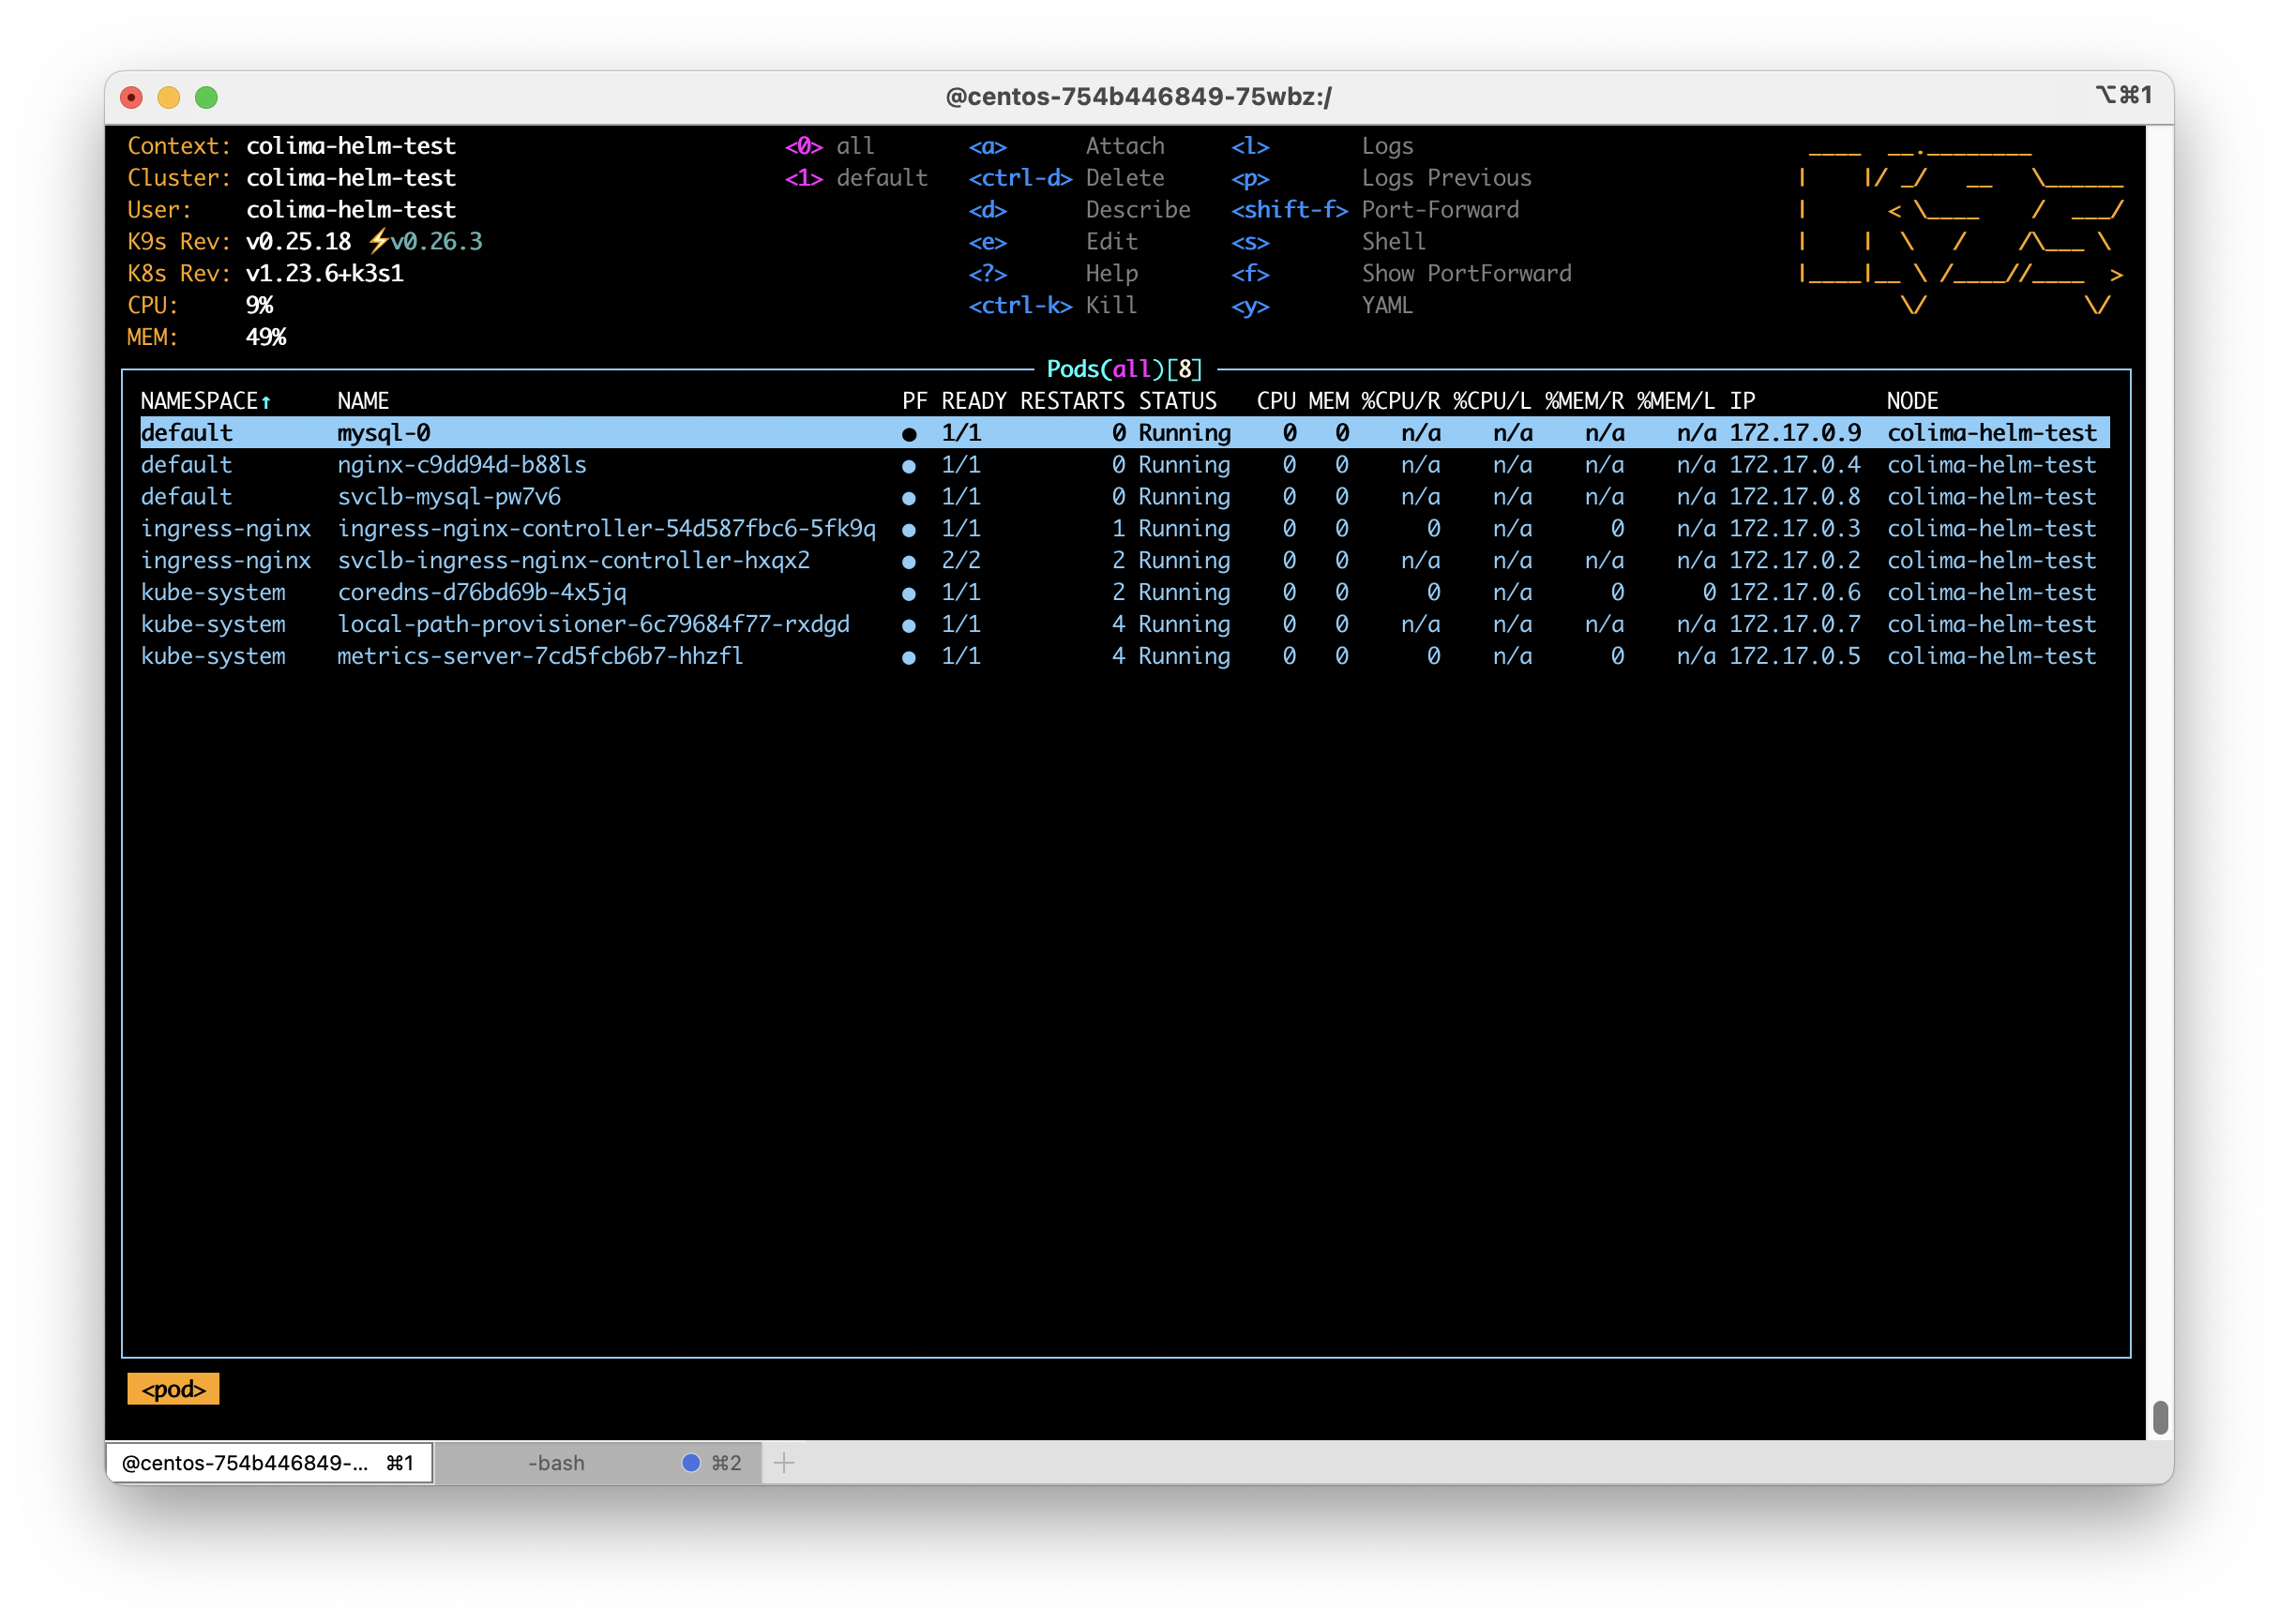
In an effort to learn how to run Mastodon, I created my own Helm chart available at https://github.com/dustinrue/mastodon-helm-chart. My helm chart is functional but really only for a specific setup and is not currently ready for wide use. However, what it taught me was a lot about the moving parts that make up a full Mastodon instance. Designed to be highly scaleable, Mastodon requires just two external services (ignoring file asset storage) including Redis and PostgreSQL. Redis is used for caching various pieces of data while PostgreSQL of course stores data that must persist including user accounts, their settings, posts and so on. You do also provide storage and this can be done using local storage or object storage like S3. Mastodon itself is shipped with everything else you need which consists of Sidekiq with various queues, a web socket based streaming application an a web app. The web app is what users see when they access your instance, the streaming portion feeds data to your browser as it comes in and Sidekiq handles a bunch of different background tasks including shipping your posts to subscribed instances, ingesting updates from other instances, getting images and videos ready (and pushed into S3 if you are using that). All of the Sidekiq queues can be broken out into individual processes (which is absolutely necessary for large installations) so that more work can be done in parallel. It is very clear that the designers of Mastodon have considered each aspect of hosting a large installation and taken care to ensure it is possible. In fact, there is a sort of “brain dump” style of “this is what it takes to scale Mastodon” from one of the primary stakeholders of the project at https://gist.github.com/Gargron/aa9341a49dc91d5a721019d9e0c9fd11.
In my short time with Mastodon, it has become one of the top three most exciting pieces of technology I have interacted with in my career, the other two being Linux and Kubernetes. The fact that I can run Mastodon on the other two makes it even better. Mastodon, and the protocols that power it, are the real “web 3.0” because it gives power back to the users. Come to think of it, Mastodon is like web 1.0 where its users hold the power and are in control. It was because of the Twitter shakeup that I discovered Mastodon and I hope that the current social media climate continues to bring greater awareness to the Mastodon network and it is able to continue growing. You can find me on fosstodon.org as @[email protected].