Since 2021 I’ve been using a combination of tools to handle my music collection. Today I’m going to talk about the tools I’m using to manage my collection including how I catalog, import, serve and listen to it.
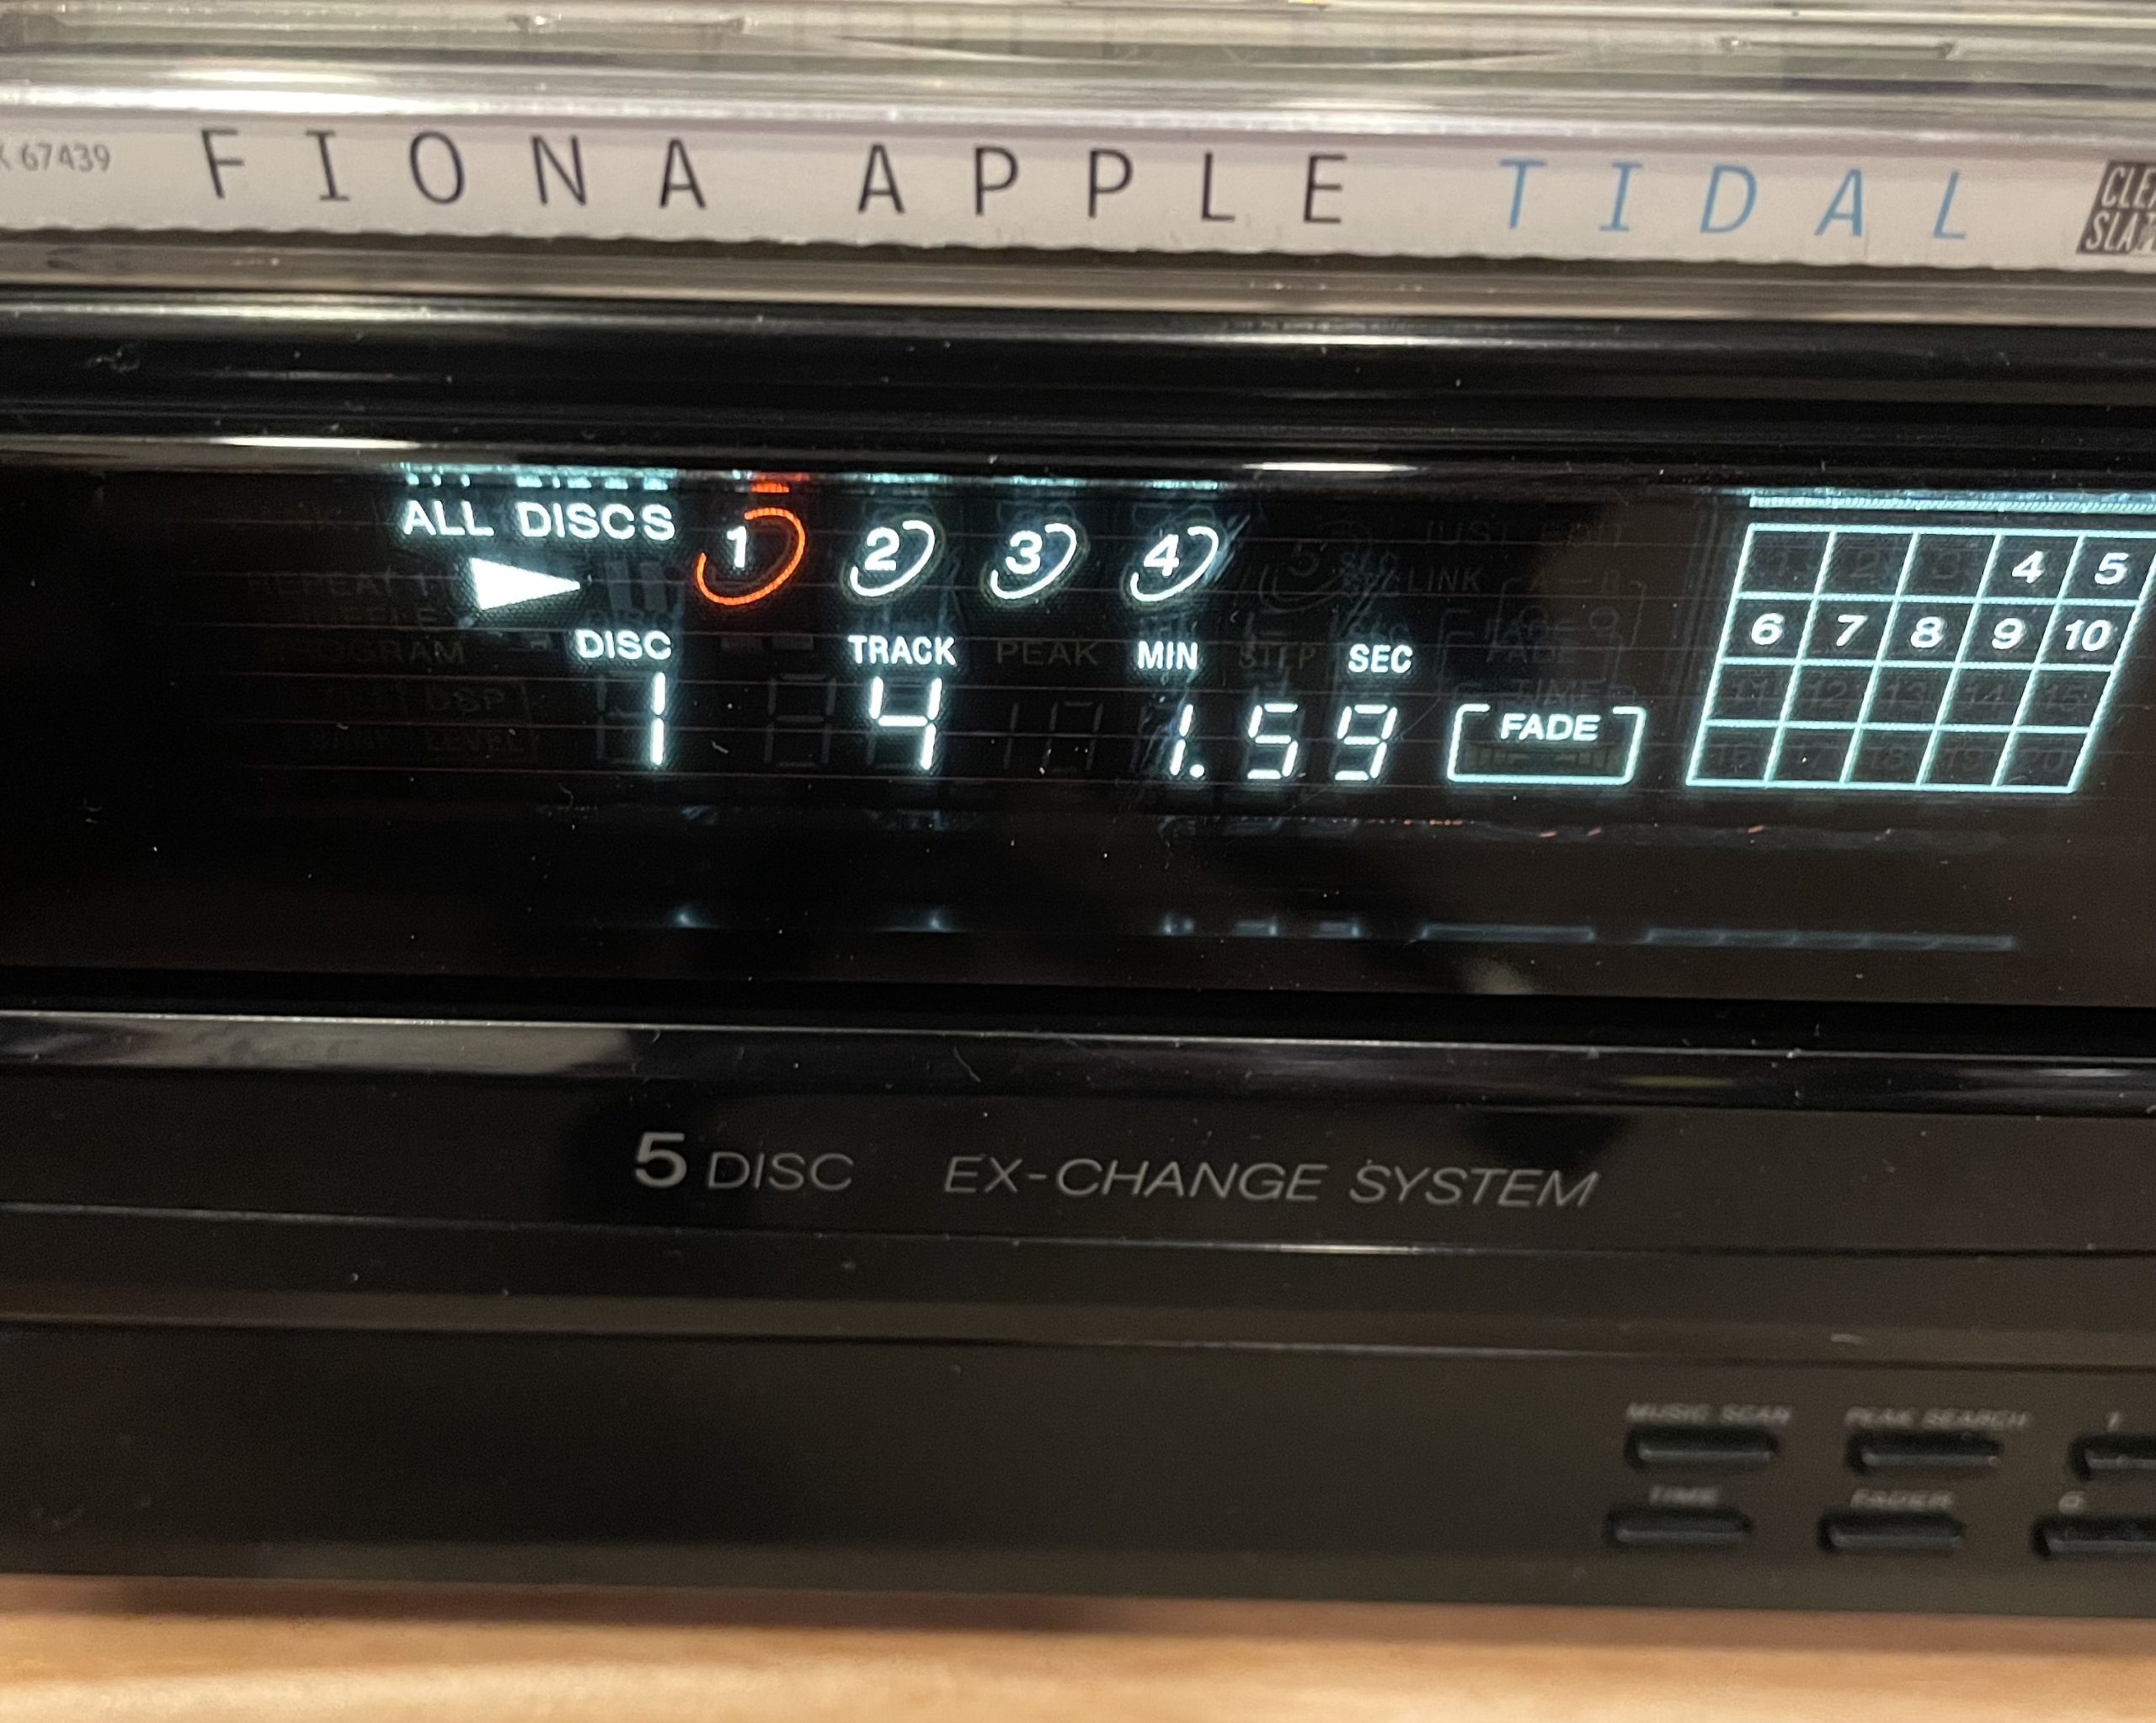
Although I do subscribe to a music streaming service I have taken an interest in expanding my physical collection as well. My collection consists largely of CDs with some vinyl records mixed in. While I appreciate the convenience of digital stream I also enjoy the process and experience of playing physical media, which I’ve written about before. That said, I like to also take my collection with me in digital formats and enjoy knowing that it comes from my own personal collection. Before we get into how I copy my CDs to digital lets first discuss how I catalog and keep track of my collection.
Cataloging
A couple of years ago I learned about a site called discogs.com. In their words Discogs is “a platform for music discovery and collection” and this is exactly how I use it. You can search for and add to your collection each piece of physical music media you own or are interested in owning and add it to your collection or wishlist, respectively. The database contains user submitted and curated information about most releases available with surprising detail. You can choose to be super detailed about how you add items to your collection by selecting the exact release or more simply add the first item you find. How you use Discogs is ultimately up to you but it is an incredibly handy way to track what you already own, find new stuff you’d like to own and so on. Using Discogs allows me to track the state of my media (some of it is damaged and needs to be replaced, for example) as well as ensure I don’t buy the same item twice.
Importing
I import all of my CDs using a tool called XLD, available at https://tmkk.undo.jp/xld/index_e.html. Using an external DVD drive to my Mac, XLD is able to look up what CD is in the drive, grab metadata about it and take care of copying the music off of it and onto my NAS. The metadata ensures that the folders are named properly as well as the track titles. I stick to the FLAC format for the files as it ensures the best quality and compatibility with playback software. Whenever I sync music to my phone for offline play in the car I opt to have the songs encoded on the fly to a smaller format.
Some vinyl records also include digital files that you can download from a site. For these I will typically add them to an appropriate folder of either MP3 encoded music or FLAC encoded music.
Storage
All of my music is stored on a TrueNAS based storage system and then shared out to a virtual machine that is running Plex. TrueNAS exports the data using Samba so it is easy for my Mac and the virtual machine to access without issue. TrueNAS stores the files on a raidz set for redundancy and I periodically back the data up to another disk.
Playback
Once the music is imported and stored on TrueNAS I add it in Plex. Plex is a convenient way to manage music as it detects the music you have added and downloads additional metadata about it, like album reviews. Recent releases of Plex allow you to “sonically fingerprint” music so that it can better find similar music in our collection for building better mixes.
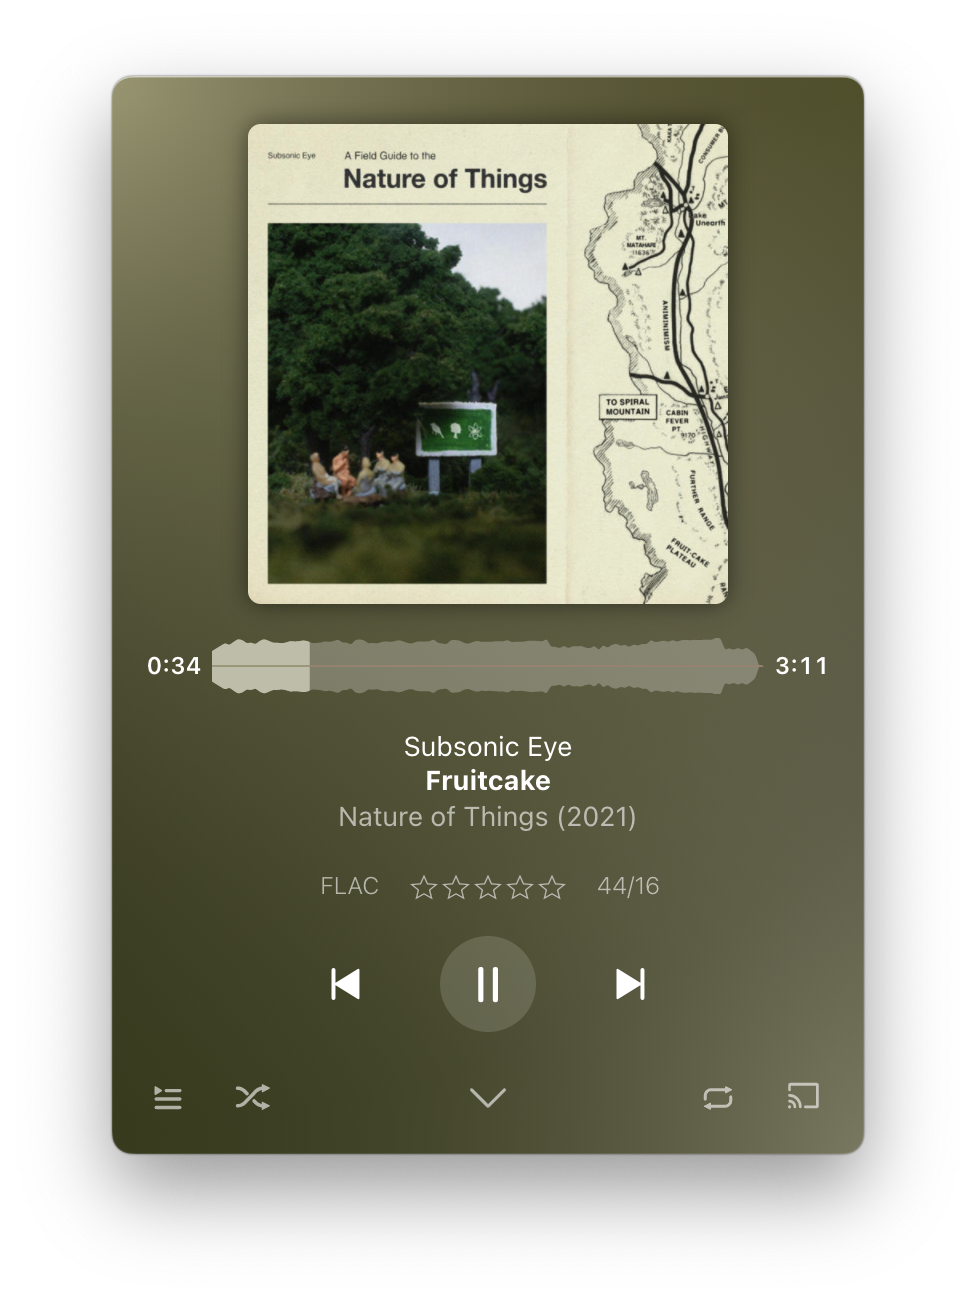
Although Plex is the server part of the music system the actual software I use is called Plexamp. Plexamp is an app that is dedicated to music playback offering a slick interface, ability to download music locally from Plex and provides gapless playback. If you’ve ever listened to an album and wondered why there were gaps between tracks that sound like they should flow together, gapless is what you’re looking for. In addition to gapless, when playing a mix you can optionally have Plexamp fade between songs and I find that this works extremely well. Overall, Plex and Plexamp are my favorite tools for listening to music.
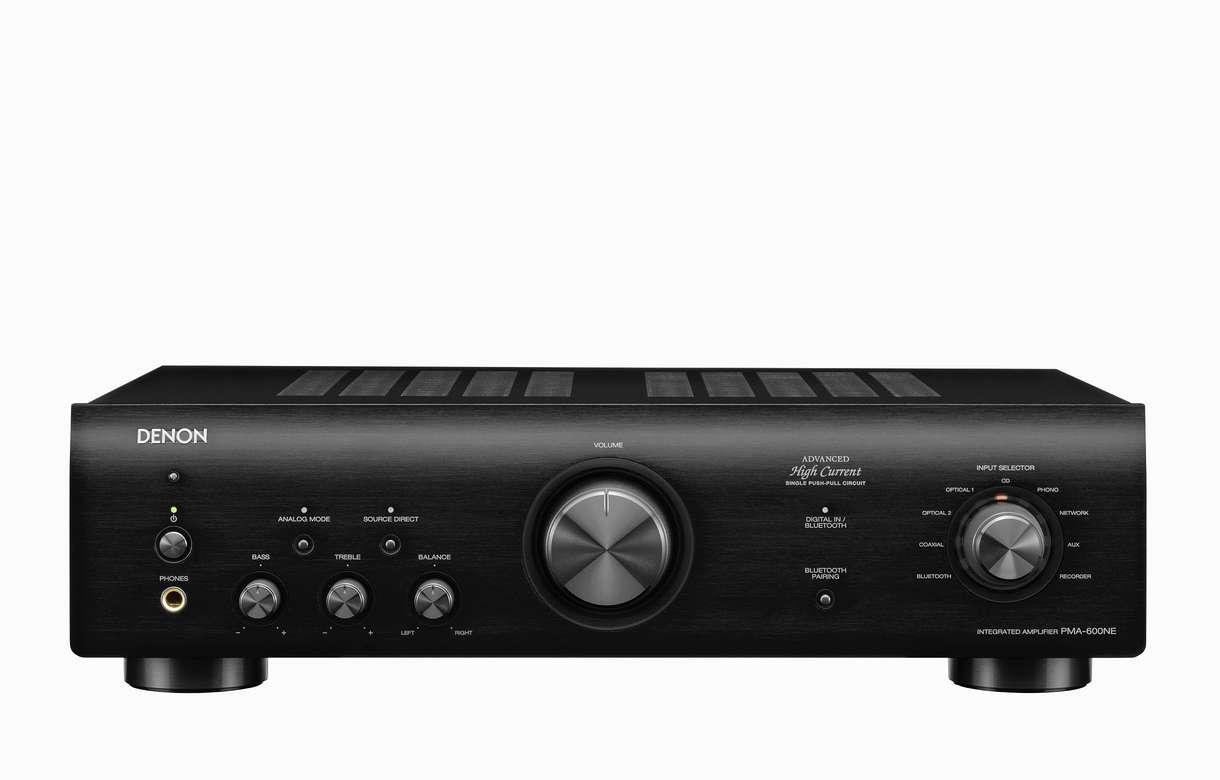
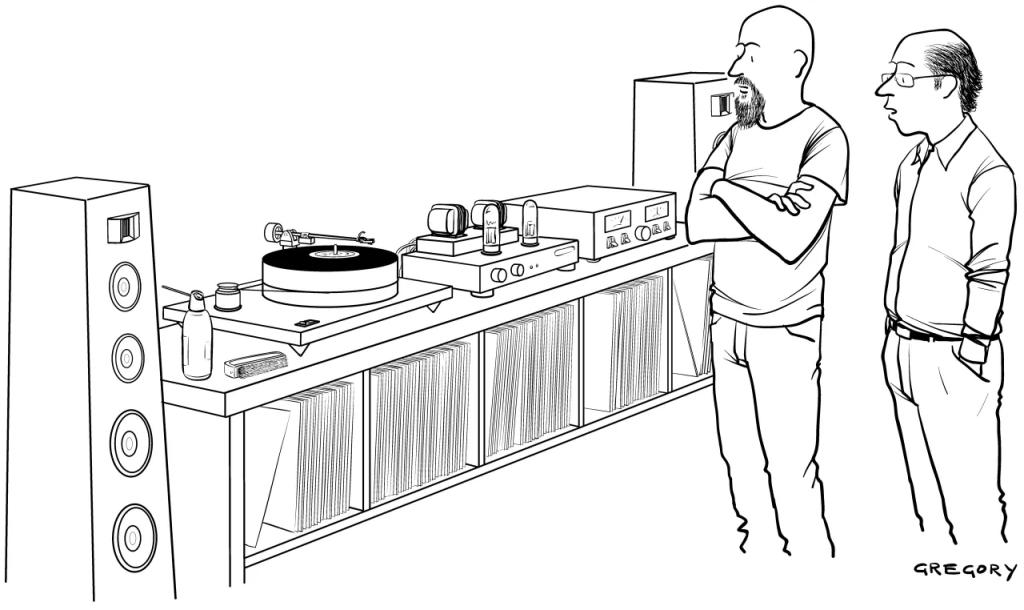
The actual hardware I listen on varies depending on where I am. While working and at my desk then I will be using the setup detailed on my audio system page. While out and about it will be through my iPhone connected to headphones or my car.
Conclusion
I’ve long listened to music but only recently have I gotten back into the general process of collecting it and paying attention to the process of listening to it. I enjoy my physical formats but I’m also not blind to the convenience of digital formats. How do you manage your music?