I’ve often thought about the levels we go to now to make things simpler by continuing to make them more complex. This is an excellent site/book about making things lean again – https://leanweb.dev
Category: Computing
Getting started with diskimage-builder

diskimage-builder is an OS disk image building tool from the OpenStack project. diskimage-builder allows you to create customized OS disk images for a number of the larger Linux distributions that you can then use in basically any virtualization system including cloud providers like AWS and Azure. In this post I’m going to discuss how to get start with diskimage-builder.
Continue readingBuilding MariaDB AWS Key Management Plugin on macOS
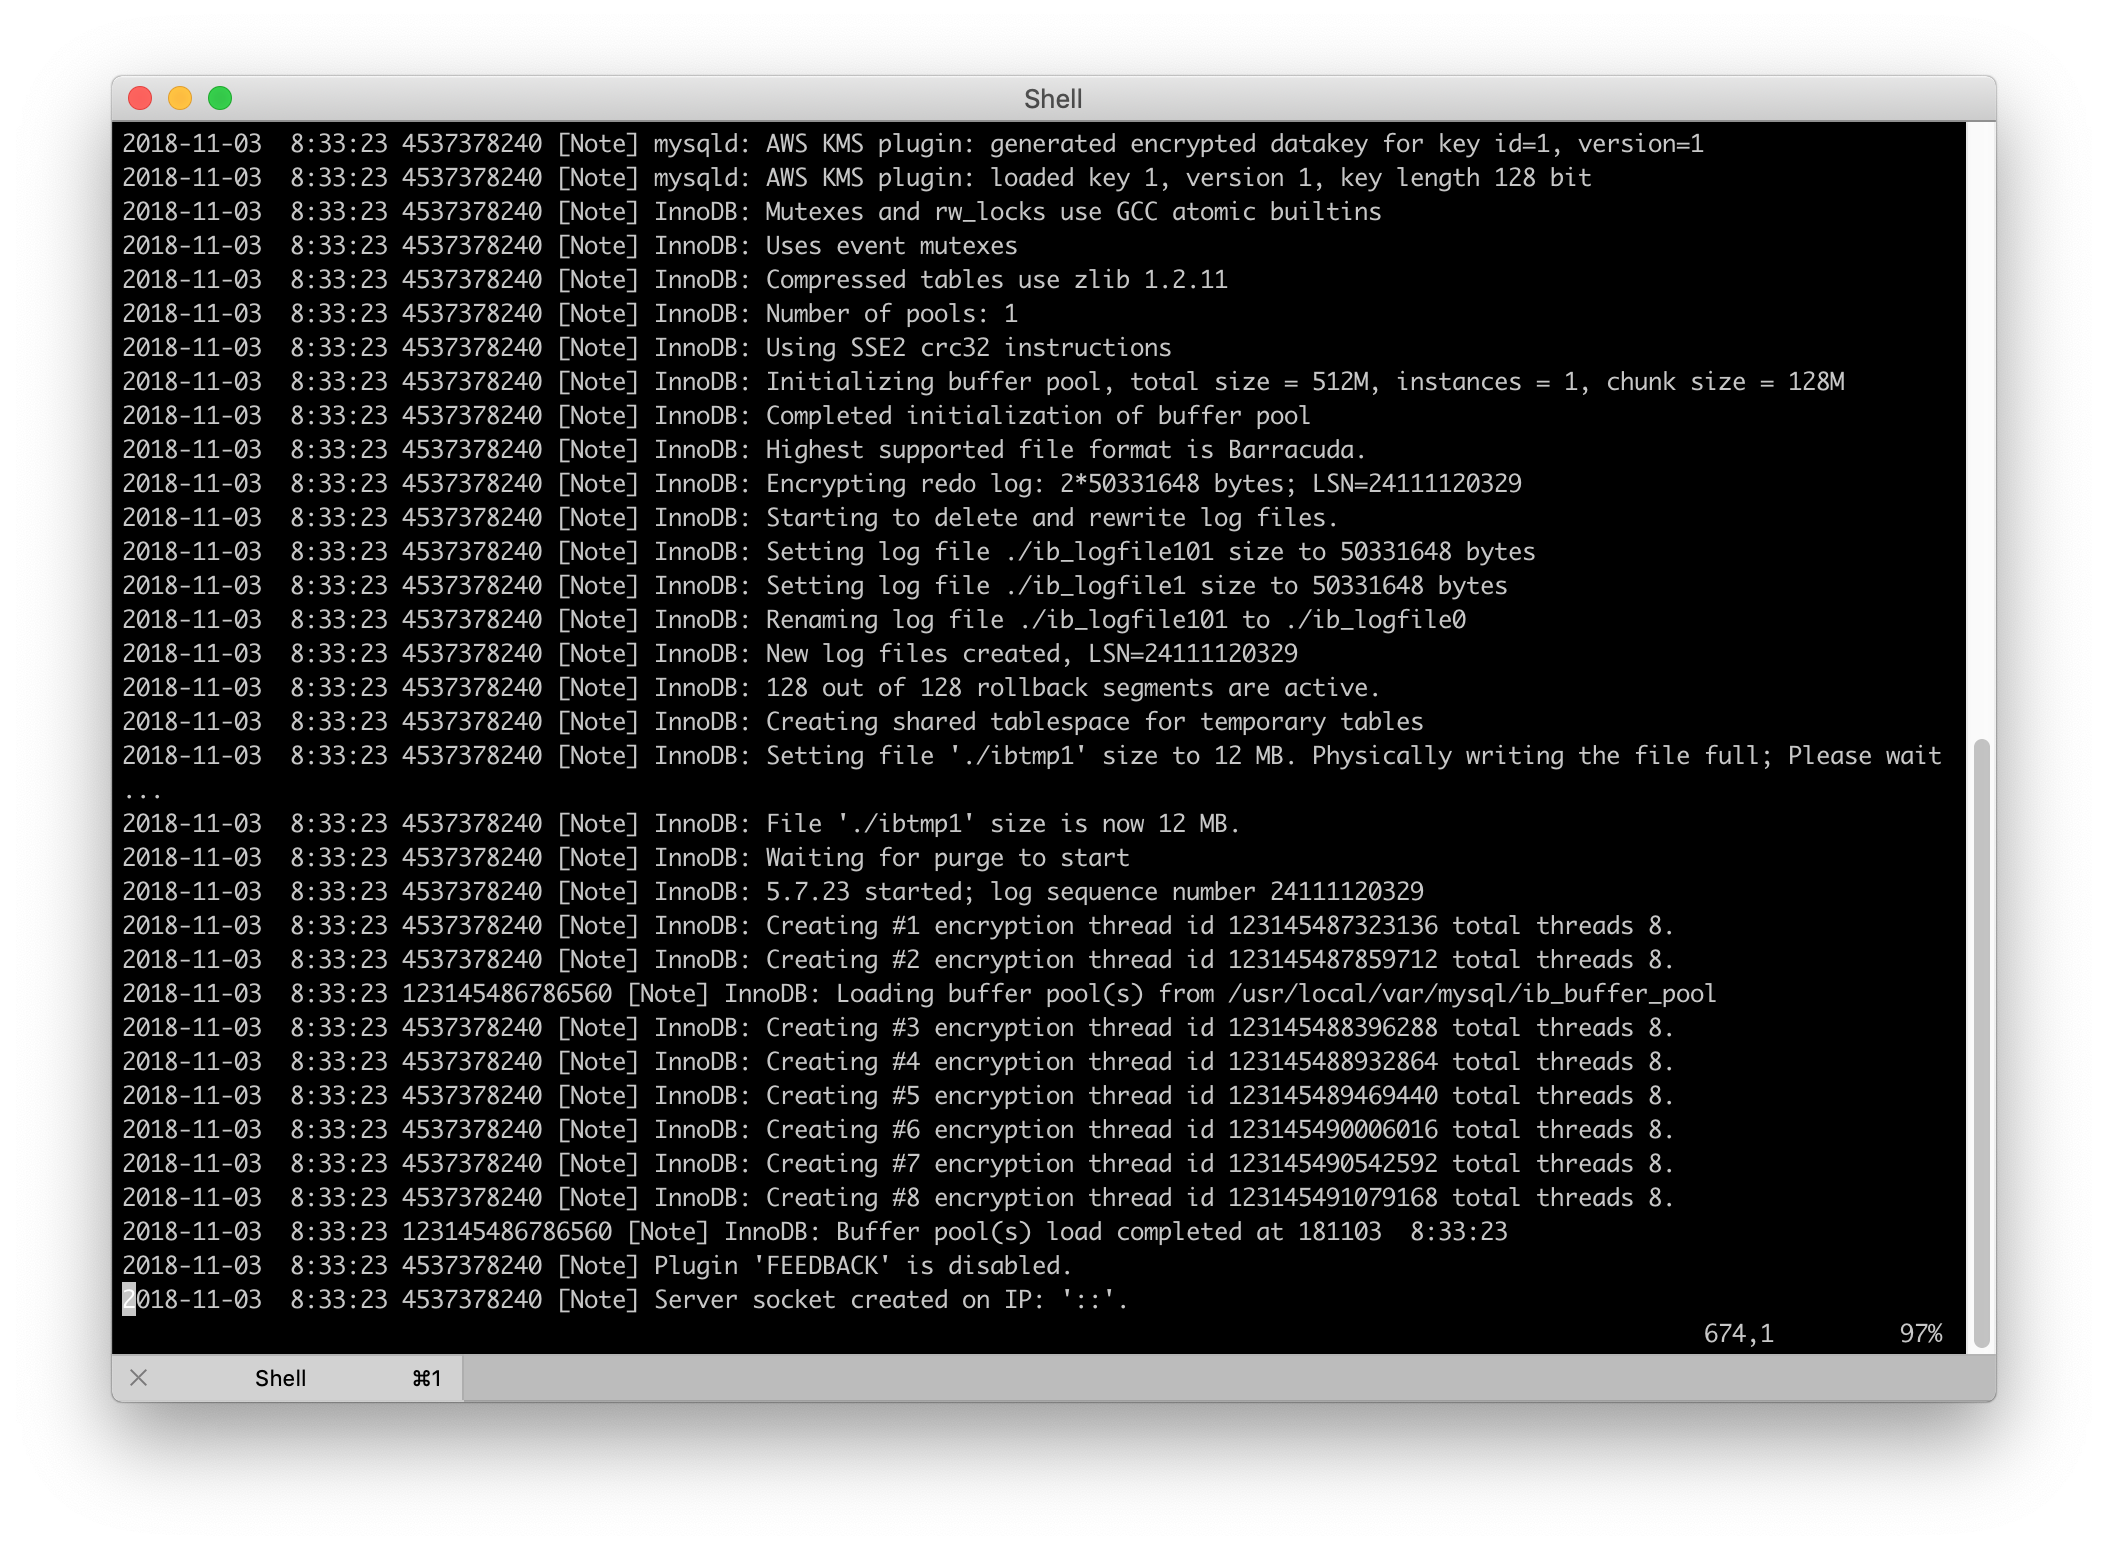
Utilizing encryption at rest to protect the database data living on your hard drive is a smart choice, especially when dealing with sensitive customer data. Encryption at rest protects the data files by encrypting the actual files the MySQL/MariaDB server reads and writes to on the file system. Although they are binary files they can still be read relatively easily using standard tools as well as being “imported” into a different MySQL/MariaDB server. Encryption at rest is just one part of a total solution and this post is going to cover what it takes to get it running using the AWS Key Management System for key control on macOS using Homebrew.
Continue readingSSH Through a Bastion Host
There are times when it is necessary or desirable to access servers through a single host, called a bastion. This is the first host you'd access prior to using ssh to access some other host. Limiting access to the other hosts would either be controlled by firewall rules or simply because they don't have public IPs. Whatever your reason, a bastion host is a great way to increase security by decreasing the number of exposed hosts on the internet.
For the best security, all hosts should be configured to allow only key based authentication. This immediately negates any brute force based attempts to access your server. While convenient, it isn't necessary for you to use the same keys on all servers you access. Search the web for the best way to achieve key only authentication on your distribution of choice.
Configuring access to any server using a bastion host starts by first defining how you will connect to the bastion host itself. To get started, simply add an entry into your .ssh/config file that describes how to access the bastion host itself. As an example, lets say you have a bastion host at IP 192.168.0.1 and you've installed your public key to user called 'bastionuser'. Your entry would look like this:
HostName bastionhost
  User bastionuser
  Host 192.168.0.1
This entry does two things. It gives you a very easy way to ssh to your bastion host and it gives you a target you can use as a proxy to access other hosts. To use the entry you can simply issue 'ssh bastionhost' and you'll access your bastion host as user bastionuser using your default private key.
With access to the bastion host itself out of the way, you're now ready to create .ssh/config entries to access other servers that are only accessible through the bastion host. For this example, lets say a server with IP 192.168.1.2 is available from the bastion host. You'd create an entry that looks like this:
HostName targetserver
  User targetuser
  Host 192.168.1.2
  ProxyCommand ssh bastionhost -W %h:%p
That's it! When you want to ssh to the target server, simply issue ssh targetserver and your connection will first hit the bastion host to be used as a proxy. Note that, at all times, your local private key will be used to make the connection unless you explicitly tell ssh to use something else using IdentityFile <path to file>. Even if you use different keys, those keys must always exist on your local system, keys on remote systems will never be used. It's up to you to find a way to distribute your keys to all other target servers.
In addition to using a bastion host for to access a single server or a set of them, you can also chain multiple bastion hosts together simply by configuring more entries with ProxyCommand. For example, lets say a server at 192.168.2.2 is only accessible from targetserver. You'd create an entry like this:
HostName finaldestination
  User finaluser
  Host 192.168.2.2
  ProxyCommand ssh targetserver -W %h:%p
With this entry in place it is now possible to access your final destination by issuing ssh finaldestination. This configuration will instruct ssh to attempt to access finaldestination using target server, but in order to access targetserver to first go through the bastion host. There is technically no limit to the number of hosts you can proxy through but you'll eventually hit the limits of latency.
Proxy Gitlab Through NGINX
Whatever your reason for placing an NGINX proxy in front of your Gitlab installation, you need to ensure you’re using the right configuration to support all of Gitlab’s features. I recently discovered that although my installation was mostly working I couldn’t get pipeline/build logs properly. I discovered that my proxy configuration was to blame. After some searching around I finally found that my config wasn’t quite right. To get the most out of Gitlab and ensure a smooth experience use configuration shown below as a template for your own. In my setup I use LetsEncrypt for SSL so if you’re not you can remove any of the SSL specific parts. The important configuration information is contained the the location block.
upstream gitlab {
  server <ip of your gitlab server>:<port>;
}

server {
    listen          443;
    server_name     <your gitlab server hostname;

    ssl on;
    ssl_certificate <path to cert>;
    ssl_certificate_key <path to key>;
    ssl_protocols TLSv1 TLSv1.1 TLSv1.2;
    ssl_prefer_server_ciphers on;
    server_tokens off;


    gzip on;
    gzip_vary on;
    gzip_disable "msie6";
    gzip_types application/json;
    gzip_proxied any;
    gzip_comp_level 6;
    gzip_buffers 16 8k;
    gzip_http_version 1.1;

    location / {
       client_max_body_size   0;
       proxy_set_header    Host                $http_host;
       proxy_set_header    X-Real-IP           $remote_addr;
       proxy_set_header    X-Forwarded-Ssl     on;
       proxy_set_header    X-Forwarded-For     $proxy_add_x_forwarded_for;
       proxy_set_header    X-Forwarded-Proto   $scheme;

      proxy_pass https://gitlab;
    }
}
This configuration will properly pass all requests through to your Gitlab server as well as allow CI/CD pipeline logs to pass through properly.
An Introduction to Proxmox
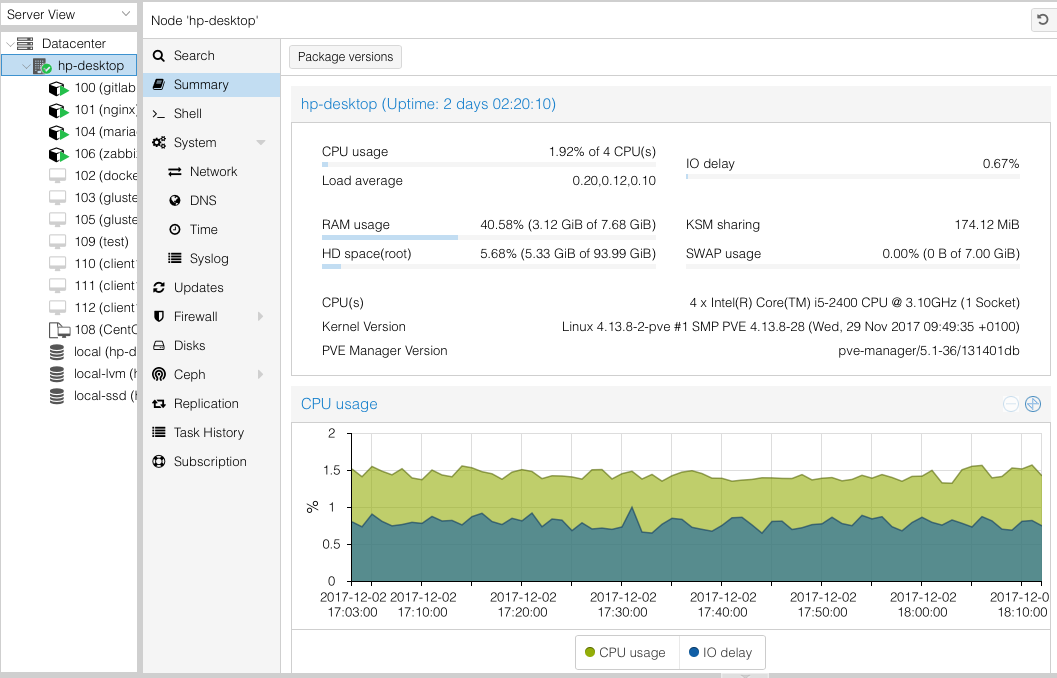
I was recently introduced to a superb piece of software called Proxmox. Proxmox is a virtualization environment not unlike VMware ESXi. Capable of running full KVM based virtual machines or lightweight LXC based guests, Proxmox has proven to be the perfect solution for a home lab setup. Installing Proxmox is no different than installing any other Linux distribution and with minimal effort can be clustered together to form a system capable of migrating a guest from one host to another. With the right hardware you can even perform live migrations. Although Proxmox supports and is capable a lot more than I need it satisfies my desire to have a more “enterprise” like way to virtualize hardware in my home.
Proxmox is free with support plans available. If I were to use it anywhere other than at home I’d definitely play for the support subscription as it allows you to get access to the proper update repositories as well as, obviously, support. Without the support subscription your Proxmox is basically part of a testing repo meaning you get faster access to updates but also updates that are less tested.
In the coming weeks I’ll detail a bit more how I’m using Proxmox, how to setup KVM or LXC based hosts and provision them using Ansible.
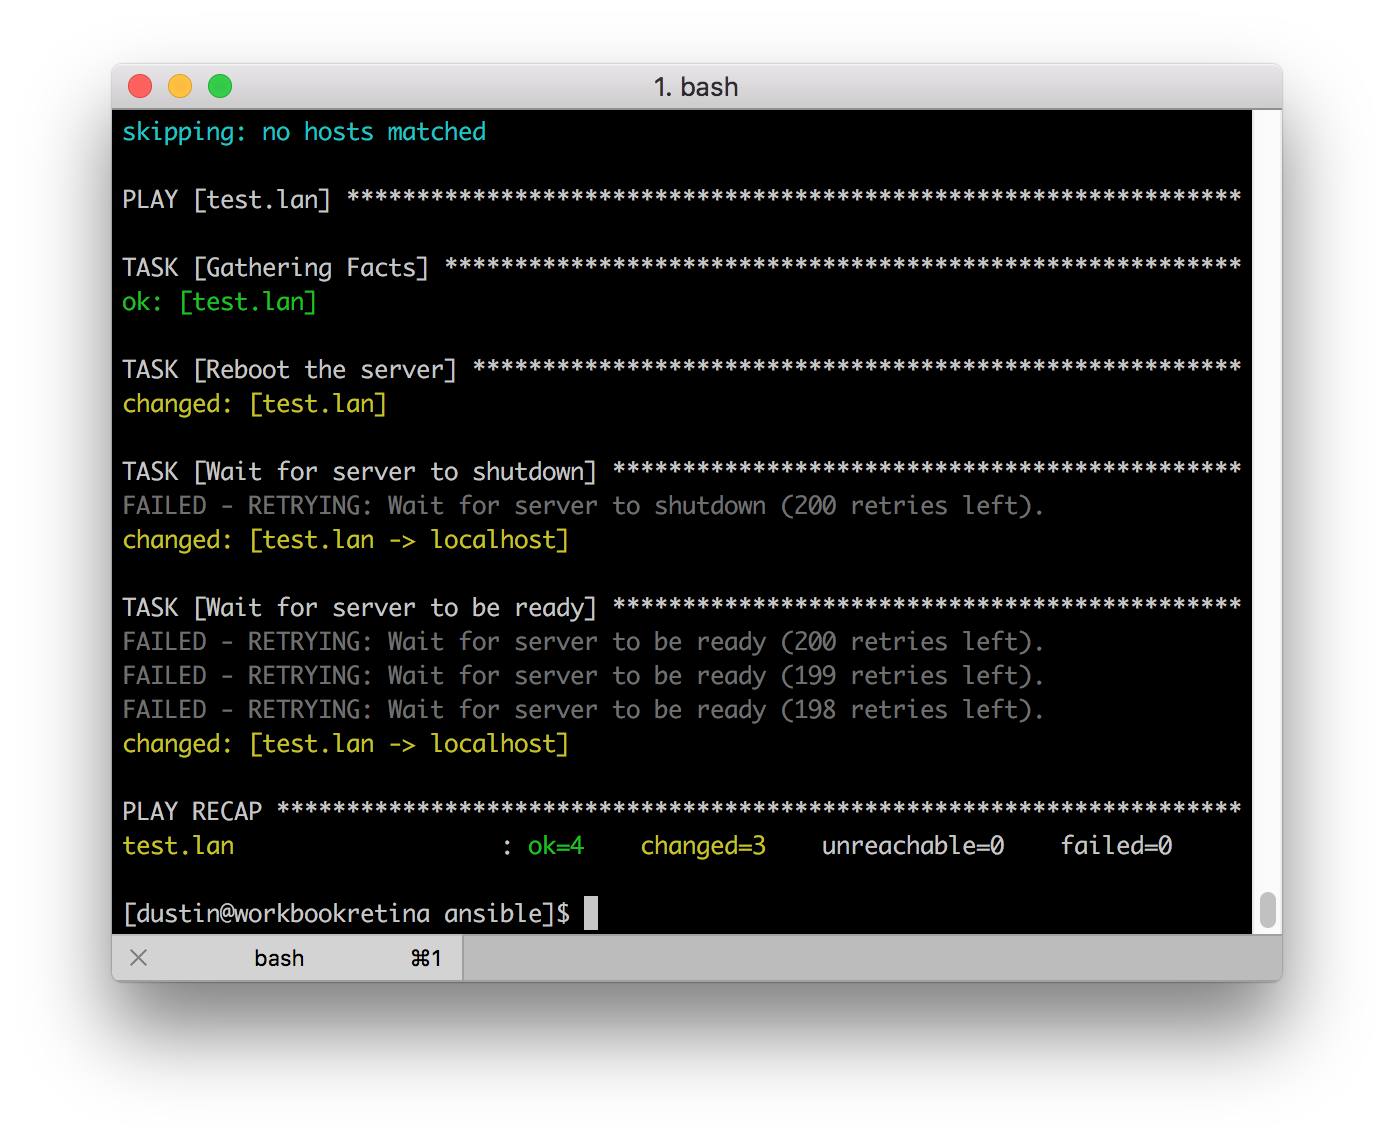
Reboot and wait using Ansible
UPDATE: This method is old and outdated. Most of the time this is probably what you actually want – https://docs.ansible.com/ansible/latest/modules/reboot_module.html.
Sometimes when using Ansible there is the need to reboot a server and wait for it to return. This simple recipe will allow you to achieve that while also getting some nice feedback so you know what is going on. You can place these tasks into a role or just in your playbook:
- name: Store target host and user
  set_fact:
  target_host: "{{ ansible_host }}"
  target_user: "{{ ansible_user }}"

- name: Reboot the server
  shell: sleep 2 && shutdown -r now "Ansible package updates triggered"
  async: 1
  poll: 0
  ignore_errors: true

- name: Wait for server to shutdown
  local_action: shell ssh -o BatchMode=yes -o ConnectTimeout=2 -o StrictHostKeyChecking=no "{{ target_user }}@{{ target_host }}" true
  register: result
  until: result.rc != 0
  failed_when: result.rc == -1
  retries: 200
  delay: 1

- name: Wait for server to be ready
  local_action: shell ssh -o BatchMode=yes -o ConnectTimeout=2 -o StrictHostKeyChecking=no "{{ target_user }}@{{ target_host }}" true
  register: result
  until: result.rc == 0
  retries: 200
  delay: 3
Random thoughts and links
Wanted to quickly share some thoughts and links of software I’ve found recently and what I’ve been up to.
If you’re into home automation at all you have to check out Home Assistant. There is a bit of a learning curve initially but once you get an understanding of how to configure it you’ll find there is a lot of potential with it. I recently replaced my HomeBridge installation on my Raspberry Pi 3 with the prebuilt RPi3 image.
If you manage servers big or small take a look at Ansible. It isn’t new technology but it is something I’ve grown quite fond of recently. It’s easy to install on Linux, Mac and even Windows 10 if you have that oddly named Linux add-on. Even if you don’t use Ansible to manage servers you should use something.
If you enjoy Destiny or Destiny 2, checkout Guardian Theater. This is a project spearheaded by a friend of mine after collaborating with me on a Xbox GameDVR clip site (https://xboxrecord.us) and deciding it’d be way cooler if you could look up clips related to yours. Guardian Theater promises to show game clips recorded by other guardians while in the same activity as you. Lots of fun!
A Docker GUI worth watching
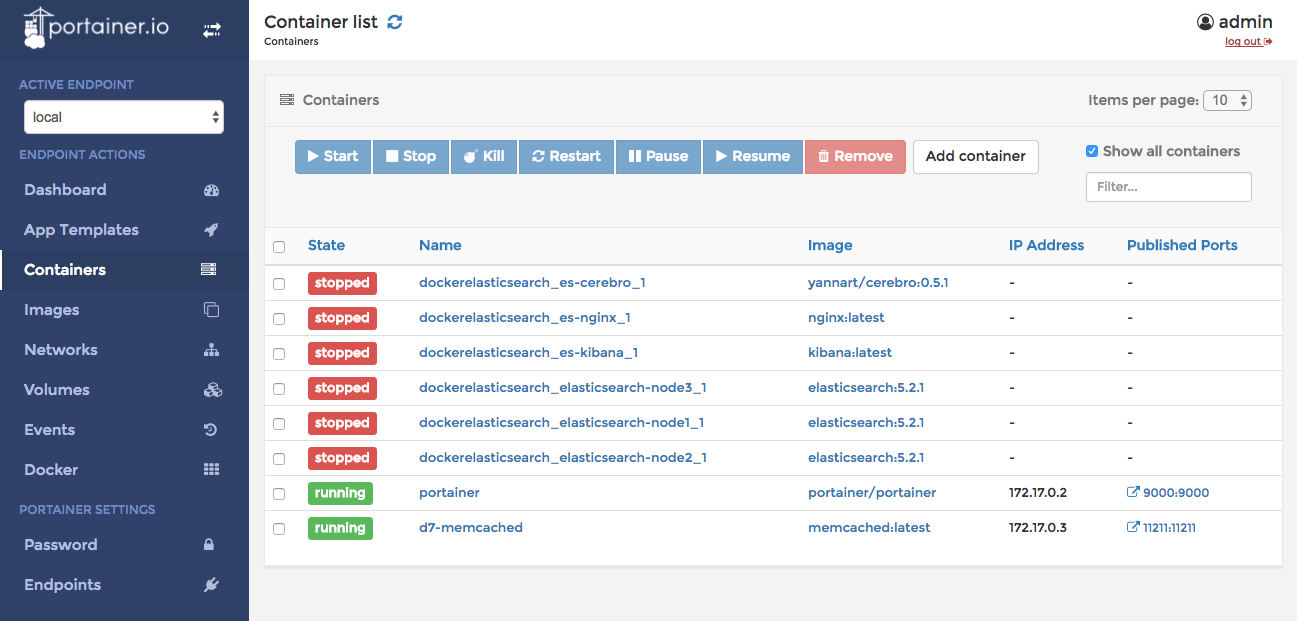
Although I’m more than comfortable using command line tools to manage things there are times where a GUI is just more convenient. Pruning old containers, images and volumes in Docker are all things that are easier much to manage under a new tool I saw via twitter the other day. Portainer promises to make the task of managing Docker a bit easier and they’ve made good progress on delivering on that promise. Getting up and running with it is incredibly simple because, as you’d expect, it’s available as a Docker image. Simply issue the following this slightly Mac specific command:
docker run -d -p 9000:9000 -v "/var/run/docker.sock:/var/run/docker.sock" -v portainer:/data --name portainer portainer/portainer
This will get Portainer up and running on your system. If you’re on a Linux system you can skip mapping docker.sock. The other mapping just gives a persistent store for the little bit of data Portainer generates. For full documentation visit their documentation site.
How to set the timezone for Jenkins running in Docker.
Found myself with an odd situation when running Jenkins using Docker. The time displayed was correct but claimed it was UTC which lead to some inconsistent behavior. The best way to resolve this is to force the Docker container to use the correct timezone from the host system.
To do so, add the following to your run command:
-v /etc/timezone:/etc/timezone -v /etc/localtime:/etc/localtime