This post is going to be a lot less of a full “how-to” on how to use Minio as a build cache for Gitlab and a lot more of a post discussing the general process and the tools I used. How I set up Minio to be a build cache for my Gitlab runner is a lot more complex than I care to get fully into in a blog post, but I am posting this in the hopes that it at least inspires others.

A Lot of Context

In my setup, my Gitlab runner lives in Kubernetes. As jobs are queued, the runner spawns new pods to perform the required work. Since the pods are temporary and do not have any kind of persistent storage by default, any work they do that is not pushed back to the Gitlab instance is lost the next time a similar job is run. Having a shared build cache allows you to, in some cases, reduce the total amount of time it takes to perform tasks by keeping local copies of Node modules or other heavy assets. Additionally, if you configure your cache key properly, you can pass temporary artifacts between jobs in a pipeline. In my setup, passing temporary data is what I need.

I use Gitlab for a number of my own personal projects, including maintaining this site’s codebase. While my “production” site is a Digital Ocean virtual machine, my staging site runs on Kubernetes. This means, along with other containers I build, that I need to containerize the code of my site, which also means I need to push the container images into a registry. This is done by authenticating against the container registry as part of the build pipeline.

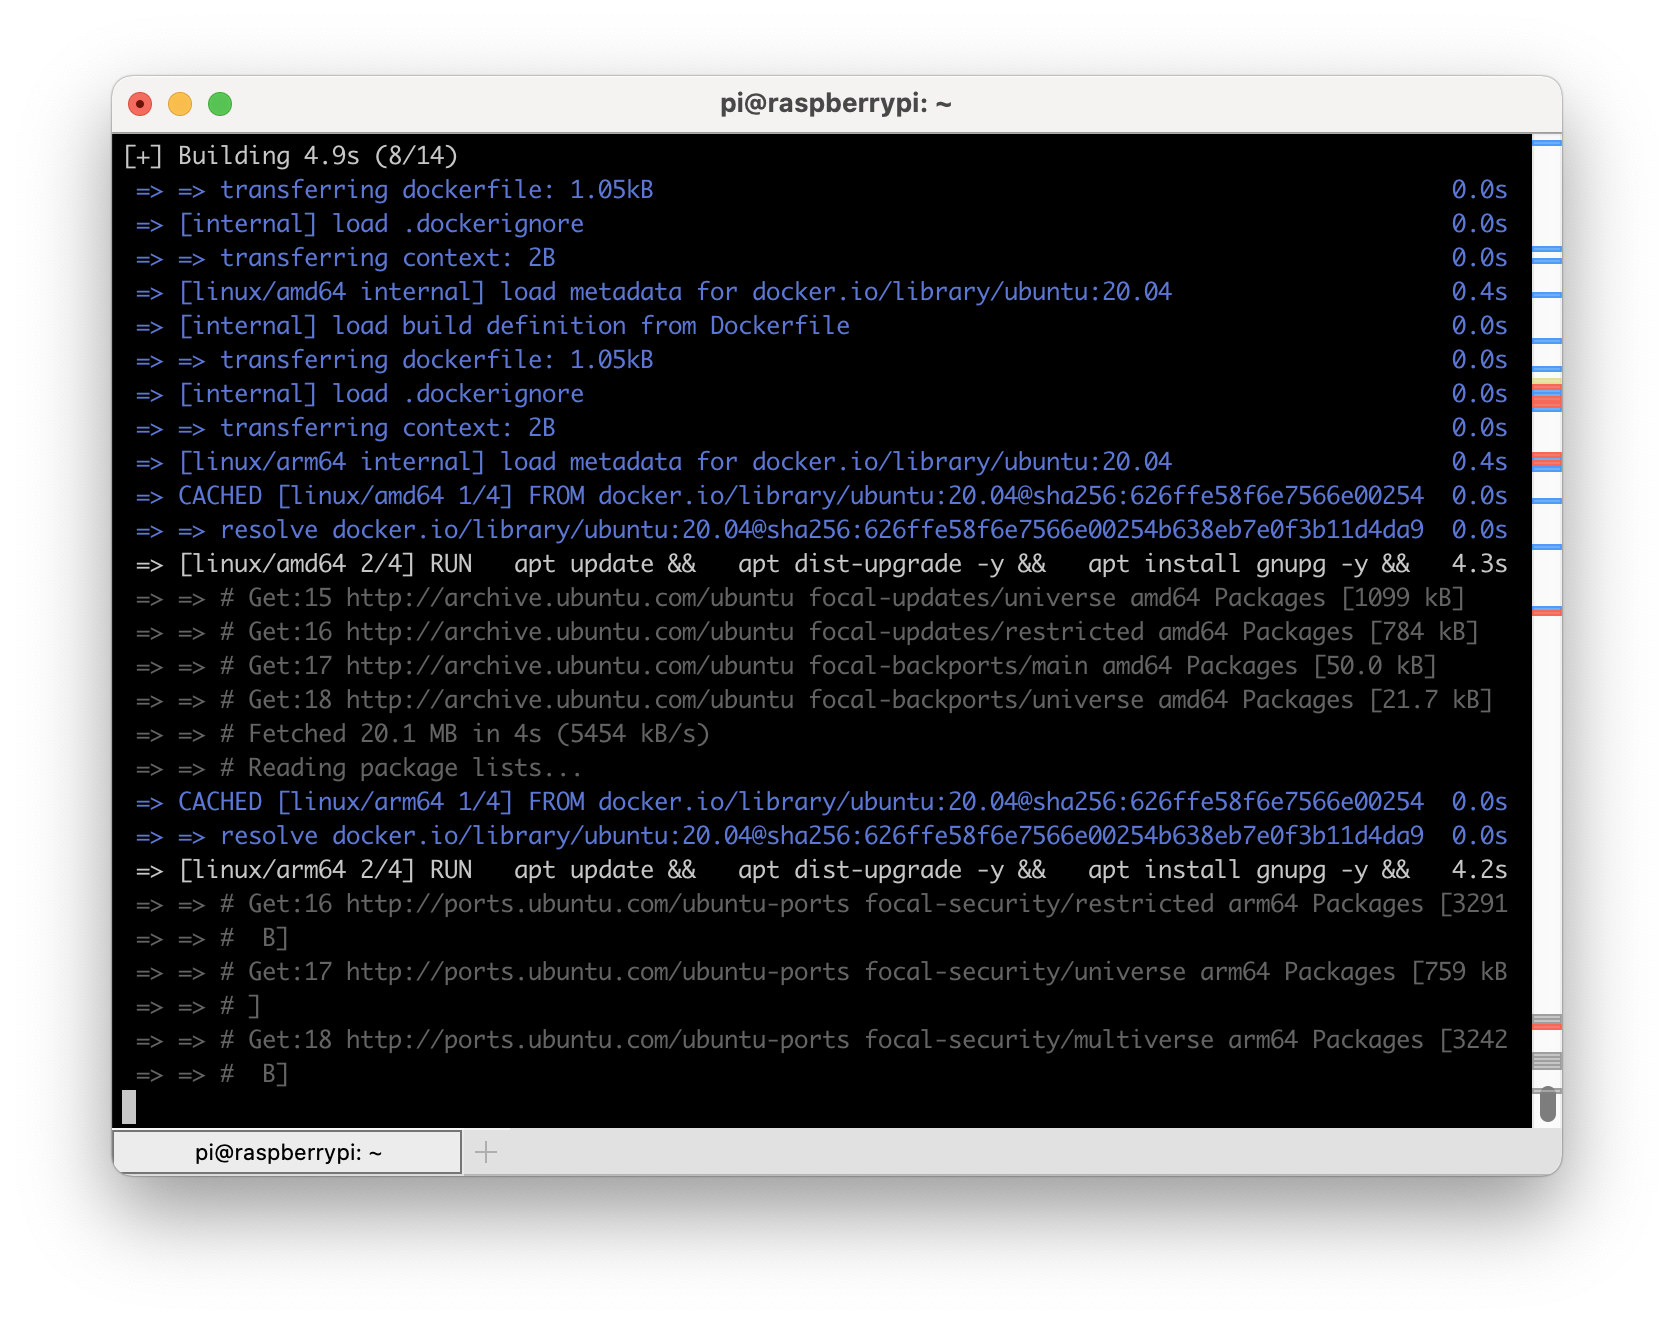
Additionally, I am using Gitlab CI Catalog or CI/CD components. The Gitlab CI catalog is most similar to GitHub Actions, where you create reusable components that you can tie together to build a solution. I am using components that can sign into various container registries as well as build container images for different architectures. In an effort to create reusable and modular components, I split up the process of authenticating with different registries and the build process. For this to work, I must pass the cached credentials between the jobs in the pipeline. Using the shared build cache to pass the information along ensures that I can keep the credentials available for downstream jobs while keeping them out of artifacts that a regular user can access.

My Solution

For my solution, I am leveraging a number of components I already have in place. This includes k3s as my Kubernetes solution, TrueNAS Scale as my storage solution, and various other pieces to tie it together, like democratic CSI to provide persistent storage for k3s.

The new components for my solution is the Minio operator, located at https://github.com/minio/operator/tree/master/helm/operator as well as a tenant definition based on their documentation. The tenant I created is as minimal as possible using a single server without any encryption. Large scale production environments will at least want to use on-the-wire encryption.

Configuring for my runner looks like this:

config.template.toml: |
  [[runners]]
    request_concurrency = 2
    [runners.cache]
      Type = "s3"
      [runners.cache.s3]
        ServerAddress = "minio:80"
        AccessKey = "[redacted]"
        SecretKey = "[redacted]"
        BucketName = "gitlab-cache"
        Insecure = true
      Shared = true
    [runners.kubernetes]
      image = "alpine:latest"
      privileged = true
      pull_policy = "always"
      service_account = "gitlab-runner"
    [runners.kubernetes.node_selector]
      "kubernetes.io/arch" = "amd64"
    [[runners.kubernetes.volumes.empty_dir]]
      name = "docker-certs"
      mount_path = "/certs/client"
      medium = "Memory"

From this, you can see that my Minio tenant was installed with a service named minio running on port 80. I used a port forward to access the tenant and then create my access credentials and a bucket which was plugged into the runner configuration and deployed using a Helm chart for Gitlab Runner. If you are using Amazon S3 in AWS, then you can leverage AWS IAM Roles for Service Accounts and assign the correct service account to the runners to achieve the same behavior more securely.

With this configuration in place, I am able to cache Docker authentication between jobs in a pipeline. In a future post, I will more fully detail how I am doing this in the CI Catalog, but for now, here is the YAML to define the cache key:

cache:
  - key: docker-cache-$CI_PIPELINE_ID
    paths:
      - $CI_PROJECT_DIR/.docker

By setting the cache key in this way, I ensure that Docker credentials are passed between jobs for an entire pipeline. Care needs to be taken to ensure cached the information is not included in artifacts particularly if they are sensitive in nature.

Sometimes you need to run or build containers on a different architecture than you are using natively. While you can tap into buildx for building containers, running containers built for a different architecture other than yours requires Docker Desktop with its magic or the image itself needs to have been built in a specific way. This rarely happens.

Using Colima’s built in CPU architecture emulation it is possible to create a Colima instance, or profile, for either arm64 (aarch64) or amd64 (x86_64) on both types of Mac, the M series or an Intel series. This means M series Macs can run x86_64 containers and Intel Macs can run arm64 based images and the containers won’t be aware that they aren’t running on native hardware. Containers running under emulation will run more slowly than they would if run on native hardware but having the ability to run them at all is really useful at times.

Here is what you do to setup a Colima profile running a different CPU architecture. I’m starting with an M1 based system with no Colima profiles created. You can see the current profiles by running colima list.

colima list
WARN[0000] No instance found. Run colima start to create an instance.
PROFILE STATUS ARCH CPUS MEMORY DISK RUNTIME ADDRESS

From here I can create a new profile and tell it to emulate x86_64 using colima start --profile amd64 -a x86_64 -c 4 -m 6. This command will create a Colima profile called “amd64” using architecture x86_64, 4 CPU cores and 6GB of memory. This Colima profile will take some time to start and will not have Kubernetes enabled. Give this some time to start up and then check your available Docker contexts using docker context ls. You will get output similar to this:

docker context ls
NAME TYPE DESCRIPTION DOCKER ENDPOINT KUBERNETES ENDPOINT ORCHESTRATOR
colima-amd64 * moby colima [profile=amd64] unix:///Users/dustin/.colima/amd64/docker.sock
default moby Current DOCKER_HOST based configuration unix:///var/run/docker.sock

From here I can run a container. I’ll start with alpine container by running docker run --rm -ti alpine uname -a to check what architecture it is running under. You should get this in return if you are on an M series Mac – Linux 526bf44161d6 5.15.68-0-virt #1-Alpine SMP Fri, 16 Sep 2022 06:29:31 +0000 x86_64 Linux. Of course, you can run any container you need that is maybe x86_64 only.

Next I am going to run Nginx as an x86_64 container by running docker run --rm -tid -p 80:80 --name nginx_amd64 nginx. Once Nginx is running I will demonstrate how to connect to it from another container running on a different architecture. This is super useful if you are testing different pieces of software together but one isn’t available natively for your platform.

Now I’ll create a native instance of Colima using colima start --profile arm64 -c 4 -m 6. When this completes, docker context ls will now show a new context that it has switched to. Running docker ps will also show there is nothing running. You can switch between contexts using docker context use followed by the name of the context you want to use.

With the new context available I will start a copy of Alpine Linux again and add the curl package using apk add curl. With curl available, running curl host.docker.internal will show a response from Nginx!

Now that I am done testing I can remove the emulated profile using colima delete amd64 and the profile will be removed and cleaned up. Easy.

Sometimes you need to access Docker on a remote machine. The reasons vary, you just want to manage what is running on a remote system or maybe you want to build for a different architecture. One of the ways that Docker allows for remote access is using ssh. Using ssh is a convenient and secure way to access Docker on a remote machine. If you can ssh to a remote machine using key based authentication then you can access Docker (provided you have your user setup properly). To set this up read about it at https://docs.docker.com/engine/security/protect-access/.

In a previous post, I went over using remote systems to build multi-architecture images using native builders. This post is similar but doesn’t use k3s. Instead, we’ll leverage Docker’s built on context system to add multiple Docker endpoints that we can tie together to create a solution. In fact, for this I am going to use only remote Docker instances from my Mac to build an example image. I assume that you already have Docker installed on your system(s) so I won’t go through that part.

Like in the previous post, I will use the project located at https://github.com/dustinrue/buildx-example as the example project. As a quick note, I have both a Raspberry Pi4 running the 64bit version of PiOS as well as an Intel based system available to me on my local network. I will use both of them to build a very basic multi-architecture Docker image. Multi-architecture Docker images are very useful if you need to target both x86 and Arm based systems, like the Raspberry PI or AWS’s Graviton2 platform.

To get started, I create my first context to add the Intel based system. The command to create a new Docker context that connects to my Intel system looks like this:

docker context create amd64 --docker host=ssh://[email protected]

This creates a context called amd64. I can then use this context by issuing docker context use amd64. After that, all Docker commands I run will be run in that context, on that remote machine. Next, I add my pi4 with a similar command:

docker context create arm64 --docker host=ssh://[email protected]

We now have our two contexts. Next we can create a buildx builder that ties the two together so that we can target it for our multi-arch build. I use these commands to create the builder (note the optional –platform value which will mark that builder for the listed platforms):

docker buildx create --name multiarch-builder amd64 [--platform linux/amd64]
docker buildx create --name multiarch-builder --append arm64 [--platform linux/arm64]

We now have a single builder named multiarch-builder that we can use to build our image. When we ask buildx to build a multi-arch image, it will use the platform that most closely matches the target architecture to do the build. This ensures you get the quickest build times possible.

With the example project cloned, we now build an image that will work for 64bit arm, 32bit arm and 64bit x86 systems with this command:

docker buildx build --builder multiarch-builder -t dustinrue/buildx-example --platform linux/amd64,linux/arm64,linux/arm/v6 .

This command will build our Docker image. If you wish to push the image to a Docker registry, remember to tag the image correctly and add --push to your command. You cannot use --load to load the Docker image into your local Docker registry as that is not supported.

Using another Mac as a Docker context

It is possible to use another Mac as a Docker engine but when I did this I ran into an issue. The Docker command is not in a path that Docker will have available to it when it makes the remote connection. To overcome this, this post will help https://github.com/docker/for-mac/issues/4382#issuecomment-603031242.

Chris Wiegman asks, what are you building? I thought this would be a fun question to answer today. Like a lot of people I have a number of things in flight but I’ll try to limit myself to just a few them.

PiPlex

I have run Plex in my house for a few years to serve up my music collection. In 2021 I also started paying for Plex Pass which gives me additional features. One of my favorite features or add-ons is PlexAmp which gives me a similar to Spotify like experience but for music I own.

Although I’m very happy with the Plex server I have I wondered if it would be feasible to run Plex on a Raspberry Pi. I also wanted to learn how Pi OS images were generated using pi-gen. With that in mind I set out to create a Pi OS image that preinstalls Plex along with some additional tools like Samba to make it easy to get up and running with a Plex server. I named the project PiPlex. I don’t necessarily plan on replacing my existing Plex server with a Pi based solution but the project did serve its intended goal. I learned a bit about how Pi OS images are created and I discovered that it is quite possible to create a Pi based Plex server.

ProxySQL Helm Chart

One of the most exciting things I’ve learned in the past two years or so is Kubernetes. While it is complex it is also good answer to some equally complex challenges in hosting and scaling some apps. My preferred way of managing apps on Kubernetes is Helm.

One app I want install and manage is ProxySQL. I couldn’t find a good Helm chart to get this done so I wrote one and it is available at https://github.com/dustinrue/proxysql-kubernetes. To make this Helm chart I first had to take the existing ProxySQL Docker image and rebuild it so it was built for x86_64 as well as arm64. Next I created the Helm chart so that it installs ProxySQL as a cluster and does the initial configuration.

Site Hosting

I’ve run my blog on WordPress since 2008 and the site has been hosted on Digital Ocean since 2013. During most of that time I have also used Cloudflare as the CDN. Through the years I have swapped the droplets (VMs) that host the site, changed the operating system and expanded the number of servers from one to two in order to support some additional software. The last OS change was done about three years ago and was done to swap from Ubuntu to CentOS 7.

CentOS 7 has served me well but it is time to upgrade it to a more recent release. With the CentOS 8 controversy last year I’ve decided to give one of the new forks a try. Digital Ocean offers Rocky Linux 8 and my plan is to replace the two instances I am currently running with a single instance running Rocky Linux. I no longer have a need for two separate servers and if I can get away with hosting the site on a single instance I will. Back in 2000 it was easy to run a full LAMP setup (and more) on 1GB of memory but it’s much more of a challenge today. That said, I plan to use a single $5 instance with 1 vCPU and 1GB memory to run a LEMP stack.

Cloudflare

Speaking of Cloudflare, did you know that Cloudflare does not cache anything it deems “dynamic”? PHP based apps are considered dynamic content and HTML output by software like WordPress is not cached. To counter this, I created some page rules a few years ago that forces Cloudflare to cache pages, but not the admin area. Combined with the Cloudflare plug-in this solution has worked well enough.

In the past year, however, Cloudflare introduced their automatic platform optimization option that targets WordPress. This feature enables the perfect mix of default rules (without using your limited set of rules) for caching a WordPress site properly while breaking the cache when you are signed in. This is also by far the cheapest and most worry free way to get the perfect caching setup for WordPress and I highly recommend using the feature. It works so well I went ahead and enabled it for this site.

Multi-Architecture Docker Images

Ever since getting a Raspberry Pi 4, and when rumors of an Arm powered Mac were swirling, I’ve been interested in creating multi-architecture Docker images. I started with a number of images I use at work so they are available for both x86_64 and arm64. In the coming weeks I’d like to expand a bit on how to build multi-architecture images and how to replace Docker Desktop with a free alternative.

Finishing Up

This is just a few of the things I’m working on. Hopefully in a future post I can discuss some of the other stuff I’m up to. What are you building?

In late August of 2021 the company behind Docker Desktop announced their plans to change the licensing model of their popular Docker solution for Mac and Windows. This announcement means many companies who have been using Docker Desktop would now need to pay for the privilege. Thankfully, the open source community is working to create a replacement.

For those not aware, Docker doesn’t run natively on Mac. The Docker Desktop system is actually a small Linux VM running real Docker inside of it and then Docker Desktop does a bunch of magic to make it look and feel like it is running natively on your system. It is for this reason that Docker Desktop users get to enjoy abysmal volume mount performance, the process of shuffling files (especially small ones) requires too much metadata passing to be efficient. Any solution for running Docker on a Mac will need to behave the same way and will inherit the same limitations.

Colima is a command line tool that builds on top of lima to provide a more convenient and complete feeling Docker Desktop replacement and it already shows a lot of promise. Getting started with colima is very simple as long as you already have brew and Xcode command line tools installed. Simply run brew install colima docker kubectl and wait for the process to finish. You don’t need Docker Desktop installed, in fact you should not have it running. Once it is complete you can start it with:

colima start

This will launch a default VM with the docker runtime enabled and configure docker for you. Once it completes you will then have a working installation. That’s literally it! Commands like docker run --rm -ti hello-world will work without issue. You can also build and push images. It’s can do anything you used Docker Desktop for in the past.

Mounting Volumes

Out of the box colima will mount your entire home directory as a read only volume within the colima VM which makes it easily accessible to Docker. Colima is not immune, however, to the performance issues that Docker Desktop struggled with but the read only option does seem to provide reasonable performance.

If, for any reason, you need to have the volumes you mount as read/write you can do that when you start colima. Add --mount <path on the host>:<path visible to Docker>[:w]. For example:

colima start --mount $HOME/project:/project:w

This will mount $HOME/project as /project within the Docker container and it will be writeable. As of this writing the ability to mount a directory read/write is considered alpha quality so you are discouraged from mounting important directories like, your home directory.

In my testing I found that mounting volumes read/write was in fact very slow. This is definitely an area that I hope some magic solution can be found to bring it closer to what Docker Desktop was able to achieve which still wasn’t great for large projects.

Running Kubernetes

Colima also supports k3s based Kubernetes. To get it started issue colima stop and then colima start --with-kubernetes. This will launch colima’s virtual machine, start k3s and then configure kubectl to work against your new, local k3s cluster (this may fail if you have an advanced kubeconfig arrangement).

With Kubernetes running locally you are now free to install apps however you like.

Customizing the VM

You may find the default VM to be a bit on the small side, especially if you decide to run Kubernetes as well. To give your VM more resources stop colima and then start it again with colima start --cpu 6 --memory 6. This will dedicate 6 CPU cores to your colima VM as well as 6GB of memory. You can get a full list of options by simply running colima and pressing enter.

What to expect

This is a very young project that already shows great potential. A lot is changing and currently in the code base is the ability to create additional colima VMs that run under different architectures. For example, you can run arm64 Docker images on your amd64 based Mac or vice versa.

Conclusion

Colima is a young but promising project that can be used to easily replace Docker Desktop and if you are a Docker user I highly recommend giving it a try and providing feedback if you are so inclined. It has the ability to run Docker containers, docker-compose based apps, Kubernetes and build images. With some effort you can also do multi-arch builds (which I’ll cover in a later post). You will find the project at https://github.com/abiosoft/colima.

While building multi-arch images I noticed that it was really unreliable when done in my CI/CD pipelines. After a bit of research, I found that the buildx and the Qemu emulation system aren’t quite stable when used with Docker in Docker. Although I can retry the job until it finishes I decided to look into other ways of doing multi-arch builds with buildx.

Continue reading

As I continue to mess around with various ways of installing and running Kubernetes in my home lab using Rancher I keep coming up with different ways to solve similar problems. Each time I set it up using different host OSs I learn a bit more which my primary goal. The latest iteration uses CentOS 8 and allows for iSCSI based persistent storage to work properly. I want to use CentOS 8 because it includes a newer kernel required for doing buildx based multi-arch builds. In this post, I’d like to go through the process of setting up CentOS 8 with Docker and what utilities to install to support NFS and iSCSI based persistent storage so that it works properly with Rancher.

Continue reading

I keep doing more multi-architecture builds using buildx and continue to find good information out there to help refine the process. Here is a post I found I thought I’d share that discusses how to build multi-architecture using AWS Graviton2 based instances which are ARM based. https://www.smartling.com/resources/product/building-multi-architecture-docker-images-on-arm-64-bit-aws-graviton2/. I haven’t officially tried this yet but the same process should also work on a Pi4 with the 64bit PiOS installed.

Under some conditions, you may find that your Docker in Docker builds will hang our stall out, especially when you combine DIND based builds and Kubernetes. The fix for this isn’t always obvious because it doesn’t exactly announce itself. After a bit of searching, I came across a post that described the issue in great detail located at https://medium.com/@liejuntao001/fix-docker-in-docker-network-issue-in-kubernetes-cc18c229d9e5.

As described, the issue is actually due to the MTU the DIND service uses when it starts. By default, it uses 1500. Unfortunately, a lot of Kubernetes overlay networks will set a smaller MTU of around 1450. Since DIND is a service running on an overlay network it needs to use an MTU equal to or smaller than the overlay network in order to work properly. If your build process happens to download a file that is larger than the Maximum Transmission Unit then it will wait indefinitely for data that will never arrive. This is because DIND, and the app using it, thinks the MTU is 1500 when it is actually 1450.

Anyway, this isn’t about what MTU is or how it works, it’s about how to configure a Gitlab based job that is using the DIND service with a smaller MTU. Thankfully it’s easy to do.

In your .gitlab-ci.yml file where you enable the dind service add a command or parameter to pass to Gitlab, like this:

Build Image:
  image: docker
  services:
    - name: docker:dind
      command: ["--mtu 1000"]
  variables:
    DOCKER_DRIVER: overlay2
    DOCKER_TLS_CERTDIR: ""
    DOCKER_HOST: tcp://localhost:2375

This example shown will work if you are using a Kubernetes based Gitlab Runner. With this added, you should find that your build stalls go away and everything works as expected.