This post is going to be a lot less of a full “how-to” on how to use Minio as a build cache for Gitlab and a lot more of a post discussing the general process and the tools I used. How I set up Minio to be a build cache for my Gitlab runner is a lot more complex than I care to get fully into in a blog post, but I am posting this in the hopes that it at least inspires others.
A Lot of Context
In my setup, my Gitlab runner lives in Kubernetes. As jobs are queued, the runner spawns new pods to perform the required work. Since the pods are temporary and do not have any kind of persistent storage by default, any work they do that is not pushed back to the Gitlab instance is lost the next time a similar job is run. Having a shared build cache allows you to, in some cases, reduce the total amount of time it takes to perform tasks by keeping local copies of Node modules or other heavy assets. Additionally, if you configure your cache key properly, you can pass temporary artifacts between jobs in a pipeline. In my setup, passing temporary data is what I need.
I use Gitlab for a number of my own personal projects, including maintaining this site’s codebase. While my “production” site is a Digital Ocean virtual machine, my staging site runs on Kubernetes. This means, along with other containers I build, that I need to containerize the code of my site, which also means I need to push the container images into a registry. This is done by authenticating against the container registry as part of the build pipeline.
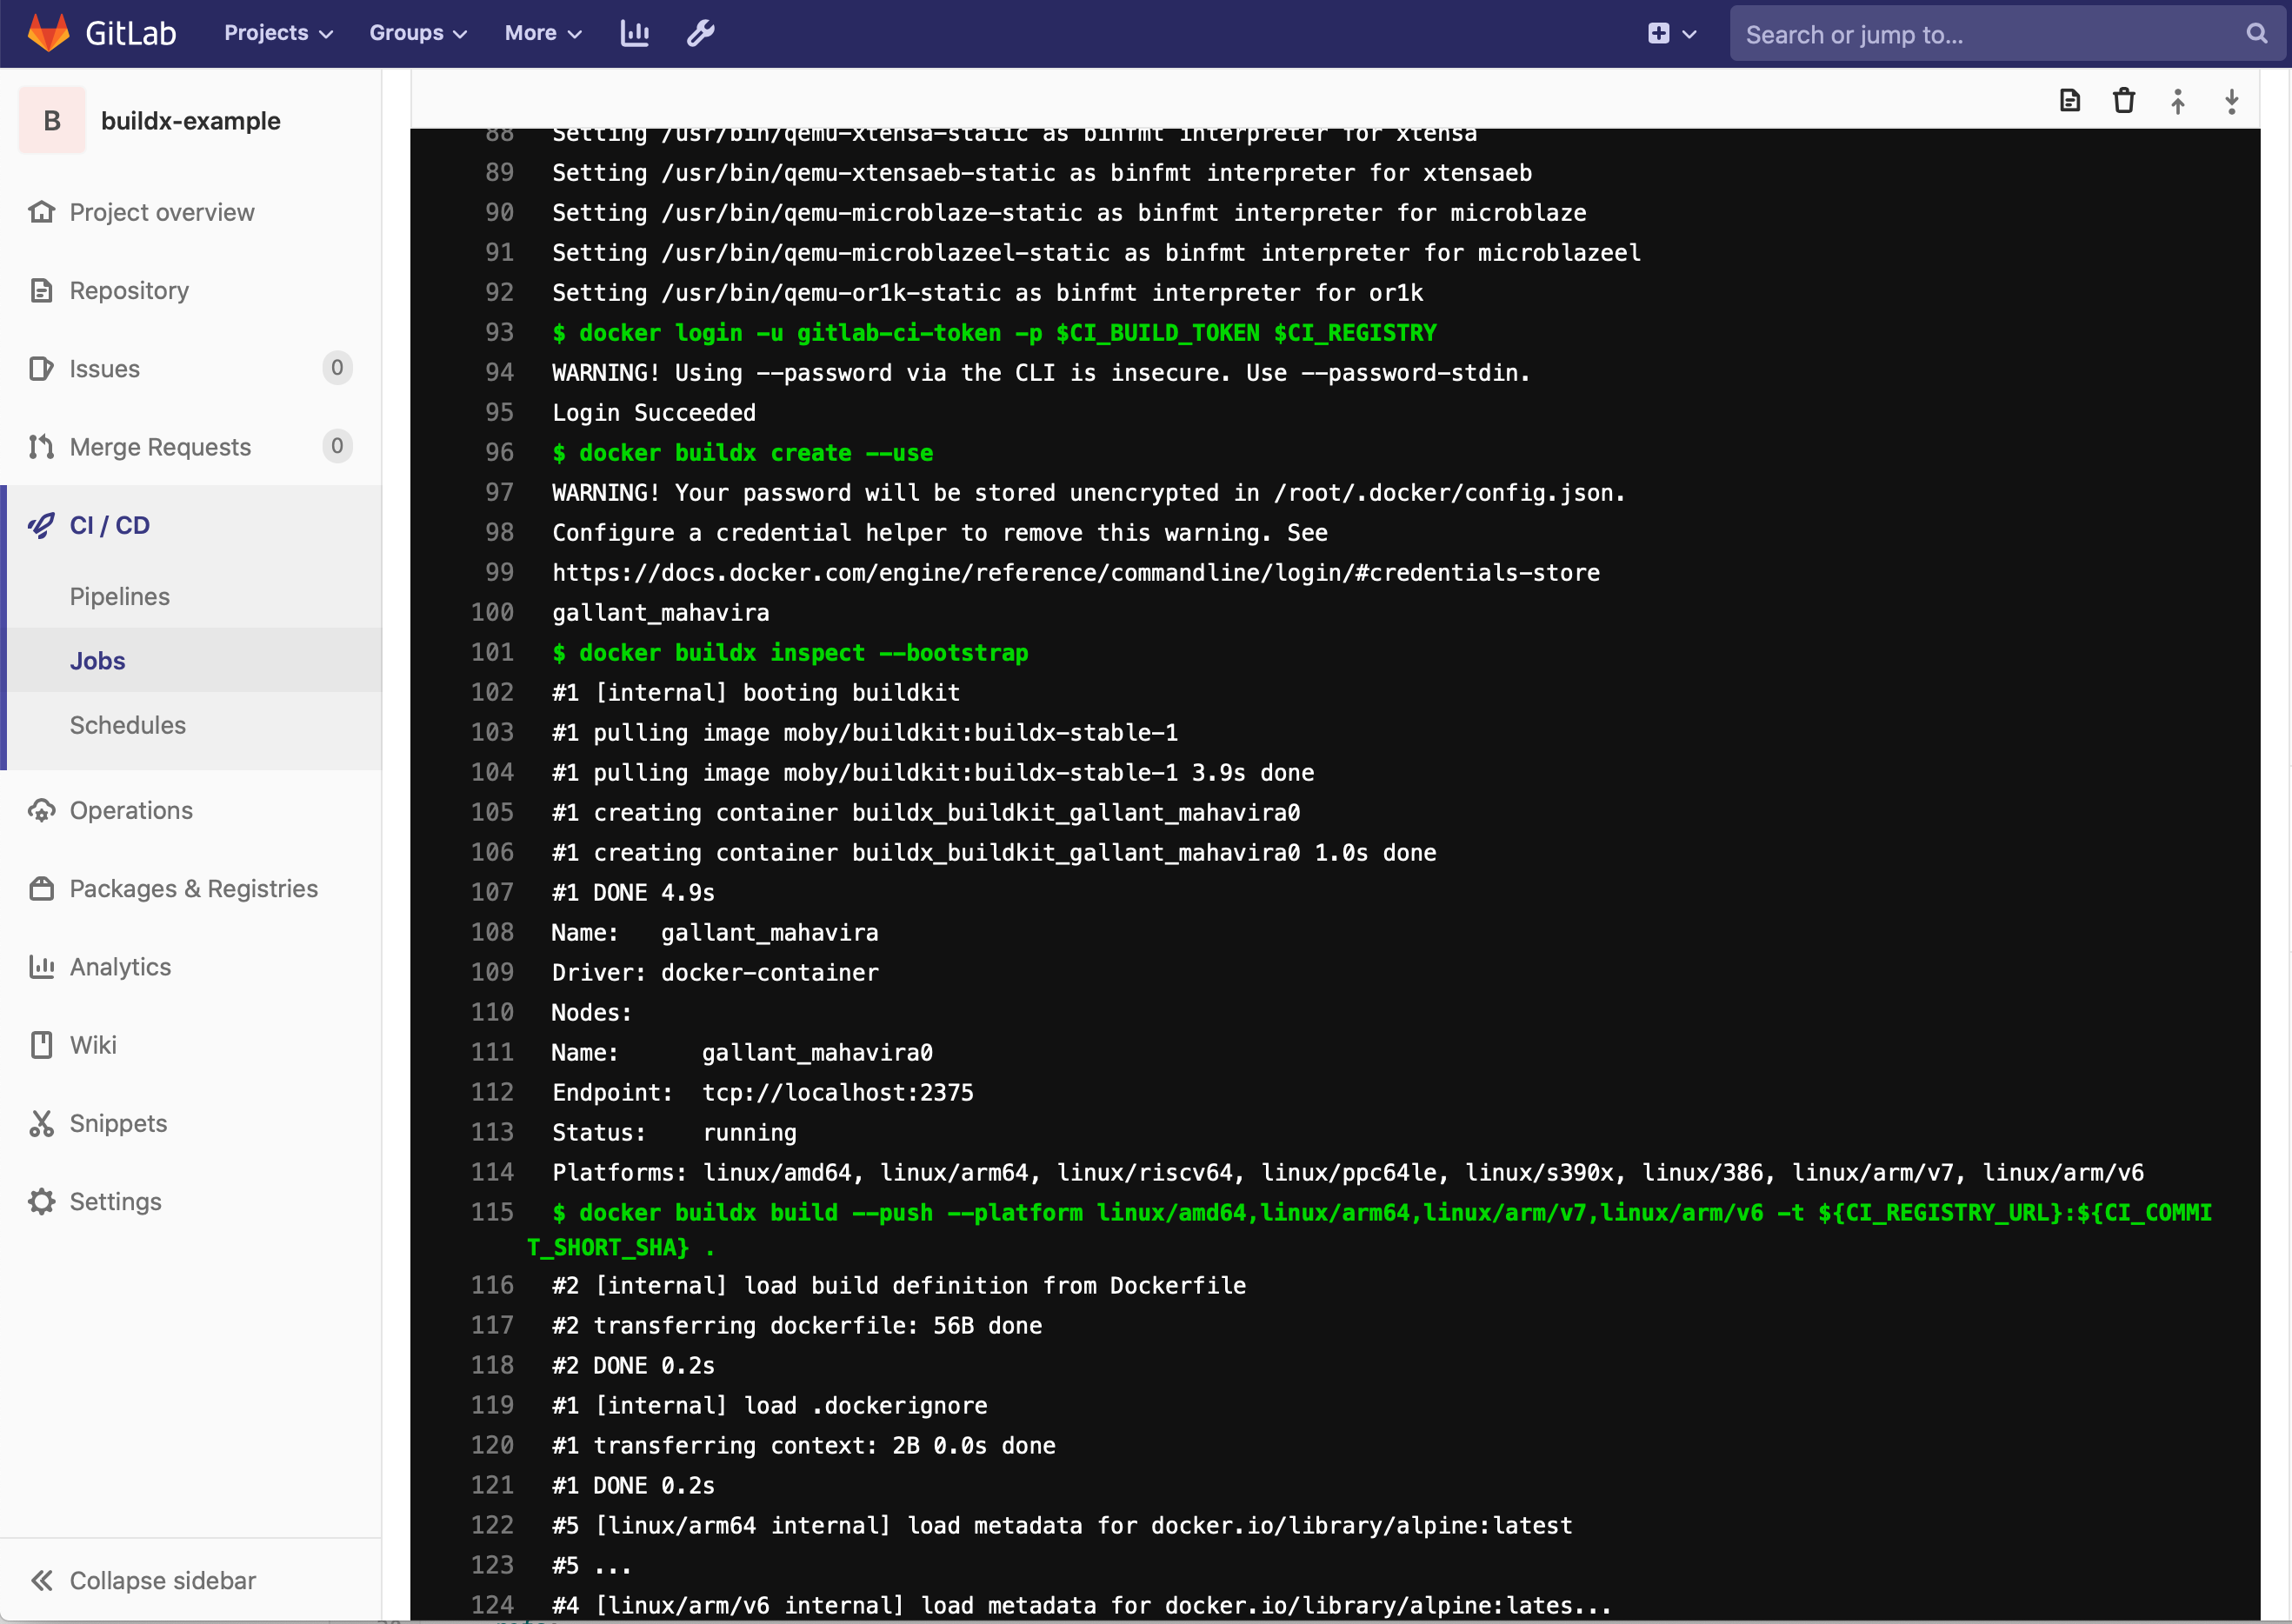
Additionally, I am using Gitlab CI Catalog or CI/CD components. The Gitlab CI catalog is most similar to GitHub Actions, where you create reusable components that you can tie together to build a solution. I am using components that can sign into various container registries as well as build container images for different architectures. In an effort to create reusable and modular components, I split up the process of authenticating with different registries and the build process. For this to work, I must pass the cached credentials between the jobs in the pipeline. Using the shared build cache to pass the information along ensures that I can keep the credentials available for downstream jobs while keeping them out of artifacts that a regular user can access.
My Solution
For my solution, I am leveraging a number of components I already have in place. This includes k3s as my Kubernetes solution, TrueNAS Scale as my storage solution, and various other pieces to tie it together, like democratic CSI to provide persistent storage for k3s.
The new components for my solution is the Minio operator, located at https://github.com/minio/operator/tree/master/helm/operator as well as a tenant definition based on their documentation. The tenant I created is as minimal as possible using a single server without any encryption. Large scale production environments will at least want to use on-the-wire encryption.
Configuring for my runner looks like this:
config.template.toml: |
  [[runners]]
    request_concurrency = 2
    [runners.cache]
      Type = "s3"
      [runners.cache.s3]
        ServerAddress = "minio:80"
        AccessKey = "[redacted]"
        SecretKey = "[redacted]"
        BucketName = "gitlab-cache"
        Insecure = true
      Shared = true
    [runners.kubernetes]
      image = "alpine:latest"
      privileged = true
      pull_policy = "always"
      service_account = "gitlab-runner"
    [runners.kubernetes.node_selector]
      "kubernetes.io/arch" = "amd64"
    [[runners.kubernetes.volumes.empty_dir]]
      name = "docker-certs"
      mount_path = "/certs/client"
      medium = "Memory"
From this, you can see that my Minio tenant was installed with a service named minio running on port 80. I used a port forward to access the tenant and then create my access credentials and a bucket which was plugged into the runner configuration and deployed using a Helm chart for Gitlab Runner. If you are using Amazon S3 in AWS, then you can leverage AWS IAM Roles for Service Accounts and assign the correct service account to the runners to achieve the same behavior more securely.
With this configuration in place, I am able to cache Docker authentication between jobs in a pipeline. In a future post, I will more fully detail how I am doing this in the CI Catalog, but for now, here is the YAML to define the cache key:
cache:
  - key: docker-cache-$CI_PIPELINE_ID
    paths:
      - $CI_PROJECT_DIR/.docker
By setting the cache key in this way, I ensure that Docker credentials are passed between jobs for an entire pipeline. Care needs to be taken to ensure cached the information is not included in artifacts particularly if they are sensitive in nature.

