Valve recently released SteamOS into the wild in beta form and as soon as I could I downloaded it and got it installed on my low to mid range gaming PC. My motherboard, CPU and RAM are newer but the GPU is a bit on the older and inexpensive side. That said, it is very capable of running SteamOS and I imagine anyone who has built a gaming rig in the last few years will be able to run it.
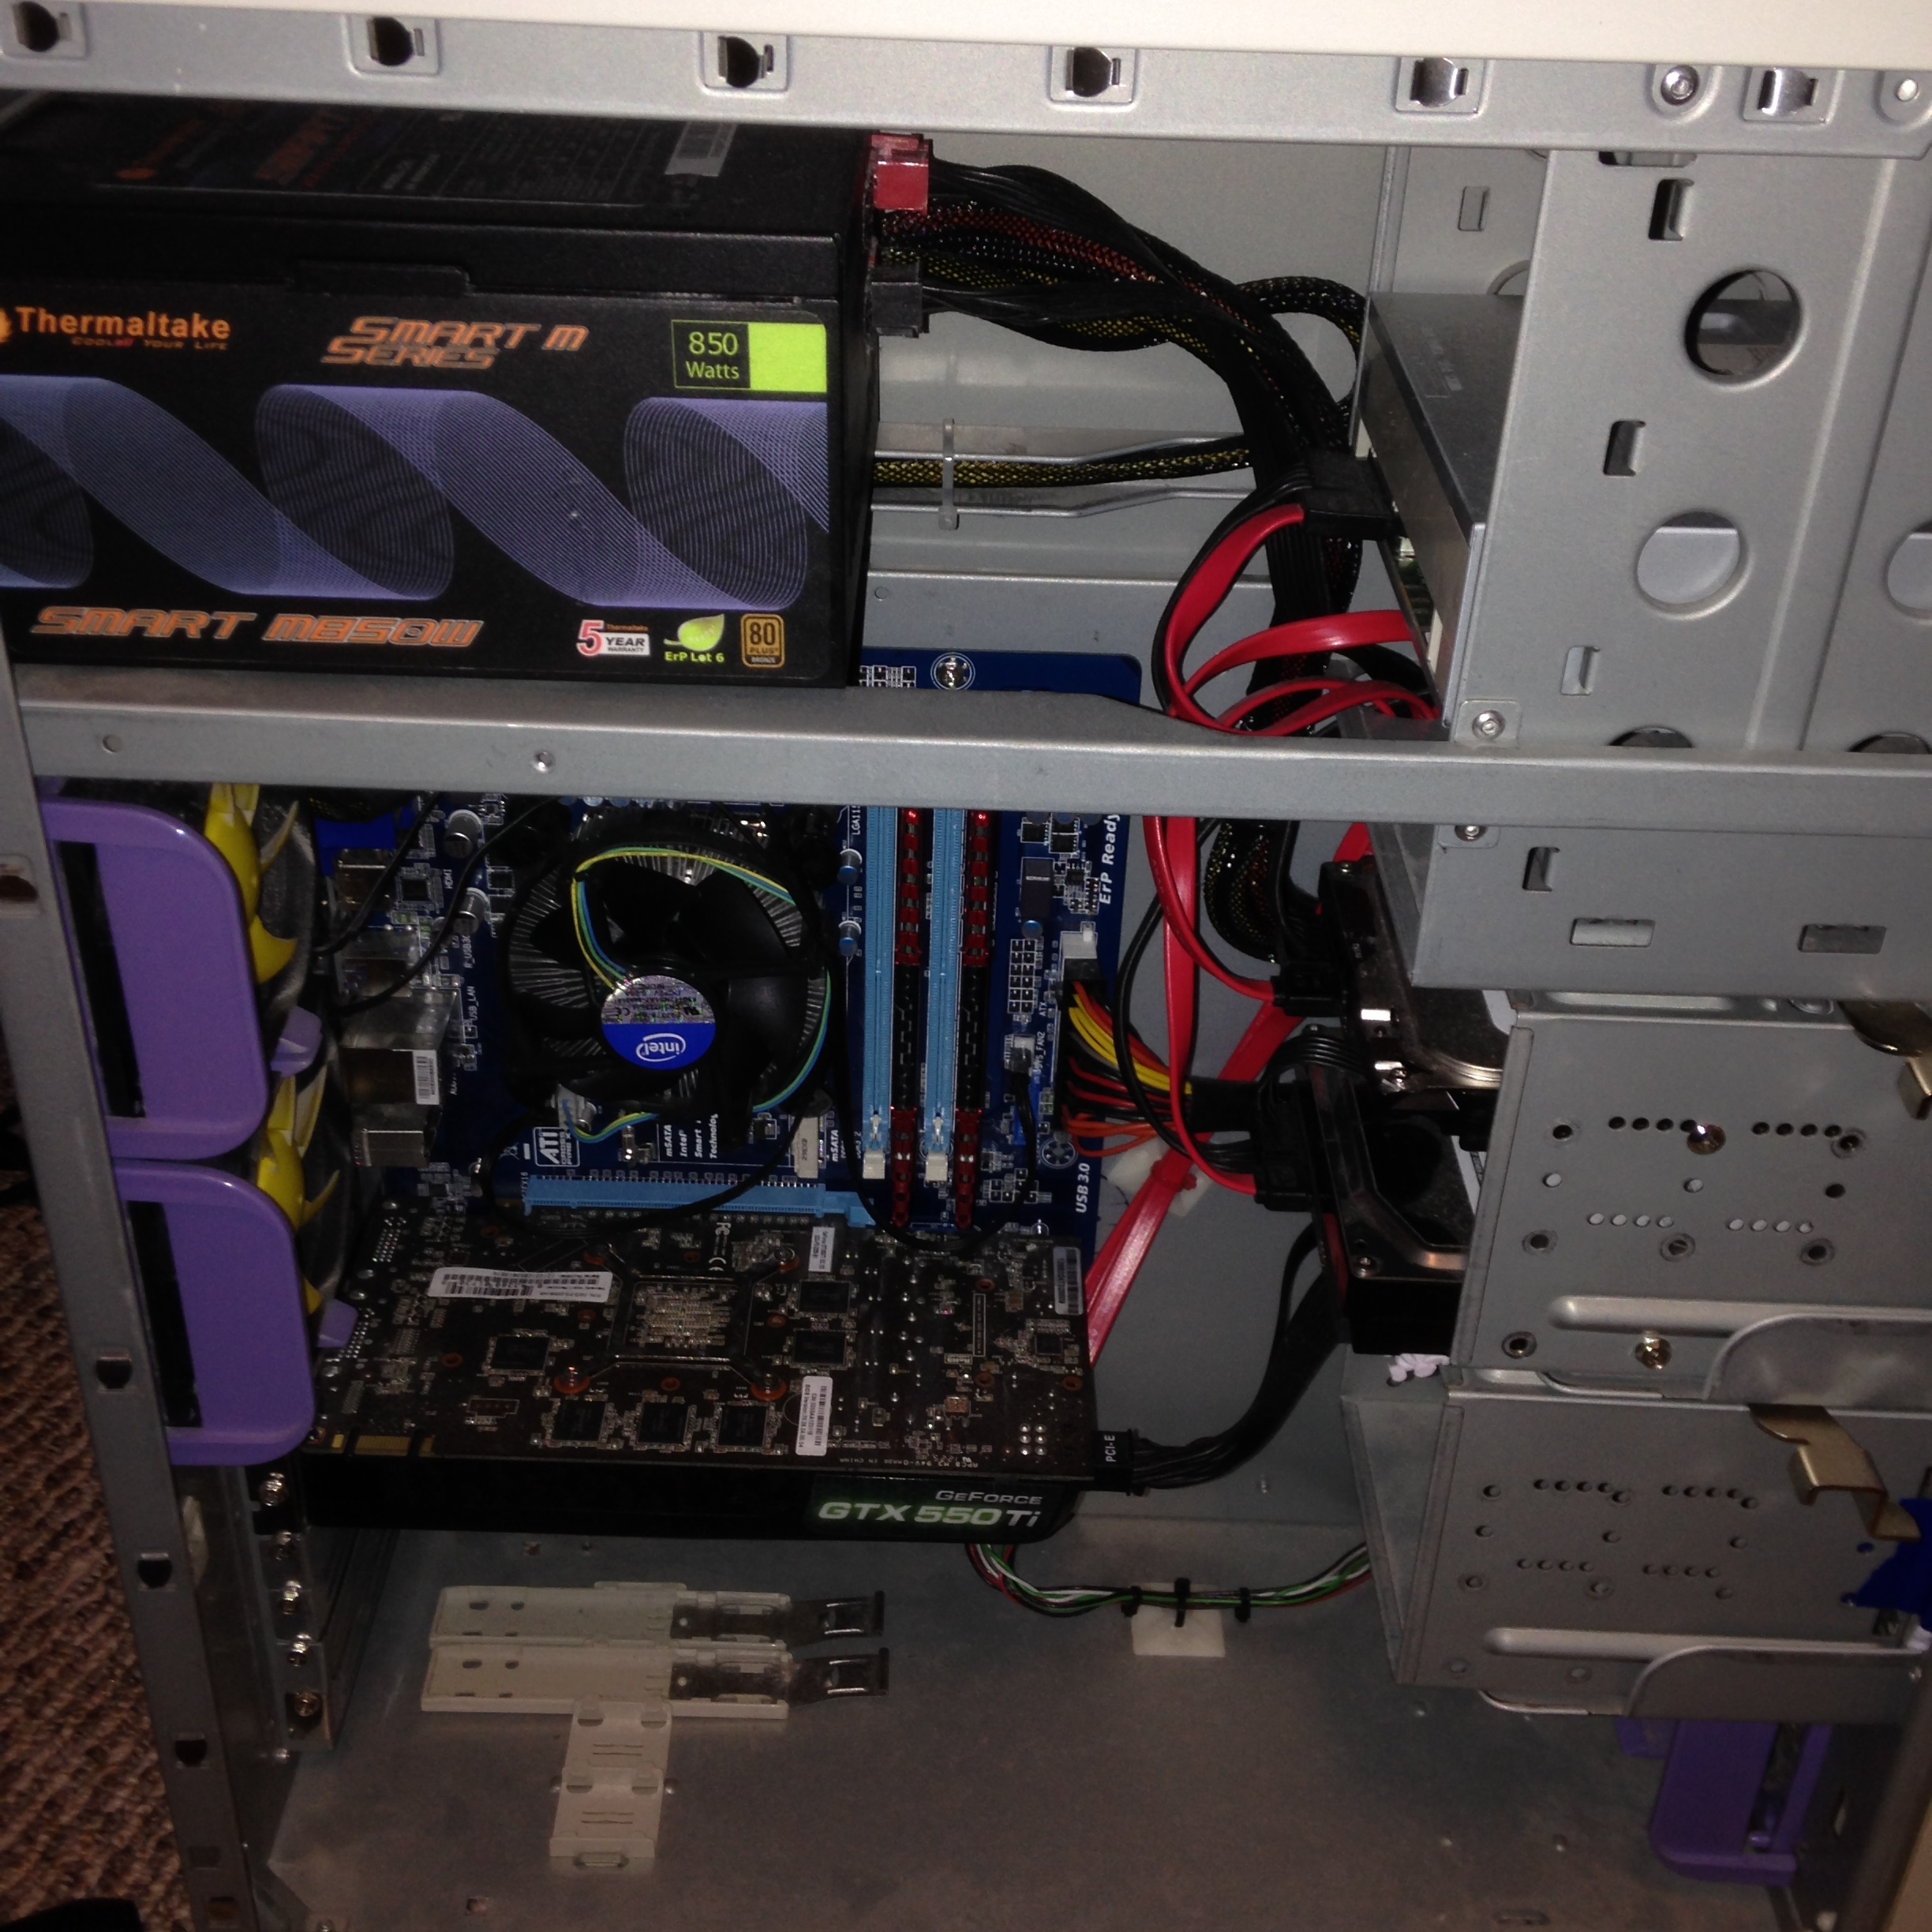
Step One: Have a PC
Actual hardware requirements for SteamOS aren’t outlandish requiring any 64bit capable Intel/AMD CPU, 4GB memory and at least a 500GB HD. The harder requirement is that the motherboard must support UEFI booting. There are work arounds to this requirement but it’s beyond the scope of this post.
Lets get started with the installation. I’m looking at this from the perspective of a Mac user to many of the tools to get things prepared are Mac based. Here’s what you need:
- PC meeting the above requirements
- Flash drive larger than 1GB that can get partitioned/formatted
- An empty hard drive or a really good backup of your current system
- A machine to download and prepare the installer with, I’m using a Mac with OS X
- The SteamOS installation files (http://store.steampowered.com/steamos/download/?ver=custom)
Preparing the flash drive
Insert the flash drive into an available USB port and start up Disk Utility. Click once on your flash drive (it’ll be listed on the left side) and then click the Partition button. From the partition layout menu choose 1 Partition. Name the drive if you wish and ensure that the Format is set to MS-DOS (FAT). Last, double check that the partition type is Master Boot Record by clicking on the Options… button. Use the following screenshots as a reference:

Create 1 partition formatted in MS-DOS (FAT)
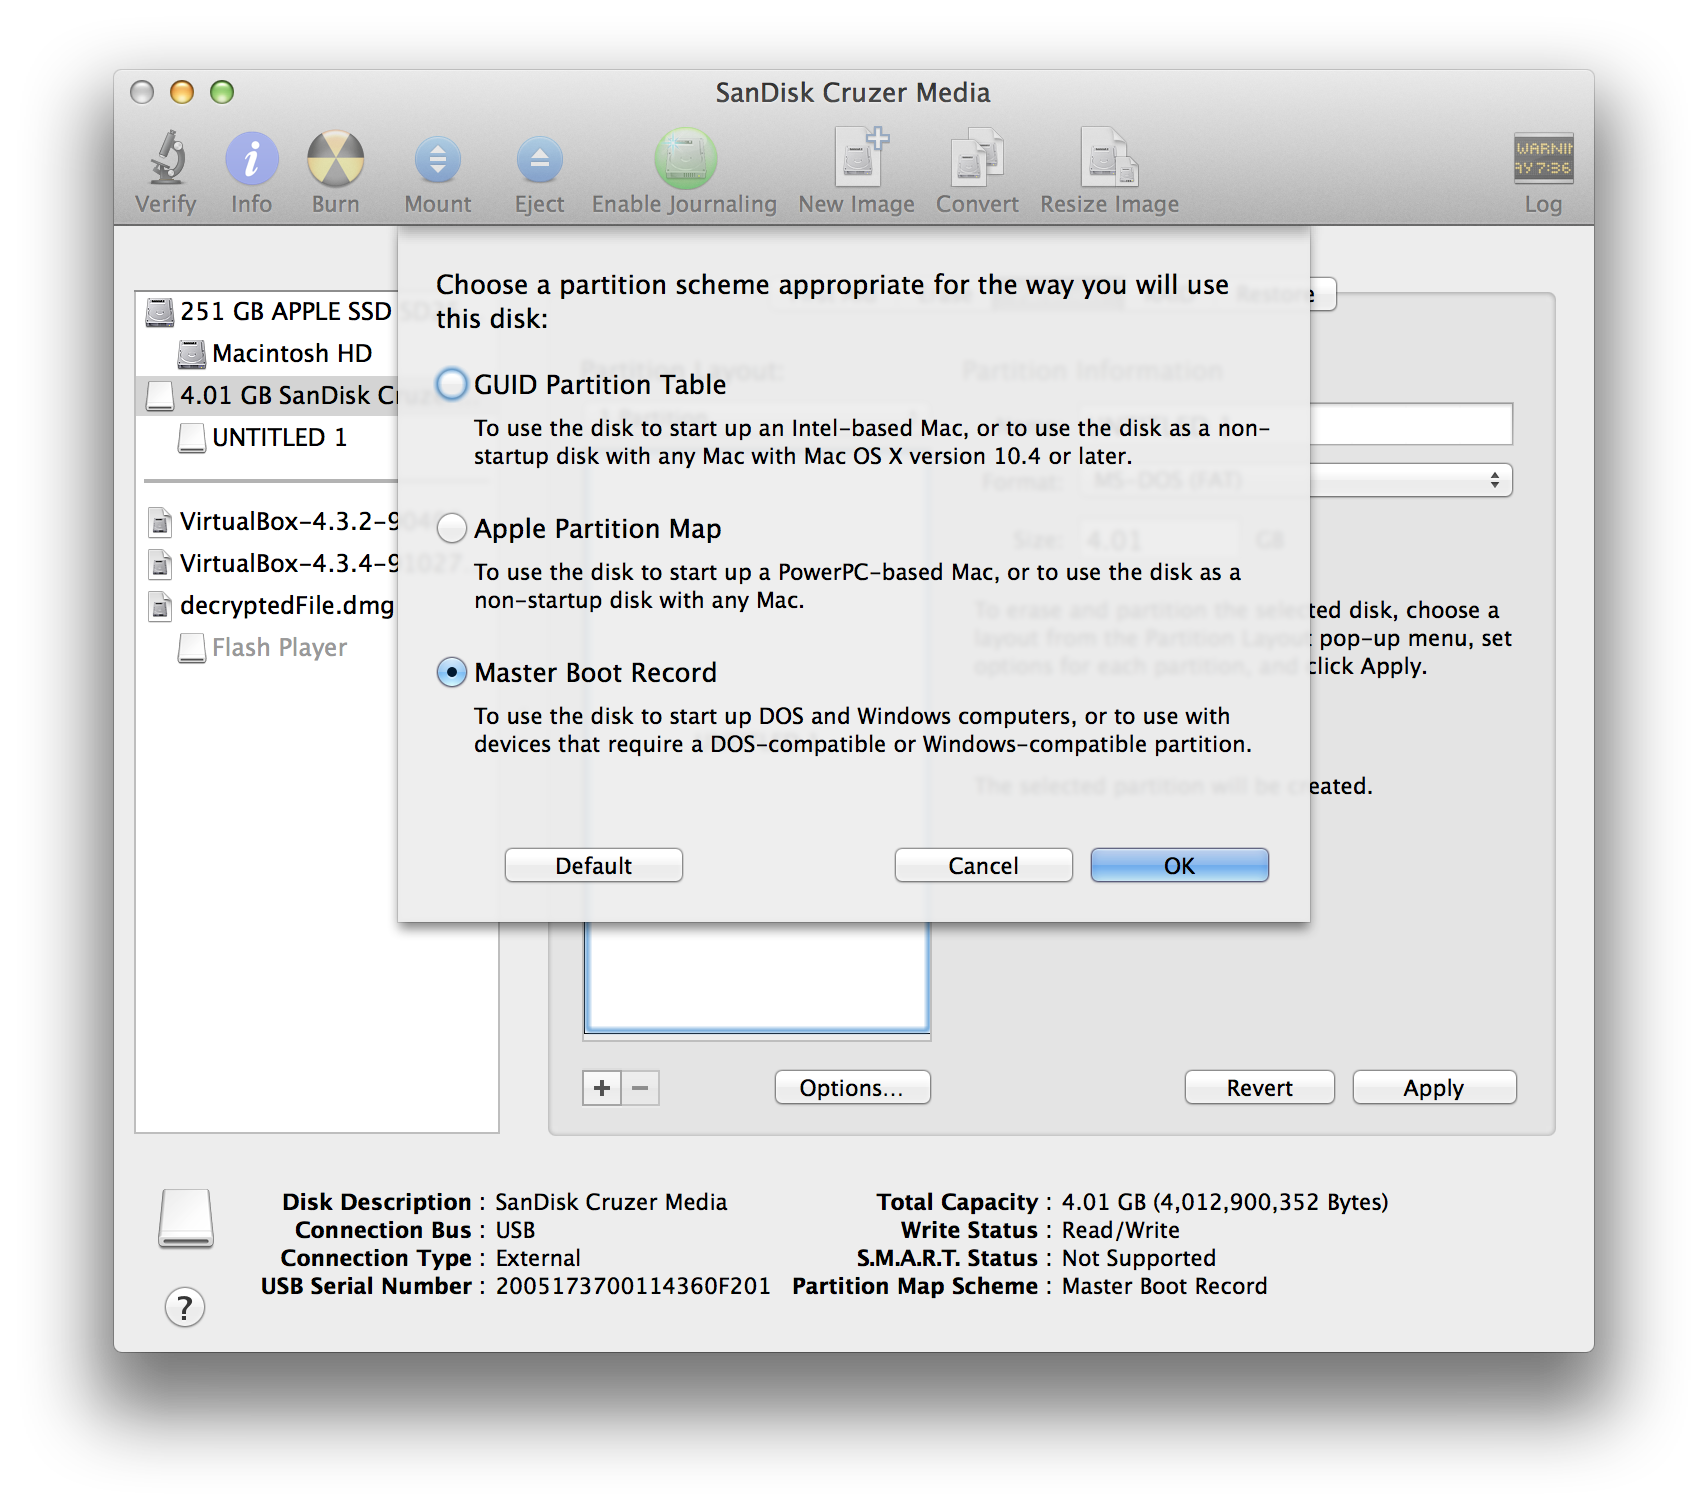
Ensure the partition type is Master Boot Record
When you are satisfied with the parameters click the Apply button and finally the Partition button. Your flash drive is now ready to copy the SteamOS installation files to.
Copying files to the flash drive
Download the installer files and extract them if they aren’t already. I’m going to assume that the files were extracted into your Downloads directory. If not, then you’ll need to adjust the paths used in the next command. To copy the files to the flash drive I used rsync in terminal. This ensures the files are copied including any hidden files. Use the following command:
rsync -av ~/Downloads/SteamOSInstaller/ /Volumes/UNTITLED\ 1/
Remember to adjust any paths depending on how you named your flash drive or if you didn’t extract the SteamOS Installer files in your Downloads directory. Also note that there IS a trailing slash on the SteamOSInstaller directory. This is important!
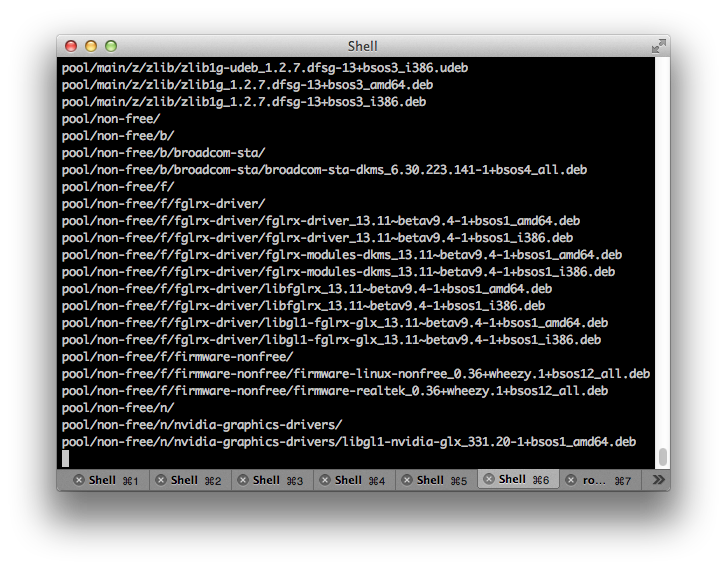
Copying files to the flash drive can take some time
Press enter and allow the rsync operation to finish. Once done, eject the flash drive using Finder.
Prepare the target PC
To prepare my PC for SteamOS I unplugged all of my internal drives. This absolutely vital if you don’t want to risk having your existing hard drives wiped clean! I happen to have an extra 500GB drive sitting around for this project and if you don’t or don’t have your PC backed up, then stop here because you’re about to lose everything.
If I haven’t scared you off, then we can continue.
In my BIOS I ensured that all of the UEFI boot options were either enabled or would occur first. This step is going to be different on each motherboard so you’ll need to play around to make sure things are right. Basically:
- Ensure the system will boot using UEFI at all
- Ensure that UEFI booting is enabled for USB ports and USB flash drives
- Ensure the UEFI is used before any legacy option
Insert the flash drive into a USB port on your computer and boot it. Enter your motherboards boot menu if you have one or set your system to boot from USB first. My system allows me to bring up a boot menu and I pick the EUFI USB Hard Drive option:

Boot menu
You should then see the following:

I picked Automated Install
Pick Automated Install and the first phase of the SteamOS installation will get started. You’ll be looking at a lot of these for awhile:

Progress bars
Allow this phase to complete. Eventually you’ll be told the system is going to reboot. When it does, remove the flash drive. SteamOS will then reboot to a standard login screen.
Initial Configuration
At this point you are faced with a standard login screen. Do the following:
- Enter steam for the username, press enter
- Enter steam for the password, press enter
- Click Activities in the upper left
- Click Applications
- Click Terminal
- Type in steam and press enter
- Accept the EULA
- When finished, log out
- Click steam in the upper right
- Click logout
- Click the logout button
Here are some screenshots for reference:
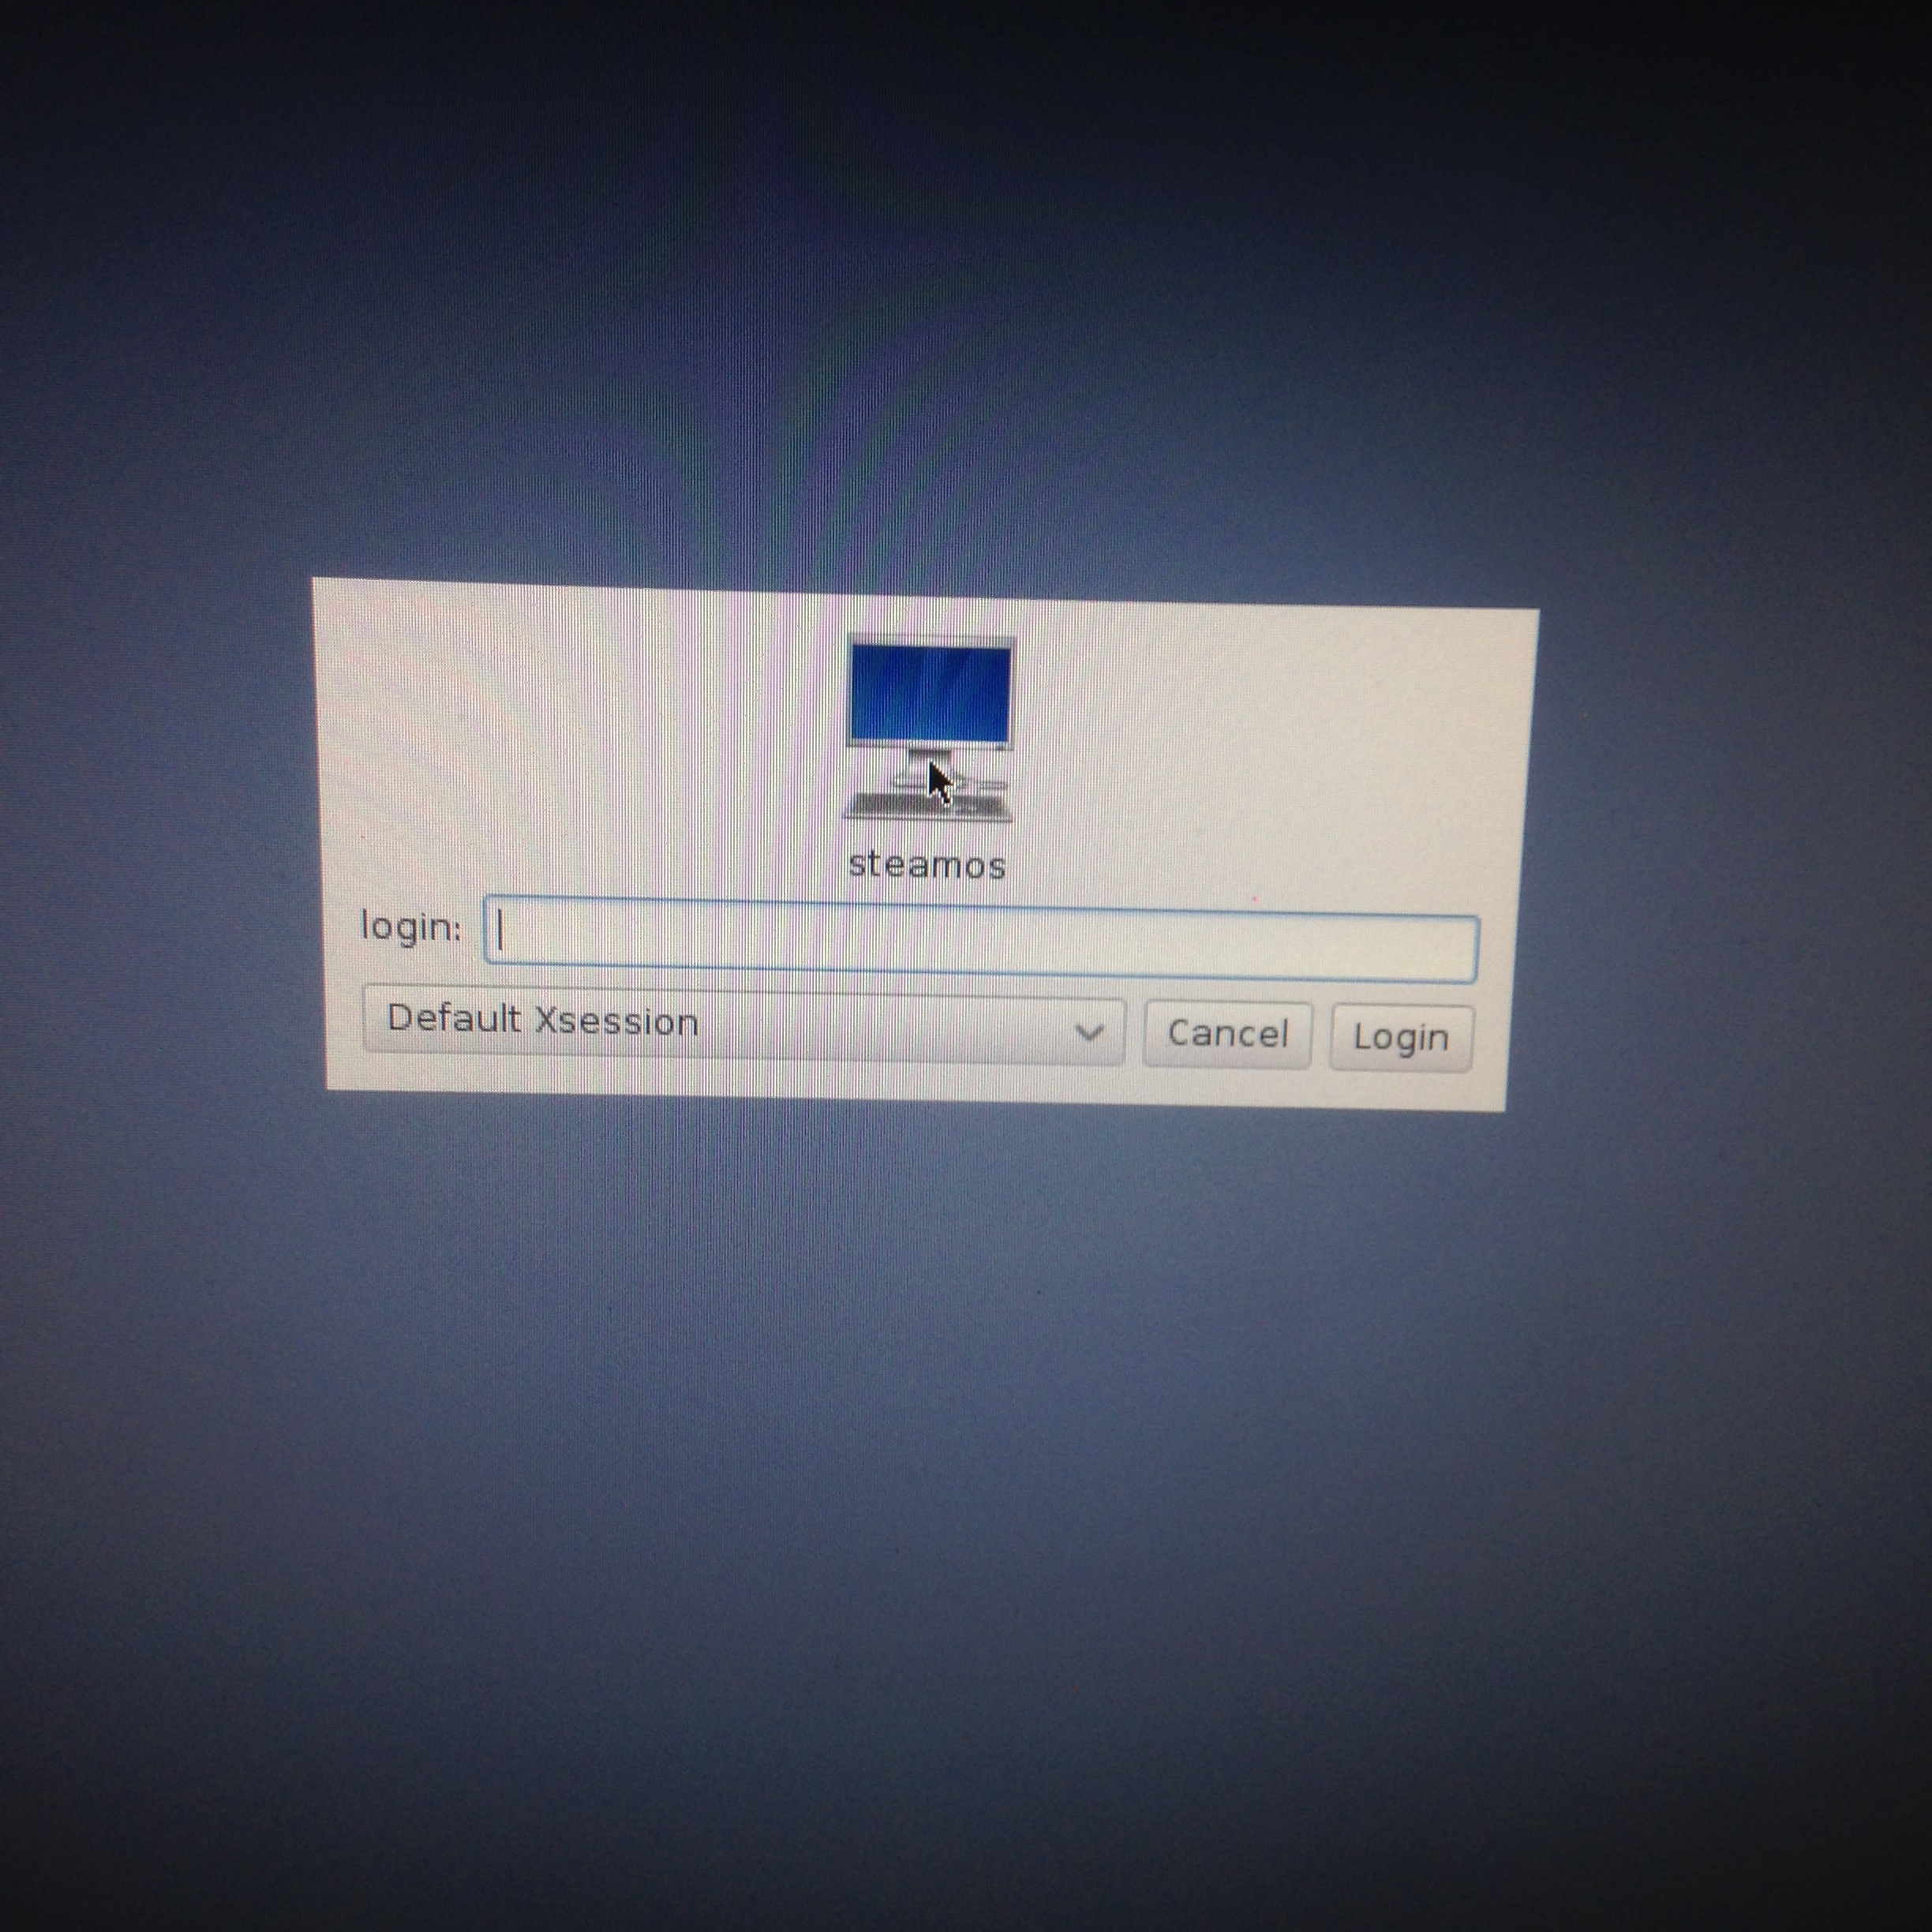
The login screen
Starting terminal
You must now login as the desktop user by doing the following:
- Enter desktop for the username, press enter
- Enter desktop for the password, press enter
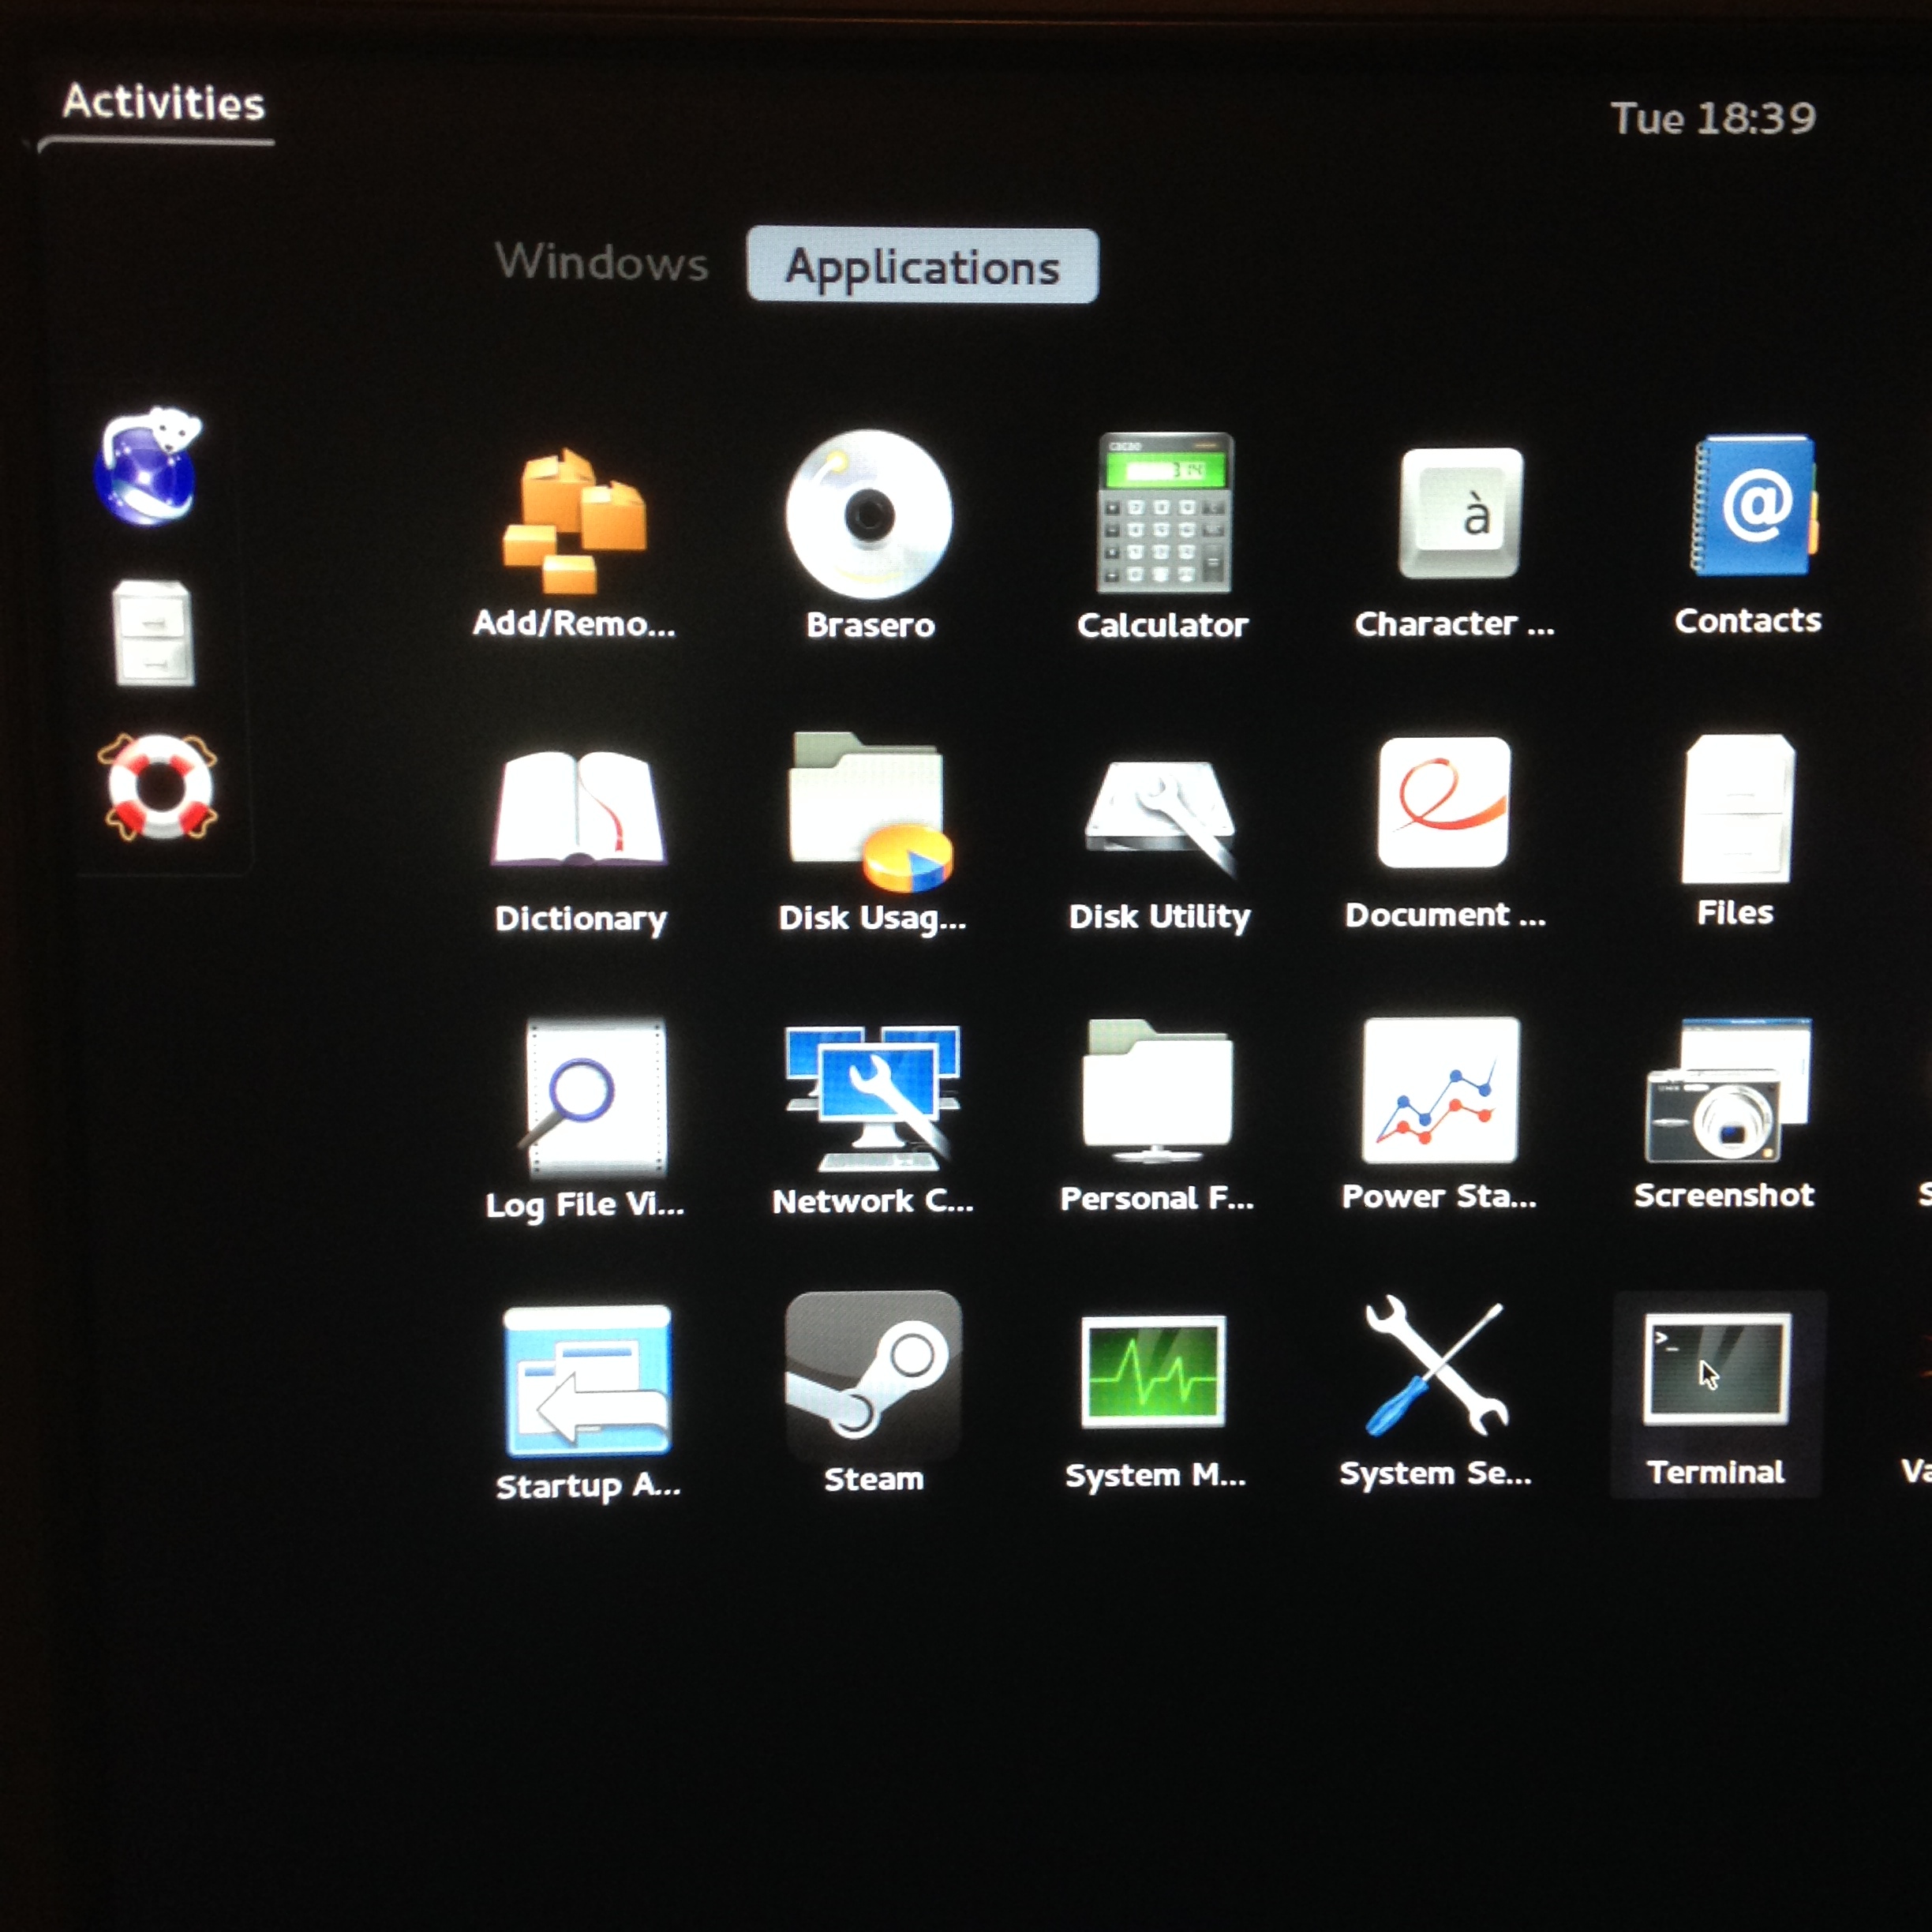
- Click Activities in the upper left
- Click Applications
- Click Terminal
- Type ./post_logon.sh, press enter
- Enter in desktop as the password, press enter
The system will now perform a number of post phase 1 install routines and then reboot. After rebooting the system will create the system restore partition. You simply answer yes to a question and the rest is automated.
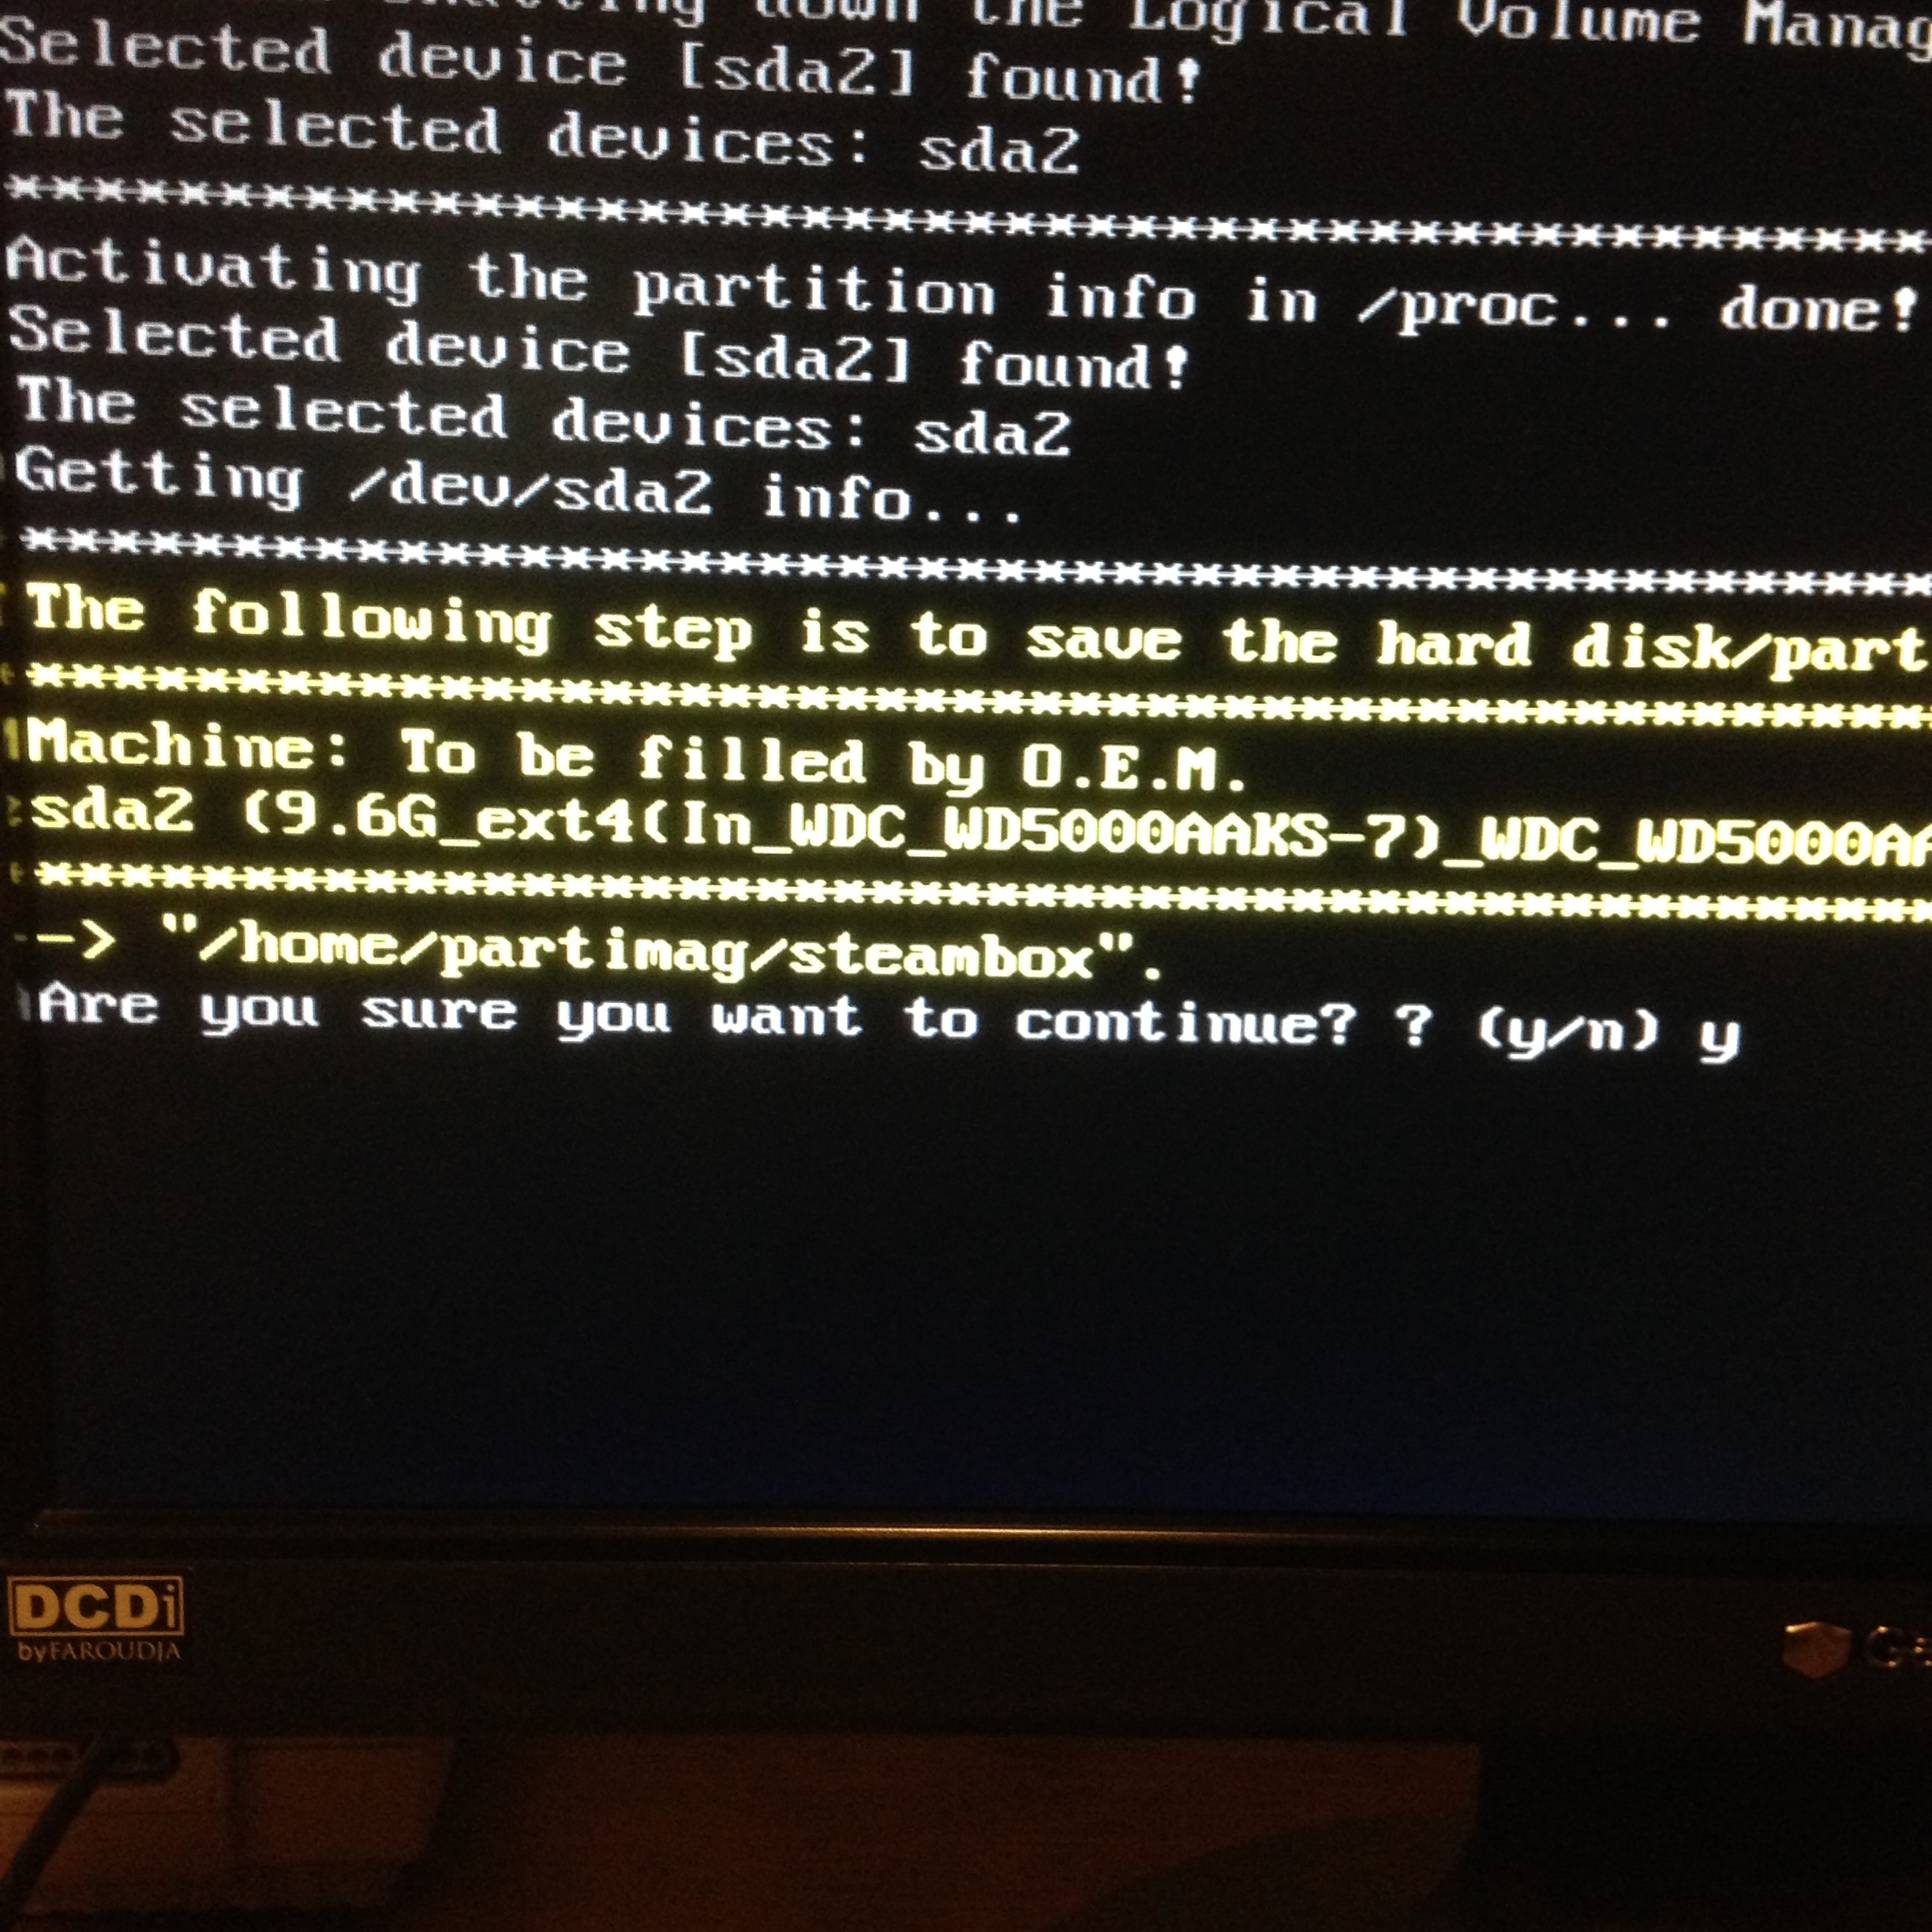
Just say yes
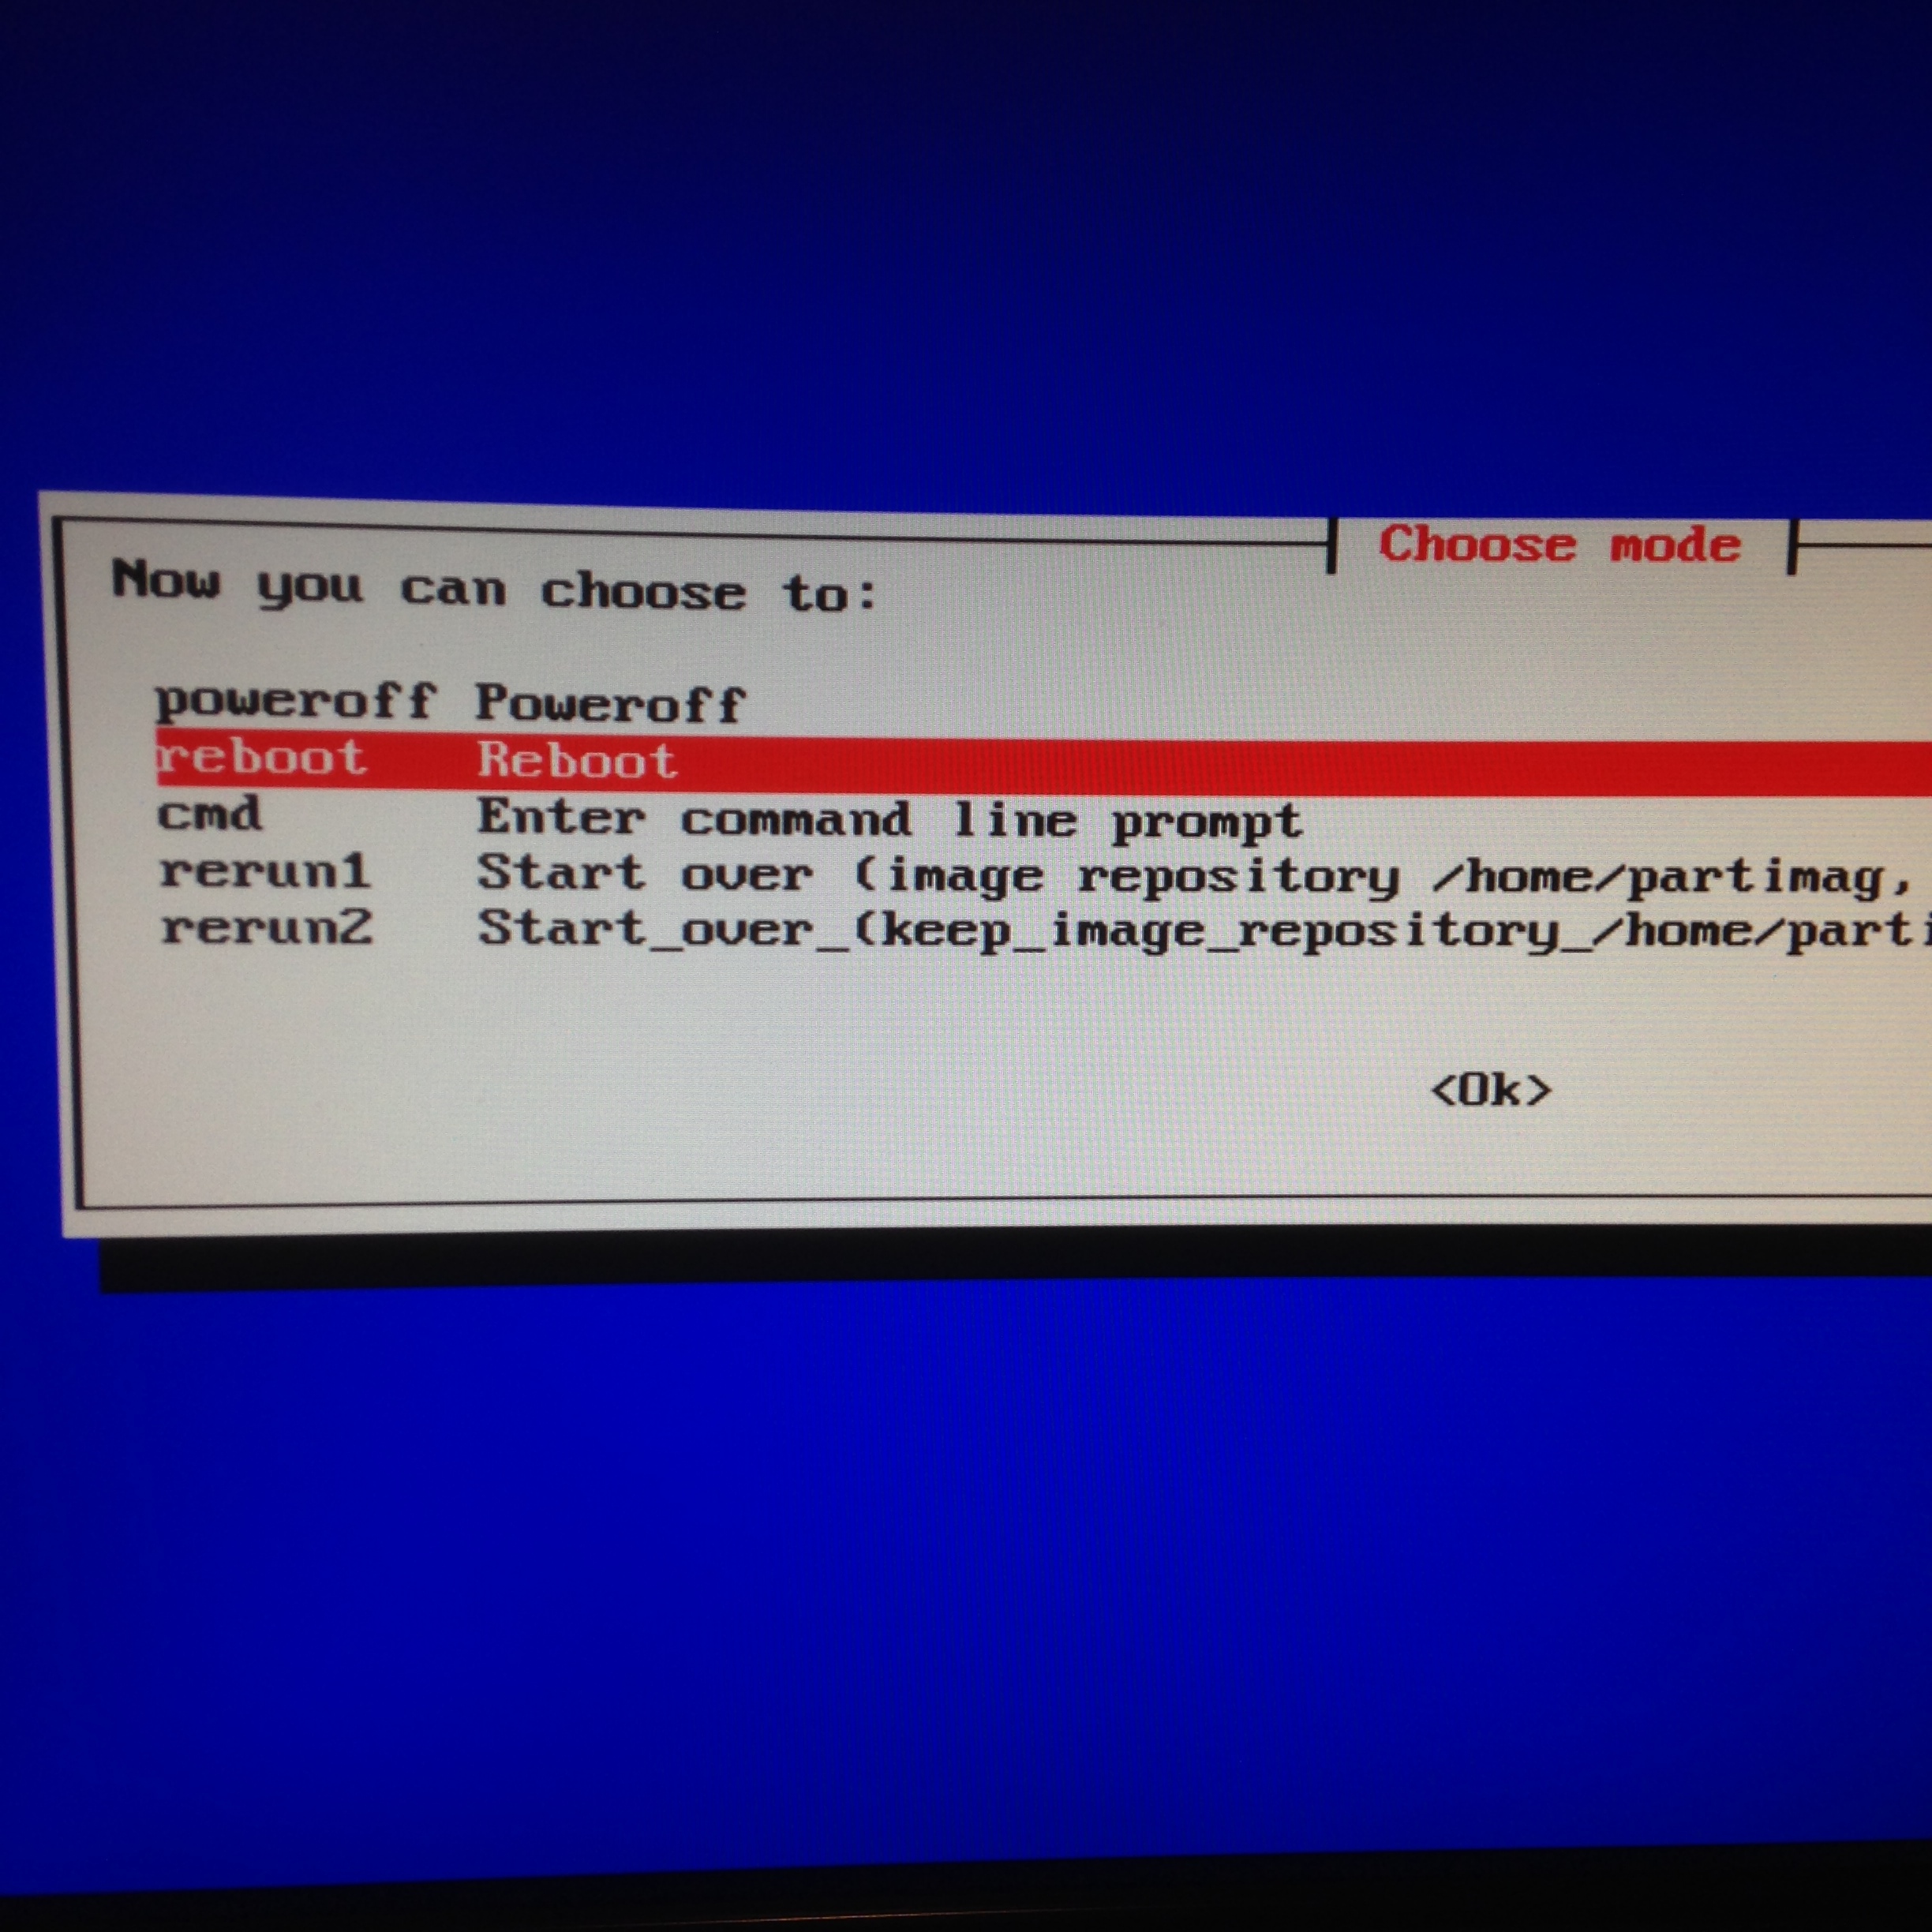
Pick reboot and press enter
Once completed the system will reboot again into SteamOS and finally into Big Picture Mode where you can create or log into your Steam account. The initial boot up can take some time so be patient. You are now ready to go!