RancherOS, available at https://rancher.com/rancher-os/, is a lightweight container operating system. It is easy to install and easy to configure but a bit light on documentation for some specific use cases. Here, I will describe how I setup RancherOS (1.5.5 as of this writing) for use with my locally installed Rancher 2.x based bare metal cluster. I will also touch on using cloud-config to configure RancherOS at boot to include the iSCSI subsystem and auto join my cluster.

I run my nodes on a Proxmox based hypervisor and have FreeNAS based storage providing NFS and iSCSI. I’m not going to cover the installation of Rancher, Proxmox or FreeNAS but just focus on basic configuration of RancherOS.

RancherOS itself is able to accept configure information using a cloud-config file. Using a cloud-config file allows you to configure a number of things during the first boot up. I take advantage of this to configure some persistent volumes, add my ssh key, enable the iSCSI subsystem and even automatically join my cluster. Here is what the file looks like, with some values removed/shortened:

# cloud-config

# create an rc.local which will cause this system to join the cluster. Replace required values for your server URL and your token
write_files:
  - path: /etc/rc.local
    permissions: "0755"
    owner: root
    content: |
      #!/bin/bash
      wait-for-docker
      if [ ! -f /opt/init-done ]; then
        docker run -d --privileged --restart=unless-stopped --net=host -v /etc/kubernetes:/etc/kubernetes -v /var/run:/var/run rancher/rancher-agent:v2.3.5 --server <your rancher server url> --token <your rancher token> --worker --node-name $(ip ro | grep default | awk '{print $7}')
        touch /opt/init-done
      fi

rancher:
  # in my setup I use iSCSI to provide block storage to pods, for this to work on RancherOS the iSCSI subsystem must be enabled
  services_include:
    open-iscsi: true
  # setup some local persistent storage for a few important volumes
  # this ensures Kubernetes works properly across reboots
  services:
    user-volumes:
      volumes:
        - /home:/home
        - /opt:/opt
        - /var/lib/kubelet:/var/lib/kubelet
        - /etc/kubernetes:/etc/kubernetes
ssh_authorized_keys:
  - <paste your ssh public key here>

For my setup I saved this file onto a web host accessible within my network. Below you will see how we tell RancherOS about the file during the setup process. You can find more configuration options at https://rancher.com/docs/os/v1.x/en/installation/configuration/.

Please note that the most important settings are the persistent mount options. You should at least use those if you plan to connect the RancherOS instance to a Rancher based Kubernetes cluster.

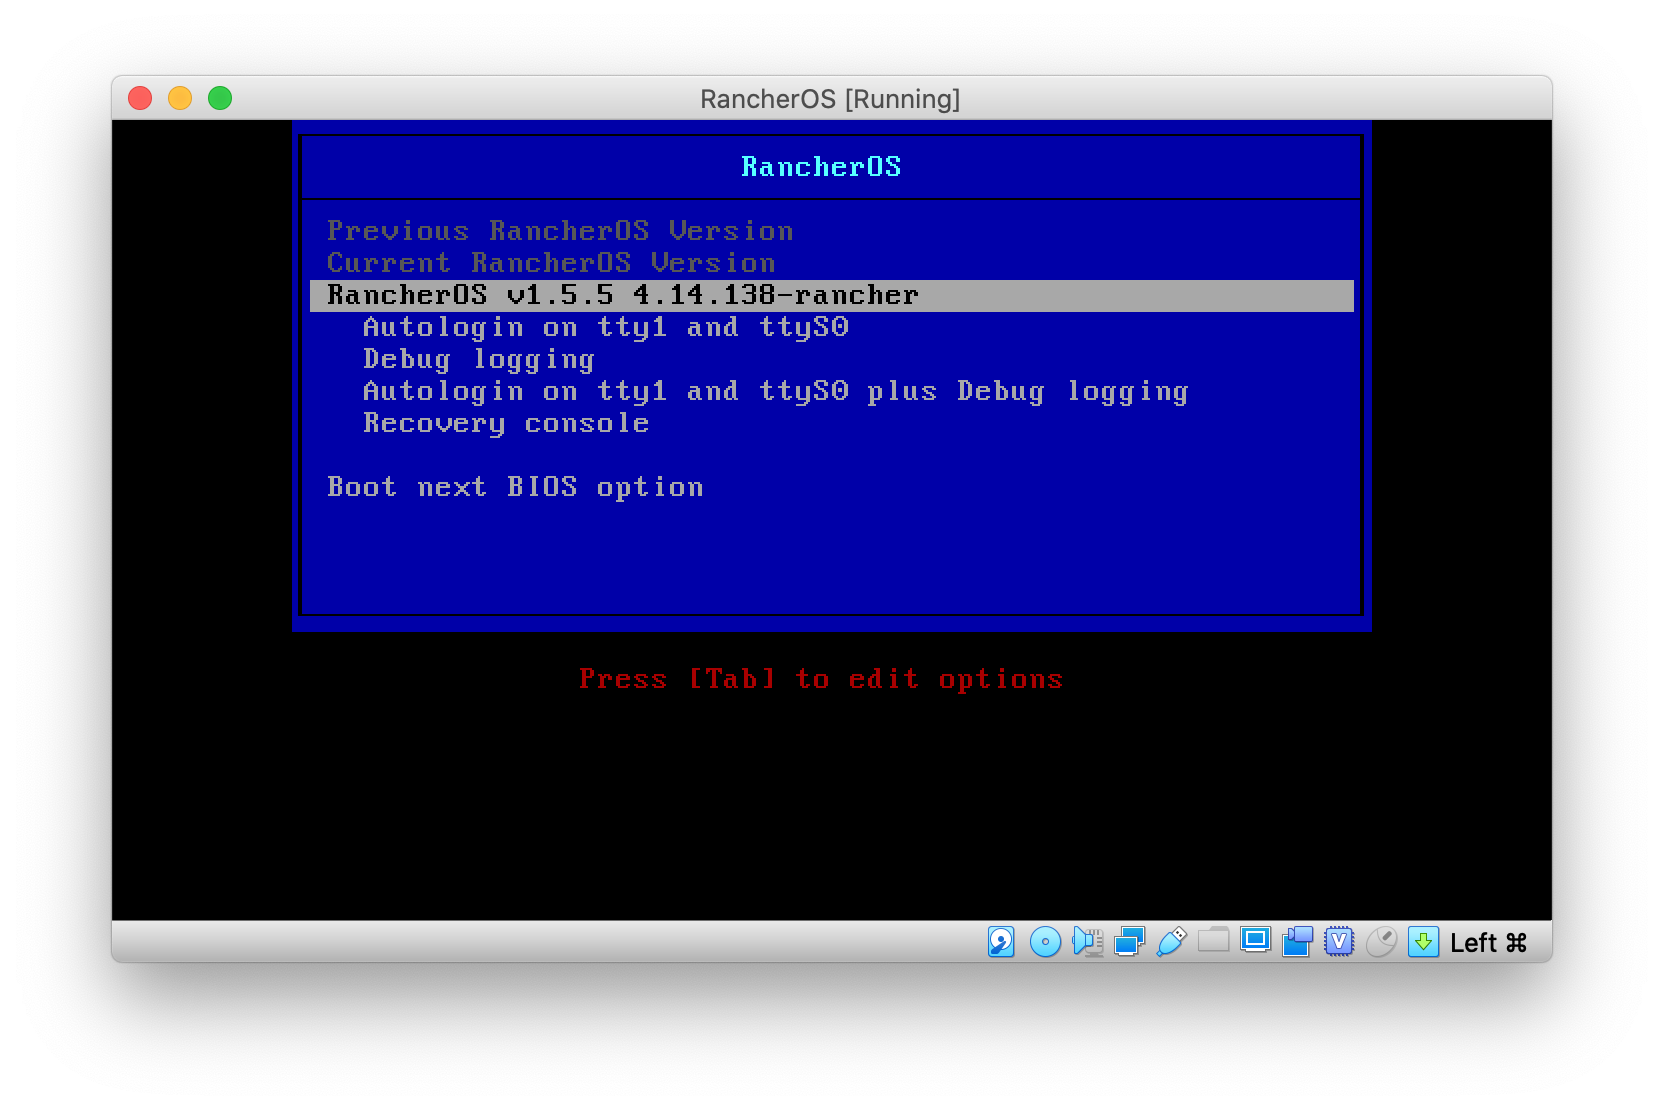
With the cloud-config file created we can now install RancherOS. There are a few options for installing RancherOS but for my setup I am simply using the basic iso file. For my target machine, a unibody 2008 MacBook, I had to burn the image to CDR. I booted the ISO and waited for it to finish the boot process. Once it was ready, I entered my install command:

sudo ros install -d /dev/sda -c http://<hostname>/rancheros.yaml

This command will instruct the installer to download the config file specified, save it locally (into /var/lib/rancher/conf) and then get everything ready on /dev/sda. I answer y to the reboot question and the system reboots into RancherOS. After a while the system will join your cluster and be ready for use.

That’s it. Your RancherOS node should now be ready to for use and will support iSCSI based block storage. In future posts I will try to discuss setting up other aspects of a bare metal Kubernetes cluster (where bare metal basically refers to running it anywhere but some cloud provider). If you have questions please reach out to me via Twitter.

References:
Using iscsi on RancherOS https://docs.openebs.io/docs/next/prerequisites.html

Once in awhile I like to read about what kind of software and utilities other people are using on their system to make their lives easier. It’s always interesting to see what mix of tools people are using and often times I learn about a new tool I hadn’t heard of before. Today I thought I’d do the same as I’ve started using a number of new tools on a regular basis just in the past six months.

As a systems engineer that is also familiar with programming I have what may be a unique mix of software and tools on my computer. Let’s take a look.

Operating System(s)

I have been using macOS full time since about 2008. I use macOS because it is a mix Unix and a GUI (NeXT if you’re keeping score) which gives me a familiar and robust command line environment with an excellent desktop environment.

I also use Linux heavily but almost never as a desktop or workstation. I have a laptop that I can dual boot between Linux and macOS for testing. I also run multiple Linux systems to run Proxmox for virtualization. Proxmox is a great way to get use out of otherwise retired computers. In fact, my Proxmox cluster is an older HP desktop with a quad core processor mixed with a pair of old MacBooks. I have written about Proxmox before and you can find it here.

I have one Windows PC that exists mostly because of games but also some business software.

Software Tools

When it comes to software these are the tools I use most frequently.

  • Code Editing and Runtimes/Languages
  • DevOps Type Stuff
  • Kuberenetes
    • kubectx/kubens for easy cluster and namespace switching
    • k9s for a text based UI to Kubernetes
  • Utilities
    • Brew
    • Patterns tool for working with regular expressions. Been using it for years but several tools now exist like it
    • iTerm 2 superior to the default terminal available in macOS
  • Other
    • Spotify for music
    • VirtualBox for testing Ansible roles
    • Twitter client
    • Mail.app
    • RamBox for chat
    • Bear for notes

Quick list of software tools that I find make using Kubernetes even better. I consider these tools must haves.

When Docker first came out it was a real mind bender of an experience for me. I simply couldn’t wrap my head around what a Docker image was, how it was different from a virtual machine and so on. “Why not just install the software from rpm?” I said.

I also struggled with how the app in the container was running inside of something and didn’t have access to anything. At the time I saw this just as a silly hurdle that made it more difficult than it should be to get something running rather than a core benefit of using containers.

Over time I got to know Docker and containers better. I gained an understanding of now images are created, how they could be given restricted resources, easily shared and so on. I started creating my own containers to further understand the process, got to know multi stage builds and so in.

Although I had gained a better understanding of the container itself I still couldn’t find a good use case for containers in my line of work. I was too used to creating VMs that ran a static set of services that rarely changed. Docker containers still seemed like another packaging format that has few additional advantages. It wasn’t until I started playing with container orchestration that things really started to click.

With container orchestration, and in particular Kubernetes, the power and convenience of containers becomes much harder to ignore. Orchestration was definitely the missing piece of the puzzle for me that sealed the deal. This is because orchestration solves a number common issues with running larger software infrastructure. One of the biggest issues that Kubernetes solves is how to swap out the running application with little fuss. By simply declaring that a running workload should update the Docker image in use Kubernetes will go through the process of starting the new container, waiting for it to be ready, adding it to the load balancer and then draining connections from the old container. While it’s true you can achieve all of that with a traditional setup it requires a lot more effort. This feature alone is what sold me on using Kubernetes at all and from there my current state of container acceptance.

With Kubernetes revealing the huge potential of containers I’ve since come back to exploring them for other uses outside of orchestration. Now, core features of containers that once bothered me are seen as advantages. I still see containers as a packaging format but one that works equally well on macOS and Windows as well as it does on Linux or in Kubernetes. As an “expert” I can provide a container to a user that has everything installed for some to tool. Previously this may have required me to write extensive documentation detailing the requirements, installation process and finally the configuration of whatever software it took to meet the user’s needs. A process that may end up failing or not work at all because the end user is using a different operating system or because of some other environment specific reason. With containers, if it works for me there is a much greater chance it will work for someone else as well.

Today I find myself building more and more containers for use in CI/CD pipelines. I see them as little utilities that I can chain together to create a larger solution. Similar to the Unix philosophy, I am creating containers that do one thing and do it well. These small containers are easy to maintain, easy to document and easy to use. And this, I believe, is one of the core strengths of containers. They encapsulate a solution into something that is easier to understand. Even though a container is technically more bloated because it contains not only the application itself but also all of its requirements, the end result is something that is ultimately easier to understand. Like writing code, you can write the most incredible for loop ever devised but if the next person can’t understand it is it still a good solution?

Throughout my career I’ve always enjoyed trying out new things to see how I can apply them to everyday problems or how they can be used to create great new opportunities. Docker was one the first things that I really struggled to understand and initially I thought “this is it, this is the tech my kids will understand that I won’t.” Today, however, I can see what a game changer containers are. When properly constructed containers are easier to understand, easier to share with others and easier to document. These are powerful reasons too use containers. There are new hurdles to overcome, like how to maintain them for security, but all things have tradeoffs and it’s up to us to decide which ones are worth it.

MariaDB log output showing encryption is working

Utilizing encryption at rest to protect the database data living on your hard drive is a smart choice, especially when dealing with sensitive customer data. Encryption at rest protects the data files by encrypting the actual files the MySQL/MariaDB server reads and writes to on the file system. Although they are binary files they can still be read relatively easily using standard tools as well as being “imported” into a different MySQL/MariaDB server. Encryption at rest is just one part of a total solution and this post is going to cover what it takes to get it running using the AWS Key Management System for key control on macOS using Homebrew.

Continue reading

There are times when it is necessary or desirable to access servers through a single host, called a bastion. This is the first host you'd access prior to using ssh to access some other host. Limiting access to the other hosts would either be controlled by firewall rules or simply because they don't have public IPs. Whatever your reason, a bastion host is a great way to increase security by decreasing the number of exposed hosts on the internet.

For the best security, all hosts should be configured to allow only key based authentication. This immediately negates any brute force based attempts to access your server. While convenient, it isn't necessary for you to use the same keys on all servers you access. Search the web for the best way to achieve key only authentication on your distribution of choice.

Configuring access to any server using a bastion host starts by first defining how you will connect to the bastion host itself. To get started, simply add an entry into your .ssh/config file that describes how to access the bastion host itself. As an example, lets say you have a bastion host at IP 192.168.0.1 and you've installed your public key to user called 'bastionuser'. Your entry would look like this:

HostName bastionhost
User bastionuser
Host 192.168.0.1

This entry does two things. It gives you a very easy way to ssh to your bastion host and it gives you a target you can use as a proxy to access other hosts. To use the entry you can simply issue 'ssh bastionhost' and you'll access your bastion host as user bastionuser using your default private key.

With access to the bastion host itself out of the way, you're now ready to create .ssh/config entries to access other servers that are only accessible through the bastion host. For this example, lets say a server with IP 192.168.1.2 is available from the bastion host. You'd create an entry that looks like this:

HostName targetserver
User targetuser
Host 192.168.1.2
ProxyCommand ssh bastionhost -W %h:%p

That's it! When you want to ssh to the target server, simply issue ssh targetserver and your connection will first hit the bastion host to be used as a proxy. Note that, at all times, your local private key will be used to make the connection unless you explicitly tell ssh to use something else using IdentityFile <path to file>. Even if you use different keys, those keys must always exist on your local system, keys on remote systems will never be used. It's up to you to find a way to distribute your keys to all other target servers.

In addition to using a bastion host for to access a single server or a set of them, you can also chain multiple bastion hosts together simply by configuring more entries with ProxyCommand. For example, lets say a server at 192.168.2.2 is only accessible from targetserver. You'd create an entry like this:

HostName finaldestination
User finaluser
Host 192.168.2.2
ProxyCommand ssh targetserver -W %h:%p

With this entry in place it is now possible to access your final destination by issuing ssh finaldestination. This configuration will instruct ssh to attempt to access finaldestination using target server, but in order to access targetserver to first go through the bastion host. There is technically no limit to the number of hosts you can proxy through but you'll eventually hit the limits of latency.

Whatever your reason for placing an NGINX proxy in front of your Gitlab installation, you need to ensure you’re using the right configuration to support all of Gitlab’s features. I recently discovered that although my installation was mostly working I couldn’t get pipeline/build logs properly. I discovered that my proxy configuration was to blame. After some searching around I finally found that my config wasn’t quite right. To get the most out of Gitlab and ensure a smooth experience use configuration shown below as a template for your own. In my setup I use LetsEncrypt for SSL so if you’re not you can remove any of the SSL specific parts. The important configuration information is contained the the location block.


upstream gitlab {
  server <ip of your gitlab server>:<port>;
}

server {
    listen          443;
    server_name     <your gitlab server hostname;

    ssl on;
    ssl_certificate <path to cert>;
    ssl_certificate_key <path to key>;
    ssl_protocols TLSv1 TLSv1.1 TLSv1.2;
    ssl_prefer_server_ciphers on;
    server_tokens off;


    gzip on;
    gzip_vary on;
    gzip_disable "msie6";
    gzip_types application/json;
    gzip_proxied any;
    gzip_comp_level 6;
    gzip_buffers 16 8k;
    gzip_http_version 1.1;

    location / {
       client_max_body_size   0;
       proxy_set_header    Host                $http_host;
       proxy_set_header    X-Real-IP           $remote_addr;
       proxy_set_header    X-Forwarded-Ssl     on;
       proxy_set_header    X-Forwarded-For     $proxy_add_x_forwarded_for;
       proxy_set_header    X-Forwarded-Proto   $scheme;

      proxy_pass https://gitlab;
    }
}

This configuration will properly pass all requests through to your Gitlab server as well as allow CI/CD pipeline logs to pass through properly.